NIO200 HAG User Guide
Page 16 of 120
Step
Action
2.
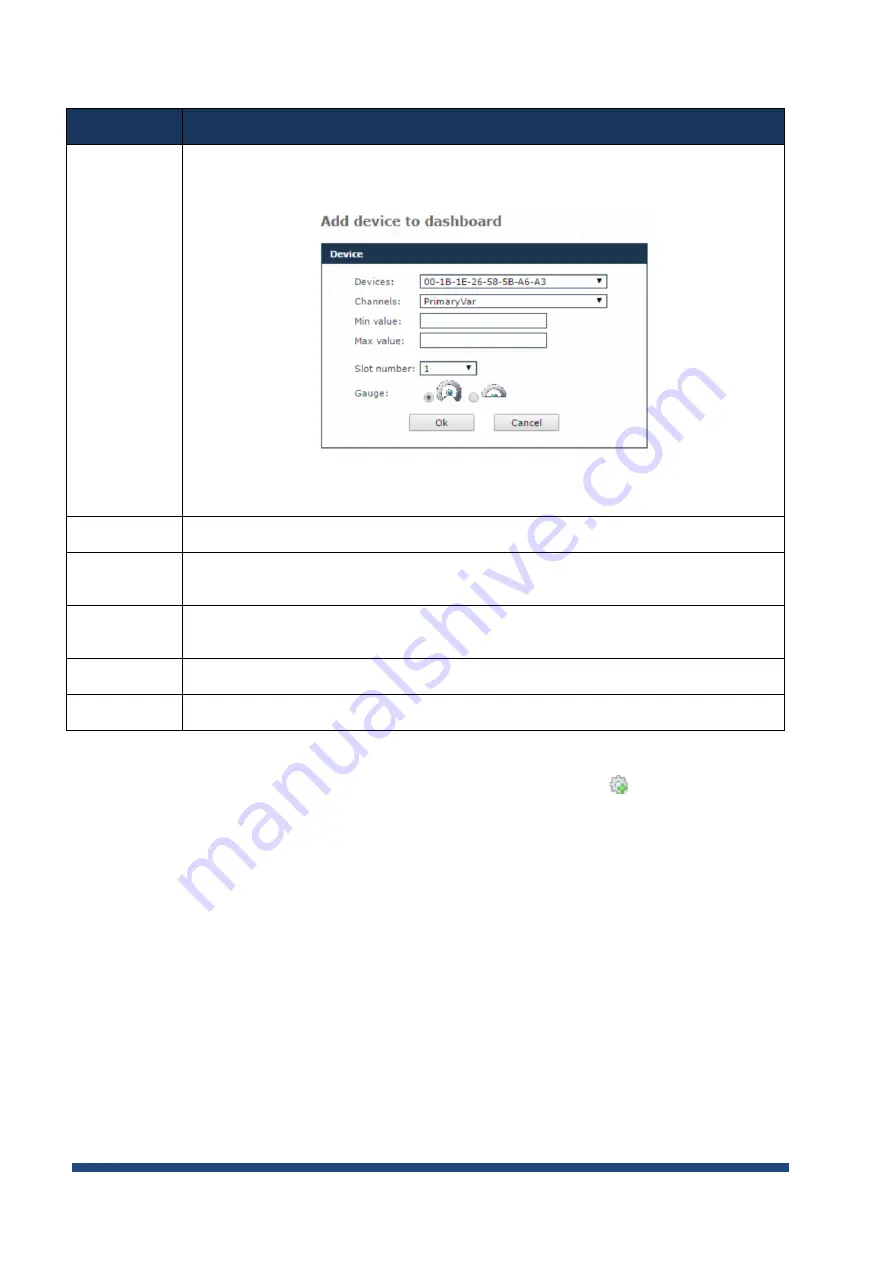
The
Device
dialog box will open:
Select a
Device
from the drop-down list.
3.
Select the
Channel
that you wish to monitor from the drop-down list.
4.
Type the desired gauge value range for the readings; if the selected values are out of
range, a message on the pane will notify you.
5.
Optional, select the
Slot number
(up to the current slot number); if you do not select a
slot number, the system automatically assigns the next available slot.
6.
Select the desired
Gauge
type.
7.
Click
OK
to add the device to the dashboard.
NOTE:
You can also add a reading to the dashboard from the Device Details page: in the
Information pane, click the
Add to dashboard (ATD)
icon
next to a reading.
Up to 9 devices are supported in the dashboard.
Summary of Contents for NIO200 HAG
Page 1: ...NIO200 HAG WirelessHART All in One Gateway User Guide Version 1 2 Date March 17 2017 ...
Page 12: ...NIO200 HAG User Guide Page 12 of 120 Figure 1 ...
Page 72: ...NIO200 HAG User Guide Page 72 of 120 Appendix Advanced configuration about Wi Fi features ...
Page 89: ...NIO200 HAG User Guide Page 89 of 120 ...
Page 112: ...NIO200 HAG User Guide Page 112 of 120 TFTP Settings By default TFTP server is not enabled ...


