


Setup and Operation 2-3
OPERATING CONTROLS
The following section describes system controls, the LCD indicator panel, and function
keys. The section also lists dip switch settings.
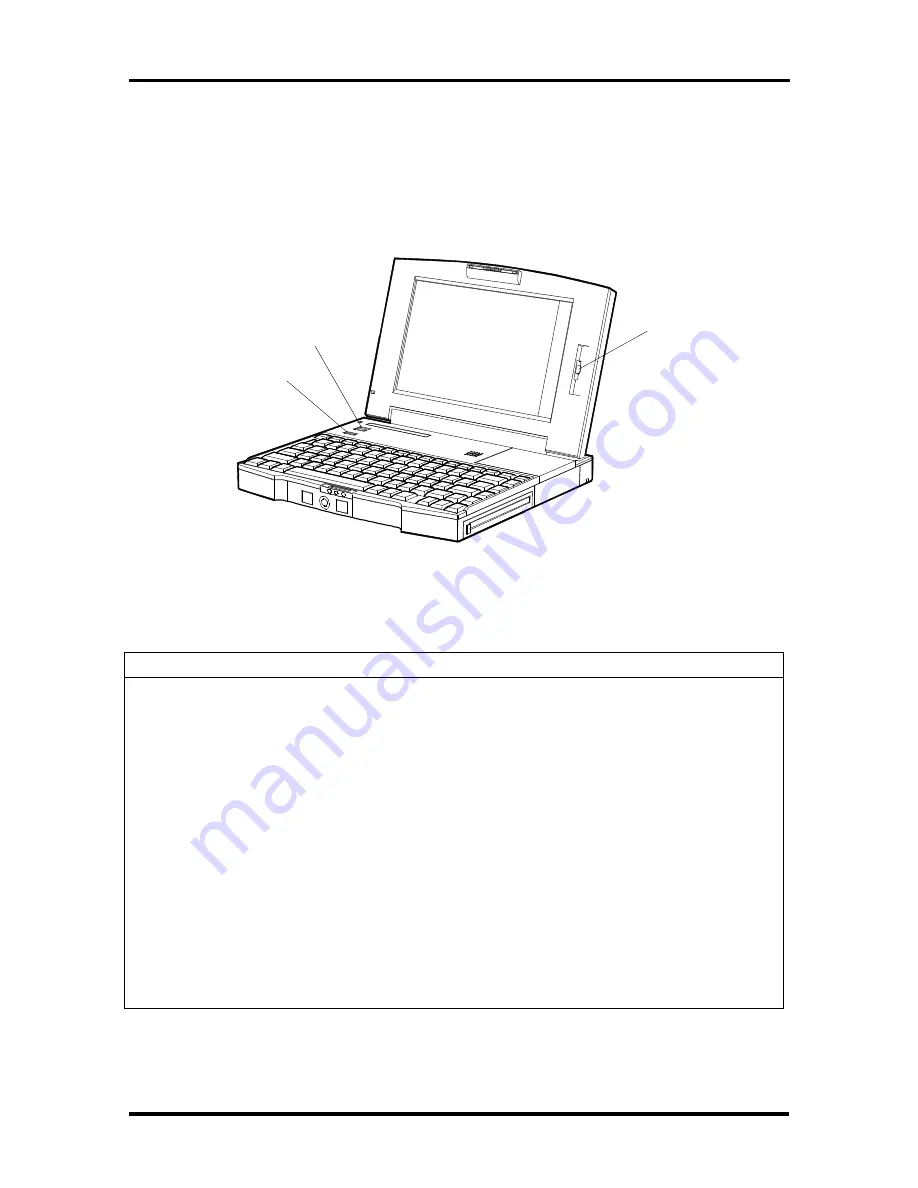
Refer to Figure Section 2-2 and Table Section 2-2 to locate system controls and buttons.
Figure Section 2-2 Control and Button Locations
Table Section 2-2 Control and Button Functions
Control
Function
Power Button
Turns the system on when pulled down and off when pulled down
again. The power button is spring-loaded and returns to its original
position when powering on or off the system.
Suspend Button
Allows the user to manually select Suspend mode. To enter Suspend
mode, press the suspend button. To exit Suspend mode, press the
suspend button again. Use Auto Setup to activate Suspend mode
automatically.
Brightness Control
Move the control upward to increase brightness on the LCD. Lower the
control to decrease brightness on the LCD. A brighter adjustment uses
more battery power. For longer battery life, decrease the brightness.
VersaTrack
The VersaTrack
®
is used like a mouse to select menu items or to
initiate system options in the Windows environment. Place your thumb
on the VersaTrack and roll the ball to move it. Use the two buttons on
either side of the VersaTrack to select a function. Functions differ
depending on the application. Use the Windows control panel to set the
speed of the pointer.
Brightness
Control
Suspend Button
Power Button
Summary of Contents for VERSA P
Page 15: ...xii Contents ...
Page 84: ...Section 3 ...
Page 93: ...Section 3 ...
Page 94: ...3 16 Options ...
Page 121: ...Troubleshooting and Repair 4 18 ...
Page 129: ...4 24 Troubleshooting and Repair ...
Page 156: ...5 14 Troubleshooting and Options for the Docking Station II ...
Page 164: ...5 20 Troubleshooting and Options for the Docking Station II ...


