34
2
1
4
3
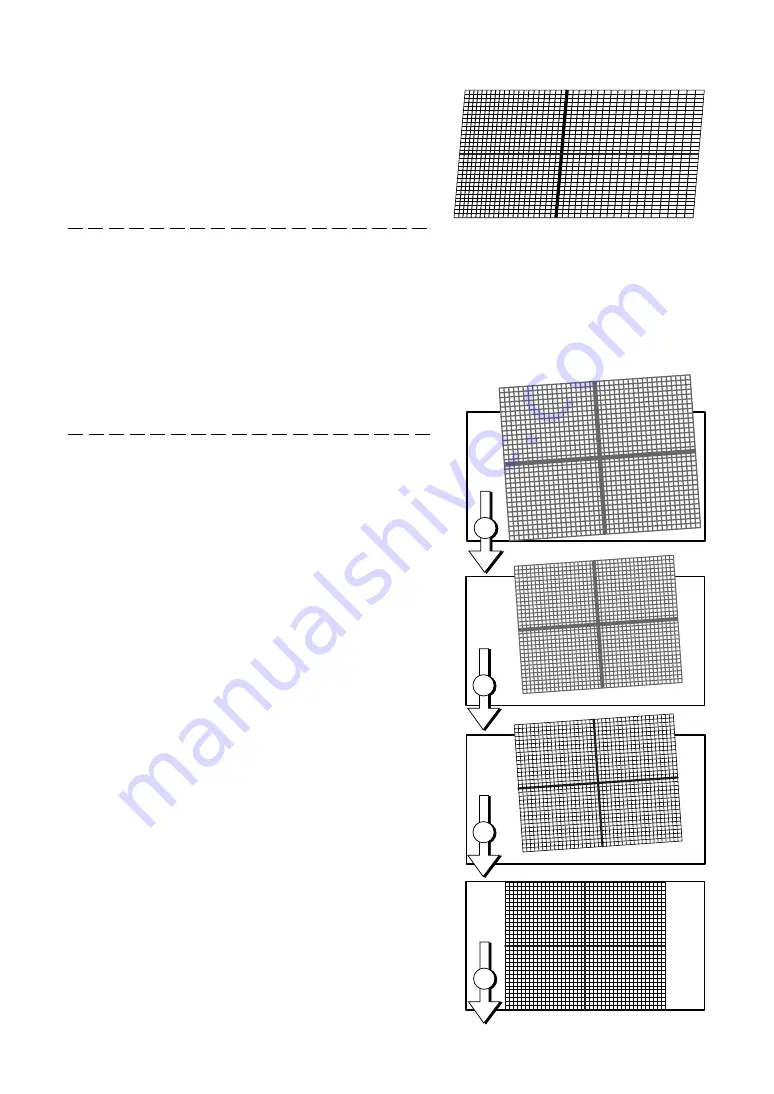
7-2-2. Adjustment of Screen Size
When an anamorphic lens is used, distortions will be produced
on the projection screen. To prevent the image from being cut
off due to these distortions, the image size should be made
larger than the screen size beforehand.
To minimize potential distortions of the anamorphic lens, it is
recommended that the lens shift not be used as much as you
can and that projection be kept at lens center.
How to Call the Lens Center
1. Press the
MENU
button on the remote control panel.
"SOURCE SELECT" appears on the projector's LC display.
2. Select the Configuration menu using the arrow buttons
/
.
3. Press the
button.
4. Select "Installation" using the
/
buttons.
5. Press the
button.
6. Select "Lens Center" using the
/
buttons.
7. Press the
button.
8. When "Move" appears on the display, press the
ENTER
but-
ton.
The lens will begin to move.
햲
Press the
ZOOM+-
buttons on the remote con-
trol panel or of the projector to roughly adjust the
screen size so that the screen height and the im-
age height are the same.
햳
Press the
FOCUS+-
buttons of the remote con-
trol or the projector to roughly adjust the focus.
햴
Adjust the surface on which the projector is set
up and the tilt foot of the projector to adjust the
setup position, height, and tile (front-back and left-
right) of the projector so that the projected image
is level at the screen center.
햵
Use the
ZOOM+-
buttons again to adjust the
screen size so that the projected image is kept
0.5 to 1 crosshatch cell portions higher than the
top edge of the screen.


