BenchMike Pro Instruction Handbook: Introduction
1-3
1.4
Using the BenchMike Pro
To turn on the BenchMike Pro, push the power button on the rear of the
unit. It will take about one minute for the unit to initialize.
To turn off the BenchMike Pro, push the power button for one second.
The BenchMike Pro will begin the power-down cycle. Holding down the
power button for five seconds will immediately turn off the unit.
When the BenchMike Pro is turned on, the last saved configuration is
displayed on the touch screen. The graphical user interface includes a touch screen which allows the screen to be
used to select items. Use your finger to select commands, menus, help, or enter numbers.
To avoid scratching the coating on the touch screen, do not use any sharp object on the display. Remember to
clean the screen regularly, using a household window cleaner. Ensure that the lower rim of the screen is kept
clean of dust and other contaminants to avoid degrading the gasket around the display.
1.5
Measuring a Product
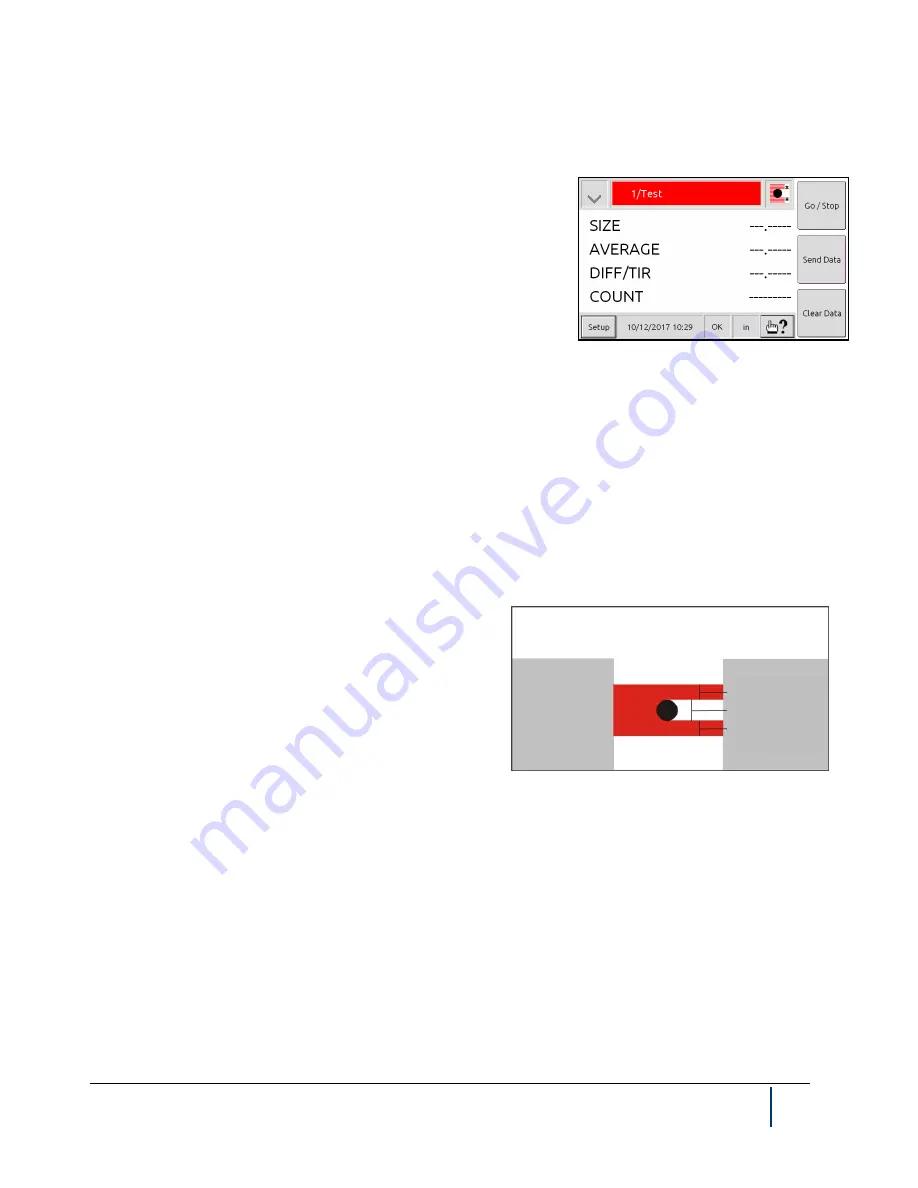
The BenchMike Pro measures a part by sweeping a beam of laser light across its measurement area. Each
sweep of the beam is called a scan. The BenchMike Pro scans the part 100 times per second.
As the beam sweeps through the BenchMike Pro’s measure-
ment area, it is alternately blocked by the part, or allowed to
pass through to the receive side of the BenchMike Pro. This
breaks each scan up into segments of light (when the beam
passes over the product) and dark (when the beam is blocked
by the product). The BenchMike Pro measures the diameter of
a part by detecting the size of this “shadow” (dark segment)
created by the part.
NOTE: The number of segments created by the laser beam
will vary based on the number of part(s) placed in the measurement area.
In general, you can meas
ure an object placed in the scanning laser beam if it creates a “shadow”. However, to
obtain maximum accuracy, a certain portion has been defined as the measurement area. This area represents the
location where specifications apply and performance is consistent with factory calibration and alignment.
Transmitter
Receiver
Segment 3
Segment 2
Segment 1


