GT10/GT30
10.1 Installing GTWIN
154
8.
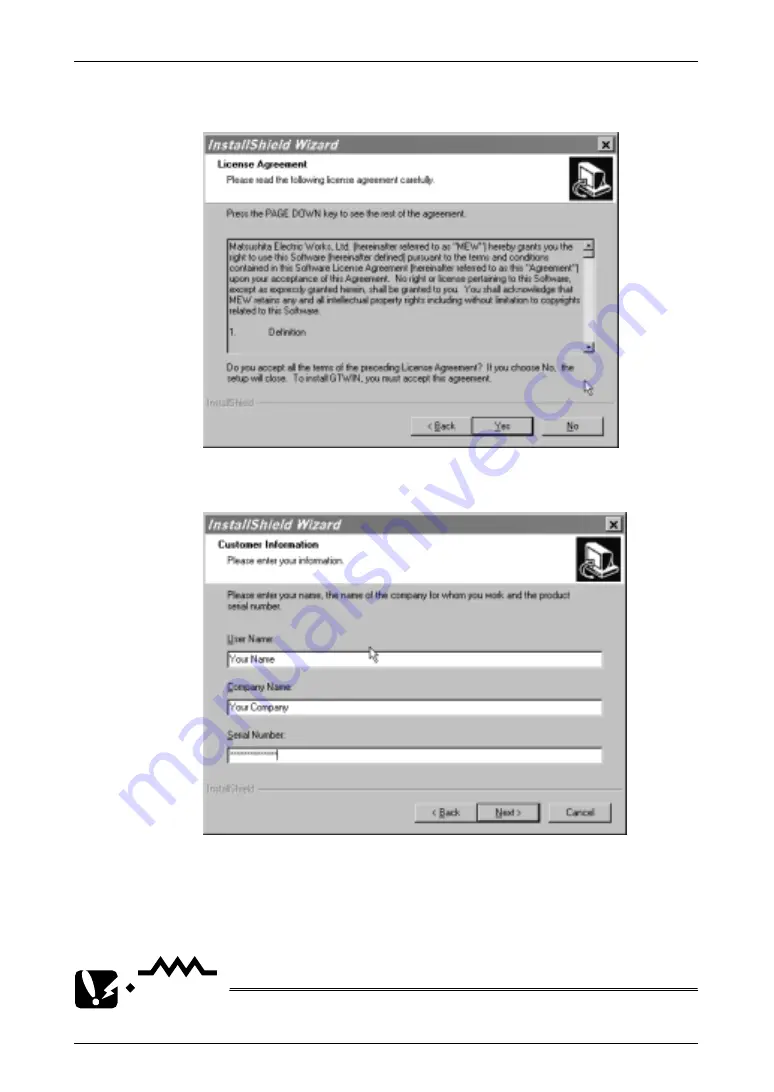
Confirm the licensing agreement by clicking [Yes].
The setup process begins. (Selecting [No] cancels GTWIN setup.)
9.
Register the user information.
The serial number is noted on the user card included in GTWIN package.
Make sure it is entered correctly. Make sure you keep a copy of the
serial number in a safe place for future reference.
The contents entered here can be confirmed under “Version Information”
on the splash screen, and in the Help function, when GTWIN is booted.
CAUTION
Never eject the CD during the installation process.
Summary of Contents for GT10
Page 9: ...Table of Contents GT10 GT30 viii...
Page 10: ...ix Part I GT10 GT30 Main Unit...
Page 23: ...Safety Precautions GT10 GT30 xxii...
Page 24: ...Chapter 1 Specifications...
Page 37: ...GT10 GT30 1 5 Dimensions 14...
Page 38: ...Chapter 2 Installation and Wiring...
Page 48: ...Chapter 3 Setup...
Page 63: ...GT10 GT30 3 4 Setting the Basic Communication Area GT30 and PLC 40...
Page 64: ...Chapter 4 Connecting and Communicating with the PLC...
Page 94: ...Chapter 5 GT10 Configuration Settings...
Page 115: ...GT10 GT30 5 3 Entering Configuration Settings from the GT10 92...
Page 116: ...Chapter 6 GT30 Configuration Settings...
Page 138: ...Chapter 7 How the Various Functions Are Used...
Page 149: ...GT10 GT30 7 3 GT30 Bit Device Functions 126...
Page 150: ...Chapter 8 Servicing and Maintenance...
Page 157: ...GT10 GT30 8 5 Replacing the Backlight GT30 Only 134...
Page 158: ...Chapter 9 Troubleshooting...
Page 170: ...147 Matsushita Electric Works Europe AG Part II Screen Creation Tool Terminal GTWIN...
Page 174: ...Chapter 10 Preparing GTWIN...
Page 187: ...GT10 GT30 10 4 Procedures for Using GTWIN 164...
Page 188: ...Appendix A Code Tables...
Page 191: ...GT10 GT30 A 2 ASCII Code Table 168...


