Page 47
05 - Software Mr Beam Laserbench
Upload and select a design
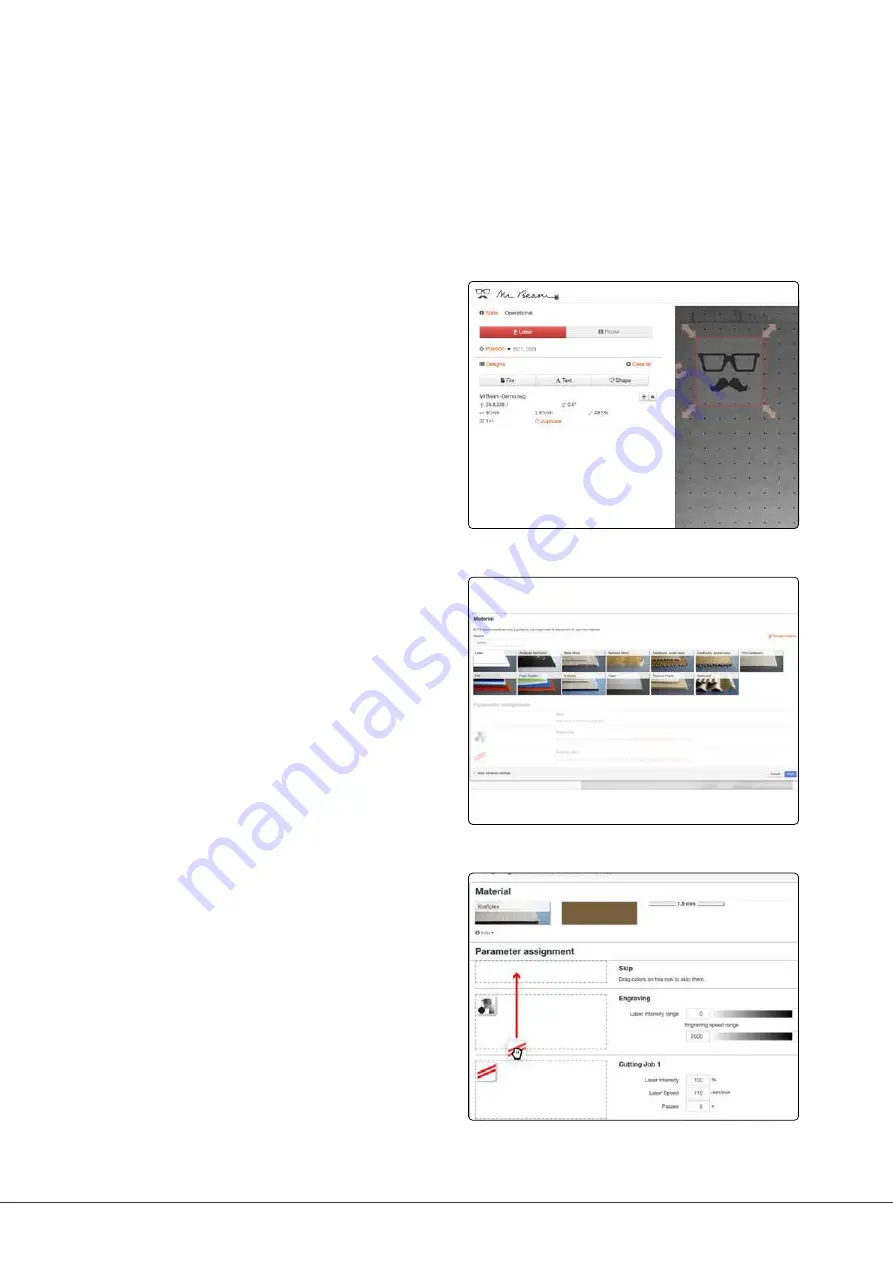
2. Positioning
Once a file has been selected, it can be
placed in the workspace on the workpiece.
Use the arrows to scale and rotate the
graphic.
Click on „Laser“ in the upper left corner to
access Laser Job Parameters.
3. Laser Job Parameters
Select the material you have inserted.
Depending on the material, colour and
thickness of the material can be selected.
The default values can then be manually
adjusted.
MR BEAM LASERBENCH
4. Color assignment
Depending on the material used, further
settings can be configured. If different
colours were used in the selected file,
different parameters can be assigned. By
dragging into the corresponding field, you
can assign „skip“, „engrave“ or „cut“ to
the colours.
Summary of Contents for Dreamcut II
Page 1: ...dreamcut U S E R M A N U A L 2019 Mr Beam Lasers GmbH Munich 01 November 2019 Revision 1 1 EN ...
Page 3: ......
Page 6: ......
Page 10: ......
Page 19: ...Page 13 02 Safety Conformity ...
Page 22: ......
Page 27: ...AIR FILTER SYSTEM Page 21 03 Components Overview CONNECTIONS Network connection Ethernet ...
Page 31: ...Page 25 03 Components Overview ...
Page 32: ......
Page 50: ......
Page 56: ......
Page 61: ...Page 55 06 Working with your Mr Beam ...
Page 62: ......
Page 79: ...Page 73 07 Maintenence Care ...
Page 80: ......
Page 81: ...ADDITIONAL INFORMATION 08 Chapter ...
Page 85: ...Page 79 08 Additional Information ...
Page 86: ......
Page 87: ...GENERAL TERMS AND CONDITIONS 09 Chapter ...
Page 90: ... 2019 Mr Beam Lasers GmbH Gollierstraße 70 Munich info mr beam org www mr beam org ...


