2-32
5
Press
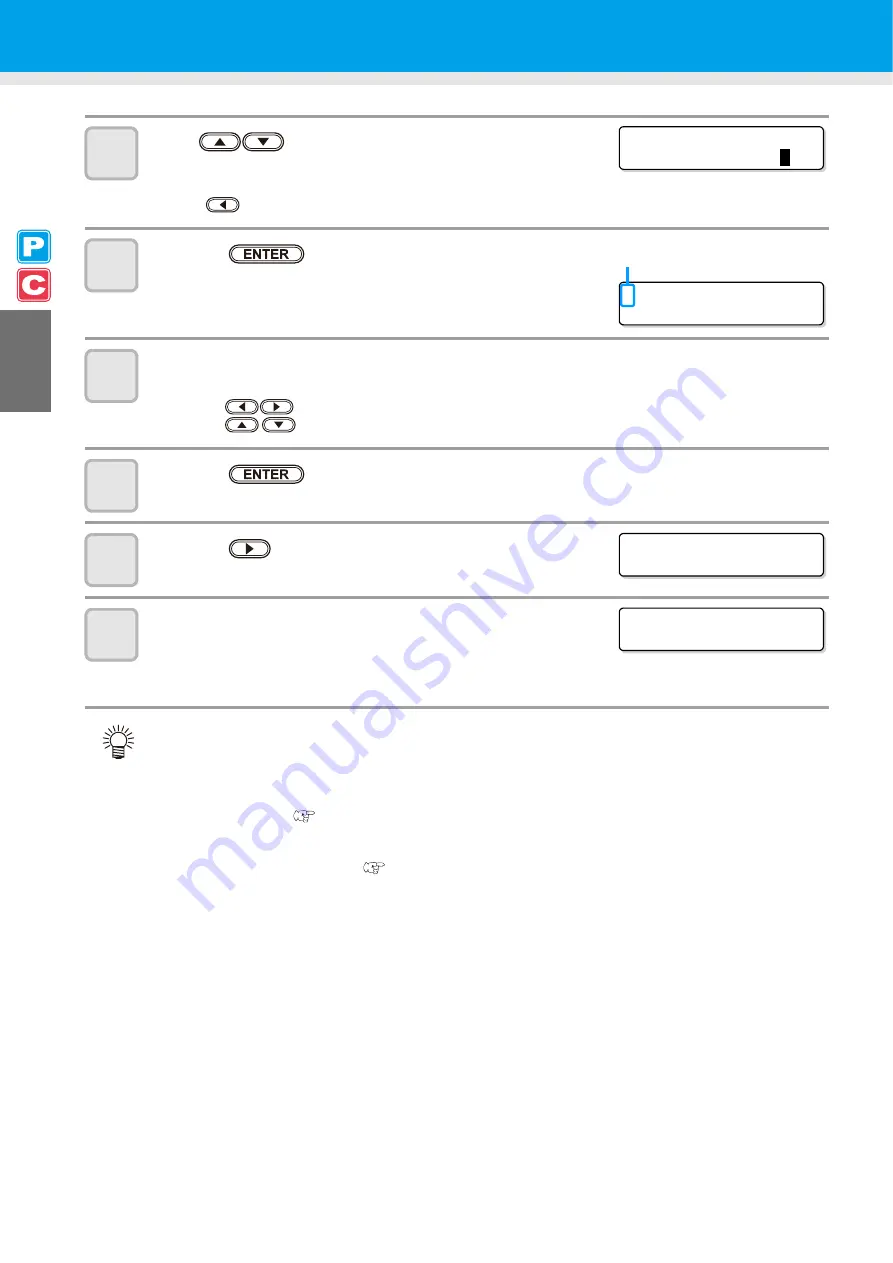
to set the number of the pinch roller at
the left end of the medium.
• Set the number of the pinch roller at the left end of the set medium.
• Press
to skip the pinch roller pressure setting from Step 6 to Step 9.
6
Press the
key.
7
Check the current pinch roller pressure.
• To change the set pinch roller pressure temporarily, follow the steps below.
(1)
Press
to select a pinch roller to set.
(2)
Press
to set the pressure.
8
Press the
key.
9
Press the
key to select "LEAF".
10
The medium detection is started.
(1)
The medium width is detected.
(2)
The medium is fed then the rear end of the medium is detected.
(3)
It returns to LOCAL when the detection is completed.
• Once a printing condition or a cutting condition appropriate to the media is registered when setting the
type and the tool condition, setting the pinch roller on Step 5 to 7 is not needed.
• When performing the settings for the first time, the values displayed in step 6 display the values
configured by the type registration and tool conditions.
• The value set in Steps 5 to 8 will be held until the power is turned OFF or until the function "Setting for
the pinch rollers" (
• The value set here will be displayed next time when the medium is set.
• The setting for the pinch roller can be canceled when the medium is set, using the common settings
"Setting for the pinch rollers" (
* * P I NCH ROL L ER * *
P I NCH ROL L ER : N o .
7
t o 1
> PR I NT
[ MMMMMMM ]
CUT
[ H _ _ _ _ _ H ]
Current mode and pinch roller pressure is
indicated with [>].
MED I A SE L ECT
ROL L <
> L EA F
DE T ECT I NG MED I A NOW
P L EASE WA I T
Summary of Contents for CJV30-100
Page 15: ...xiv How to Read this Manual...
Page 16: ...xv...
Page 158: ...Other Convenient Functions 4 48 12 Press the key...
Page 261: ...8 29 Function Flowchart 8 Appendix...
Page 269: ...8 37 Function Flowchart 8 Appendix...
Page 272: ...8 40...
Page 273: ...D201873 11 26092008...


