19
turns to the mapping screen after the message box clears. Your plot trail is
now stored in memory.
To view your saved plot trail, see the “Set Visible Plot Trails” section.
Set Plotter Update Criteria
The plotter places a dot on your trail as you move. It determines when to
place a dot depending on two things: time and distance. By default, it
places a dot every five seconds or every .1 of a mile, whichever comes
first.
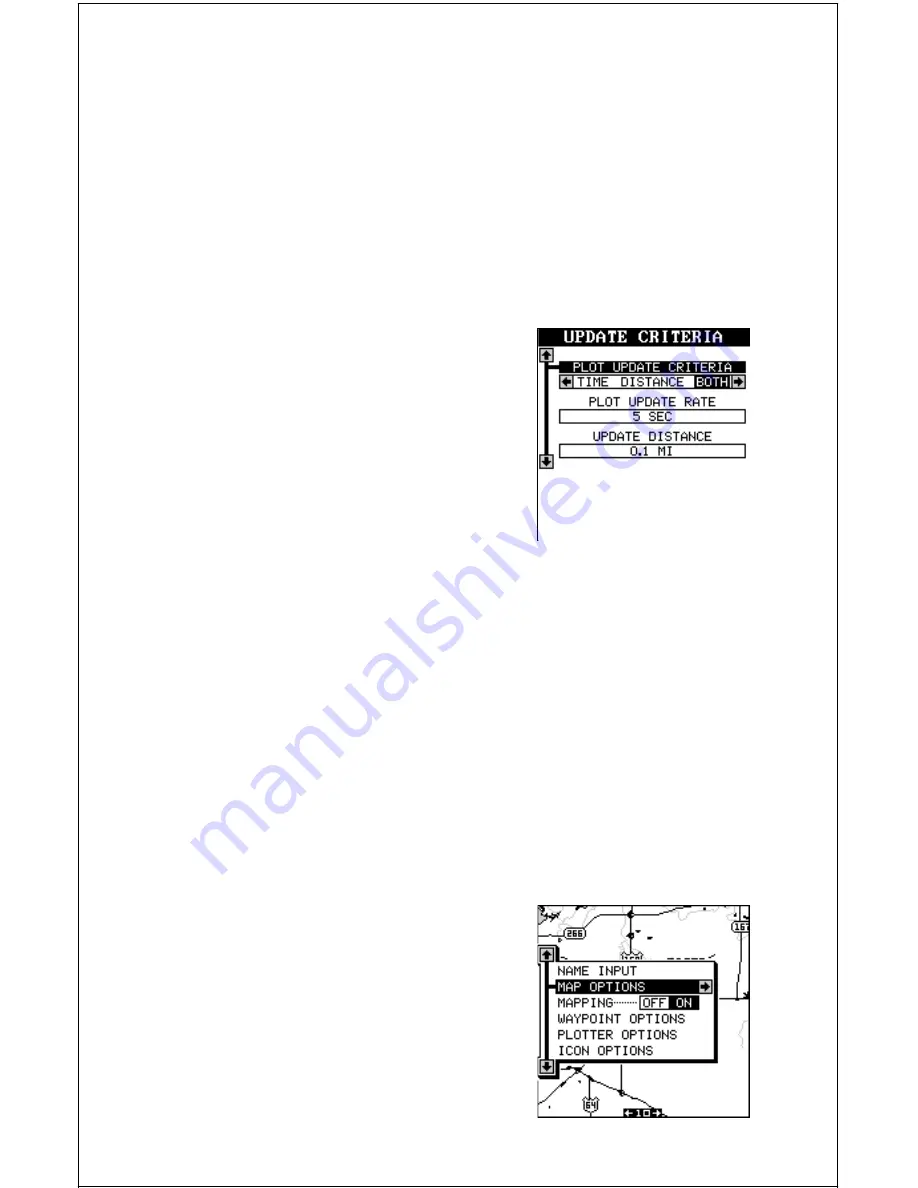
To change the update, move the black box (us-
ing the arrow keys) to the “Set Plotter Update
Criteria” menu item, then press the right arrow
key. A screen similar to the one at right ap-
pears.
To limit the update to time only, or distance only,
press the left arrow key until the black box is
on the desired setting.
Change the update rate by moving the black box to the “Plot Update Rate”
menu, then press the left or right arrow keys until the desired time ap-
pears.
The distance update is changed in the same manner. Move the black box
to the “Update Distance” menu, then press the left or right arrow keys until
the desired distance appears.
When you have everything on this menu adjusted to the desired settings,
press the EXIT key to enable them.
MAP OPTIONS
This menu gives you a variety of options to
customize your mapping screen. To use these
options, first press the MENU key while a map
is displayed. Next, press the up or down arrow
keys the black box surrounds the “Map Op-
tions” label. Press the right arrow key to view
this menu.


