Recording
38
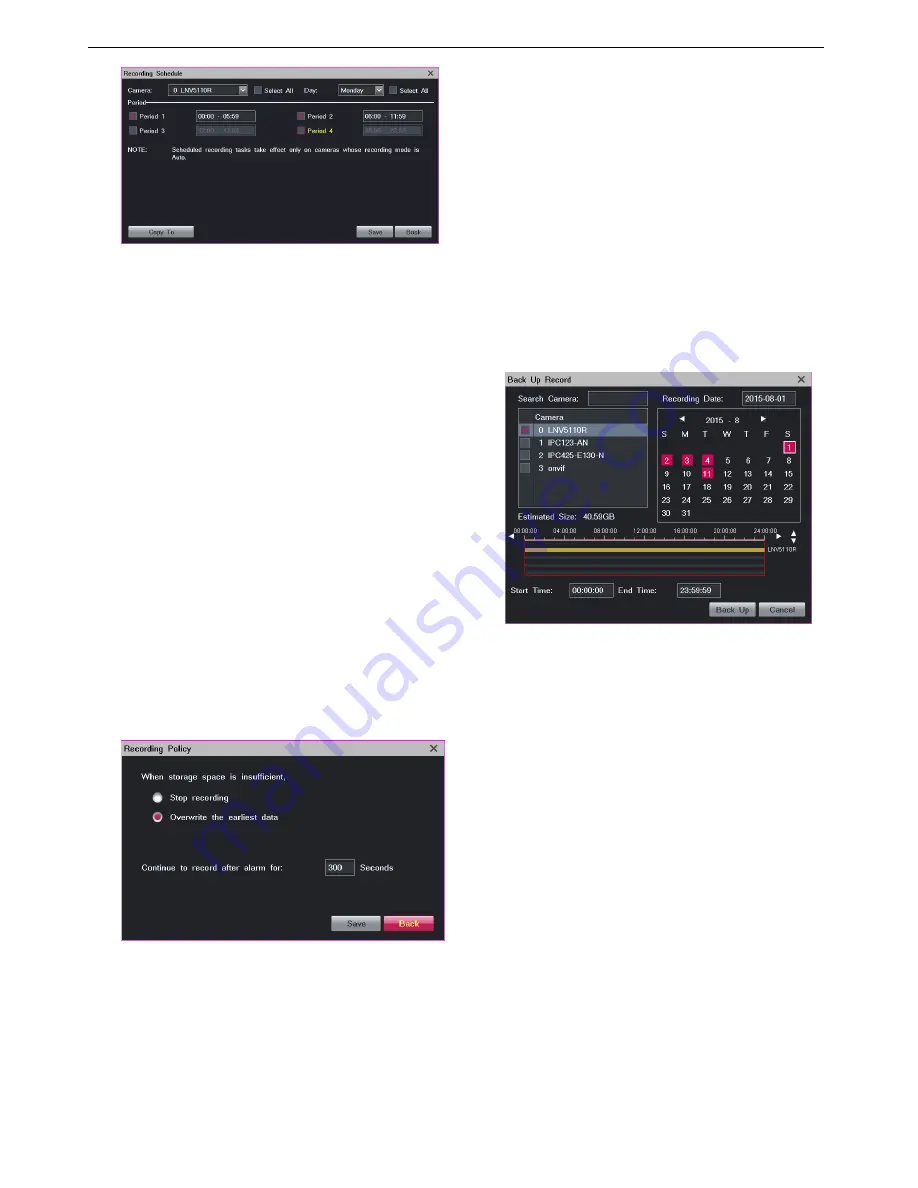
If necessary, click
Copy To
and specify parameters to
copy the scheduling settings to all cameras or specific
cameras.
3.
Click
Save
.
NOTE:
This function applies only to cameras whose recording mode is
Auto.
Setting the Recording Policy
The recording policy includes the following:
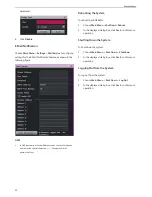
What to do when storage space is insufficient
When a recording will be resumed after an alarm is
cleared
To configure the recording policy:
1.
Choose
Main Menu
>
Record
>
Recording Policy
.
2.
Specify parameters and select options according to
onsite conditions.
Continue to record after alarm for
indicates the time
in which recordings are resumed when alarms are
cleared.
3.
Click
Save
.
Backing Up Records
To back up records:
1.
Insert a USB flash drive to the LRN8640N.
2.
Choose
Main Menu
>
Record
>
Back Up Record
.
3.
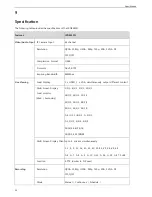
(Optional) Enter a keyword in the text box next to
Search Camera
to quickly find the target camera.
4.
Select the target camera from the camera list.
5.
Select a recording date, as shown in the following
figure.
Note that a red date indicates that records are
available on this date.
On the time line, the yellow sections indicate that
records are available.
6.
Specify the
Start Time
and
End Time
parameters.
7.
Click
Back Up
.
8.
In the displayed dialog box, select a disk and click
Start
.
NOTE:
Before removing the USB flash drive from the LRN8640N,
uninstall the USB flash drive by clicking the
Uninstall
button.
Summary of Contents for LRN8640N
Page 58: ......


