


Menu item
Description
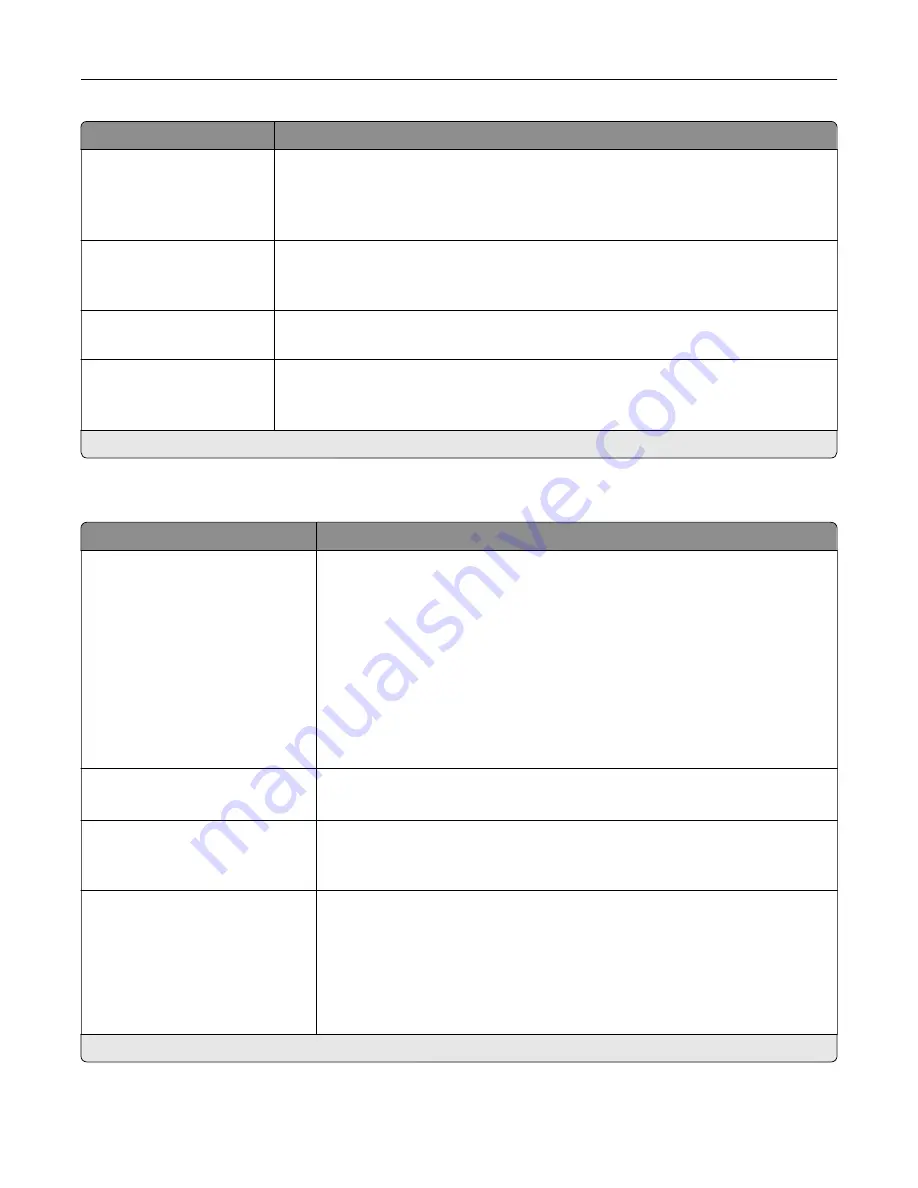
Pages per Side Orientation
Auto*
Landscape
Portrait
Specify the orientation of multiple page images when using the Pages per Side menu.
Pages per Side Border
None*
Solid
Print a border around each page image when using the Pages per Side menu.
Copies
1–9999 (1*)
Specify the number of copies for each print job.
Print Area
Normal*
Whole Page
Set the printable area on a sheet of paper.
Note:
An asterisk (*) next to a value indicates the factory default setting.
Finishing
Menu item
Description
Staple Job
Off*
1 staple, top left corner
2 staples, left
1 staple, top right corner
2 staples, top
1 staple, bottom left corner
2 staples, bottom
1 staple, bottom right corner
2 staples, right
Specify the staple position for all print jobs.
Note:
This menu item appears only when a finisher is installed.
Staple Test
Start
Determine whether the staple finisher is functioning properly.
Note:
This menu item appears only when a finisher is installed.
Hole Punch
Off*
On
Punch holes along the edge of the printed output.
Note:
This menu item appears only when a multiposition staple, hole punch
finisher is installed.
Hole Punch Mode
2 holes
3 holes
4 holes
Set the hole punch mode for the printed output.
Notes:
•
3 holes is the U.S. factory default setting. 4 holes is the international
factory default setting.
•
This menu item appears only when a multiposition staple, hole punch
finisher is installed.
Note:
An asterisk (*) next to a value indicates the factory default setting.
Understanding the printer menus
94
Summary of Contents for XC9225
Page 168: ... Scanner glass Scanner glass pad 3 Close the scanner cover Maintaining the printer 168 ...
Page 176: ...5 Insert the new toner cartridge 6 Remove the waste toner bottle Maintaining the printer 176 ...
Page 181: ...8 Insert the waste toner bottle and then close the door Maintaining the printer 181 ...
Page 211: ... Below the fuser area Duplex area Clearing jams 211 ...
Page 216: ...2 Open door J Clearing jams 216 ...
Page 218: ... Areas H1 and H2 Area H6 Clearing jams 218 ...
Page 222: ...2 Remove the staple cartridge holder 3 Remove the loose staples Clearing jams 222 ...
Page 224: ...2 Remove the staple cartridge holder 3 Remove the loose staples Clearing jams 224 ...
Page 226: ...2 Remove the staple cartridge holder 3 Remove the loose staples Clearing jams 226 ...
Page 280: ...6 Remove the controller board shield Upgrading and migrating 280 ...
Page 283: ...4 Remove the controller board shield Upgrading and migrating 283 ...
Page 289: ...7 Connect the tray connector to the printer 8 Open trays 2 and 3 Upgrading and migrating 289 ...
Page 294: ...9 Remove the stabilizing feet from the tray Upgrading and migrating 294 ...
Page 298: ...17 Secure the tray cable with the clamp Upgrading and migrating 298 ...
Page 305: ...7 Remove the paper guides 8 Attach the sensor cover Upgrading and migrating 305 ...
Page 311: ...8 Attach the finisher to the printer Upgrading and migrating 311 ...


