


To return Lexmark cartridges for reuse or recycling, do the following:
1
2
Select the product that you want to recycle.
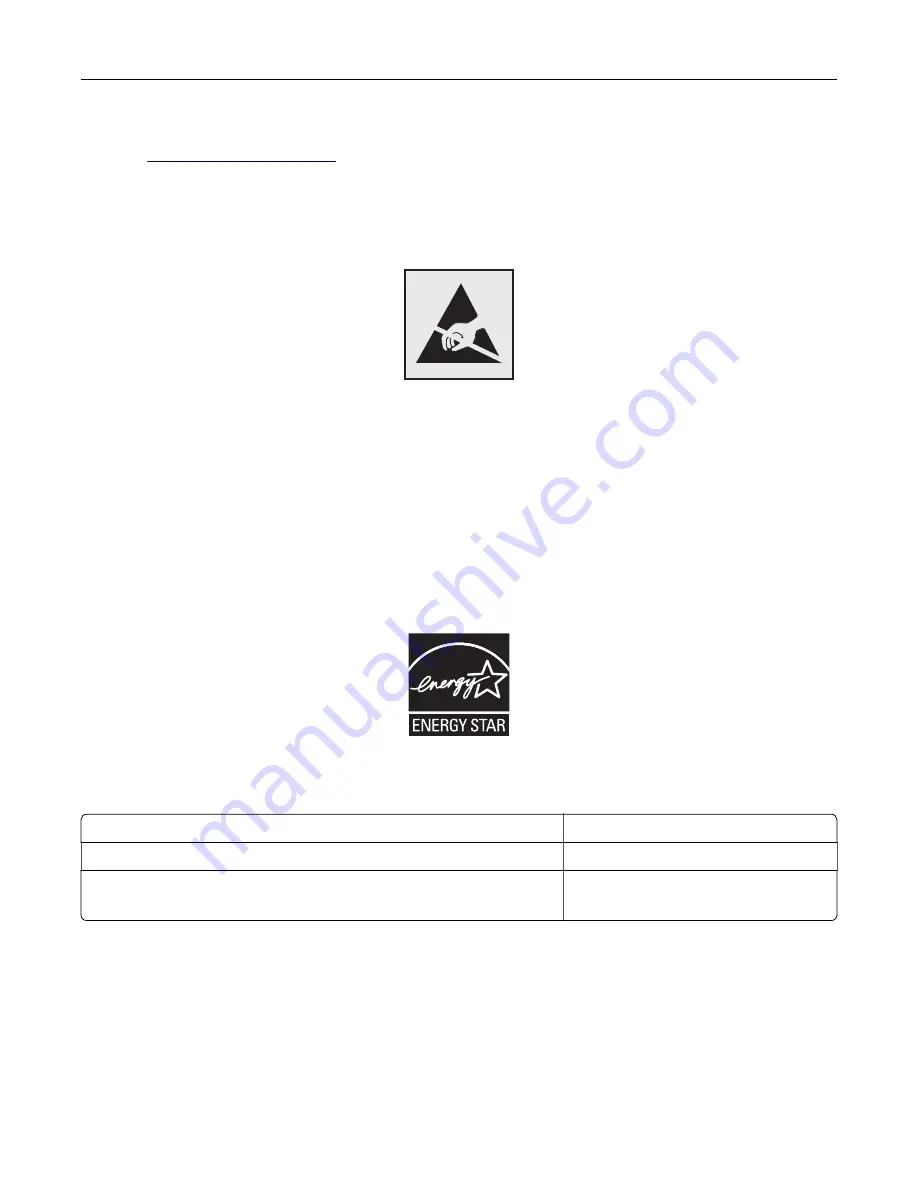
Static sensitivity notice
This symbol identifies static-sensitive parts. Do not touch the areas near these symbols without first touching
a metal surface in an area away from the symbol.
To prevent damage from electrostatic discharge when performing maintenance tasks such as clearing paper
jams or replacing supplies, touch any exposed metal frame of the printer before accessing or touching interior
areas of the printer even if the symbol is not present.
ENERGY STAR
Any Lexmark product bearing the ENERGY STAR
®
emblem on the product or on a start-up screen is certified to
comply with Environmental Protection Agency (EPA) ENERGY STAR requirements as of the date of manufacture.
Temperature information
Ambient operating temperature
10 to 30°C (50 to 86°F)
Shipping temperature
-10 to 40°C (14 to 104°F)
Storage temperature and relative humidity
-10 to 40°C (14 to 104°F)
15 to 85% RH
Laser notice
The printer is certified in the U.S. to conform to the requirements of DHHS 21 CFR, Chapter I, Subchapter J for
Class I (1) laser products, and elsewhere is certified as a Class I laser product conforming to the requirements
of IEC 60825-1: 2014.
Class I laser products are not considered to be hazardous. The laser system and printer are designed so there
is never any human access to laser radiation above a Class I level during normal operation, user maintenance,
Notices
321
Summary of Contents for XC9225
Page 168: ... Scanner glass Scanner glass pad 3 Close the scanner cover Maintaining the printer 168 ...
Page 176: ...5 Insert the new toner cartridge 6 Remove the waste toner bottle Maintaining the printer 176 ...
Page 181: ...8 Insert the waste toner bottle and then close the door Maintaining the printer 181 ...
Page 211: ... Below the fuser area Duplex area Clearing jams 211 ...
Page 216: ...2 Open door J Clearing jams 216 ...
Page 218: ... Areas H1 and H2 Area H6 Clearing jams 218 ...
Page 222: ...2 Remove the staple cartridge holder 3 Remove the loose staples Clearing jams 222 ...
Page 224: ...2 Remove the staple cartridge holder 3 Remove the loose staples Clearing jams 224 ...
Page 226: ...2 Remove the staple cartridge holder 3 Remove the loose staples Clearing jams 226 ...
Page 280: ...6 Remove the controller board shield Upgrading and migrating 280 ...
Page 283: ...4 Remove the controller board shield Upgrading and migrating 283 ...
Page 289: ...7 Connect the tray connector to the printer 8 Open trays 2 and 3 Upgrading and migrating 289 ...
Page 294: ...9 Remove the stabilizing feet from the tray Upgrading and migrating 294 ...
Page 298: ...17 Secure the tray cable with the clamp Upgrading and migrating 298 ...
Page 305: ...7 Remove the paper guides 8 Attach the sensor cover Upgrading and migrating 305 ...
Page 311: ...8 Attach the finisher to the printer Upgrading and migrating 311 ...


