E-mailing
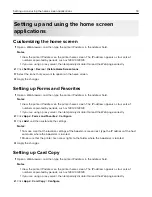
Setting up the e
‑
mail function
1
From the home screen, touch
Settings
>
Device
>
Preferences
>
Run Initial Setup
.
2
Turn off the printer, wait for about 10 seconds, and then turn it back on.
3
From the Before You Begin screen, select
Change the Settings and Continue with the Wizard
.
4
From the Fax/Email Server Setup screen, enter the needed information.
5
Finish the setup.
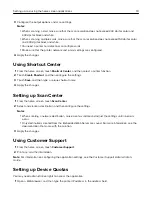
Configuring e
‑
mail settings
1
Open a Web browser, and then type the printer IP address in the address field.
Notes:
•
View the printer IP address on the printer home screen. The IP address appears as four sets of
numbers separated by periods, such as 123.123.123.123.
•
If you are using a proxy server, then temporarily disable it to load the Web page correctly.
2
Click
Settings
>
.
3
Enter the needed information.
4
Apply the changes.
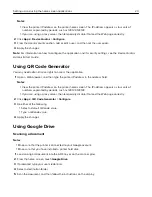
Sending an e-mail
Using the control panel
1
Load an original document into the ADF tray or on the scanner glass.
2
From the home screen, touch
, and then enter the needed information.
Note:
You can also enter the recipient using the address book or shortcut number.
3
If necessary, configure the output file type settings.
4
Send the e-mail.
Using the shortcut number
1
From the control panel, press
#
, and then enter the shortcut number using the keypad.
2
Send the e
‑
mail.
E-mailing
32
Summary of Contents for XC6100 Series
Page 1: ...XC6100 Series User s Guide January 2016 www lexmark com Machine type s 7563 Model s 196 197 ...
Page 66: ...2 Open door A 3 Remove the waste toner bottle Maintaining the printer 66 ...
Page 69: ...2 Open door A 3 Remove the waste toner bottle Maintaining the printer 69 ...
Page 73: ...3 Remove the pick roller 4 Unpack the new pick roller Maintaining the printer 73 ...
Page 92: ...2 Open door G 3 Pull out the staple cartridge holder Maintaining the printer 92 ...
Page 111: ...2 Open door G 3 Pull out the staple cartridge holder Clearing jams 111 ...
Page 162: ...4 Remove the paper bail 5 Remove the standard bin insert Upgrading and migrating 162 ...

