


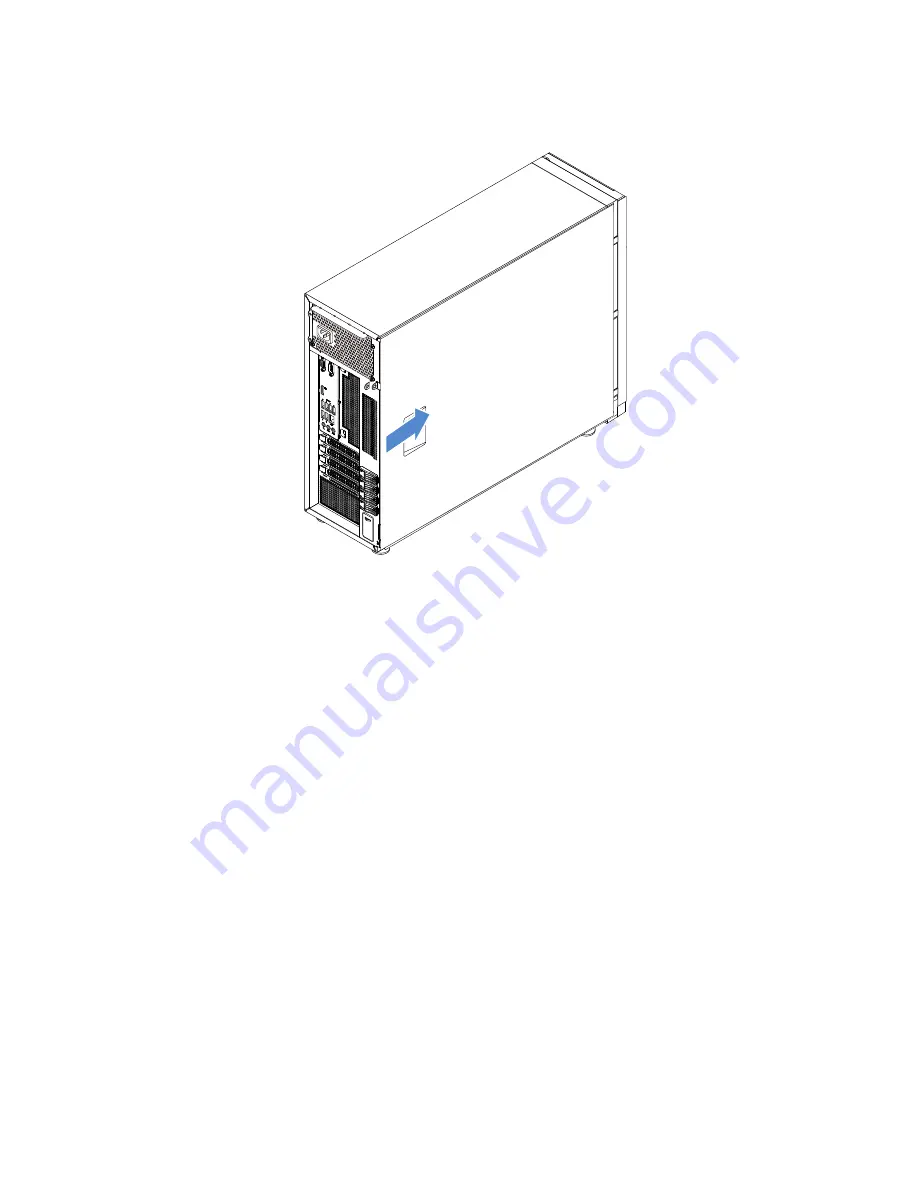
4. Slide the server cover to the front of the chassis until it snaps into position.
Figure 102. Installing the server cover
5. Tighten the thumbscrew on the server cover to secure the server cover in place.
Note:
For safety consideration, ensure that you use a tool, for example a screwdriver, to tighten the
thumbscrew and always ensure that the thumbscrew is securely installed. Also, do not over-tighten
the thumbscrew.
6. Lock the server cover and server front door (available on some models) to ensure the security. See
7. Reconnect all the external cables.
Attention:
To avoid component damage, connect the power cords last.
8. Update the server configuration.
• Download and install the latest device drivers. You can visit the Lenovo Web site at
http://www.lenovo.com/drivers.
• Update the BIOS configuration: “Using the Setup Utility program” on page 35
• Update the RAID configuration: “Configuring RAID” on page 44
• Update your system firmware: “Server setup procedure” on page 5
120
ThinkServer TS450 User Guide and Hardware Maintenance Manual
Summary of Contents for ThinkServer TS450
Page 14: ...xii ThinkServer TS450 User Guide and Hardware Maintenance Manual ...
Page 18: ...4 ThinkServer TS450 User Guide and Hardware Maintenance Manual ...
Page 48: ...34 ThinkServer TS450 User Guide and Hardware Maintenance Manual ...
Page 64: ...50 ThinkServer TS450 User Guide and Hardware Maintenance Manual ...
Page 142: ...128 ThinkServer TS450 User Guide and Hardware Maintenance Manual ...
Page 152: ...China RoHS 138 ThinkServer TS450 User Guide and Hardware Maintenance Manual ...
Page 154: ...140 ThinkServer TS450 User Guide and Hardware Maintenance Manual ...
Page 165: ......
Page 166: ......


