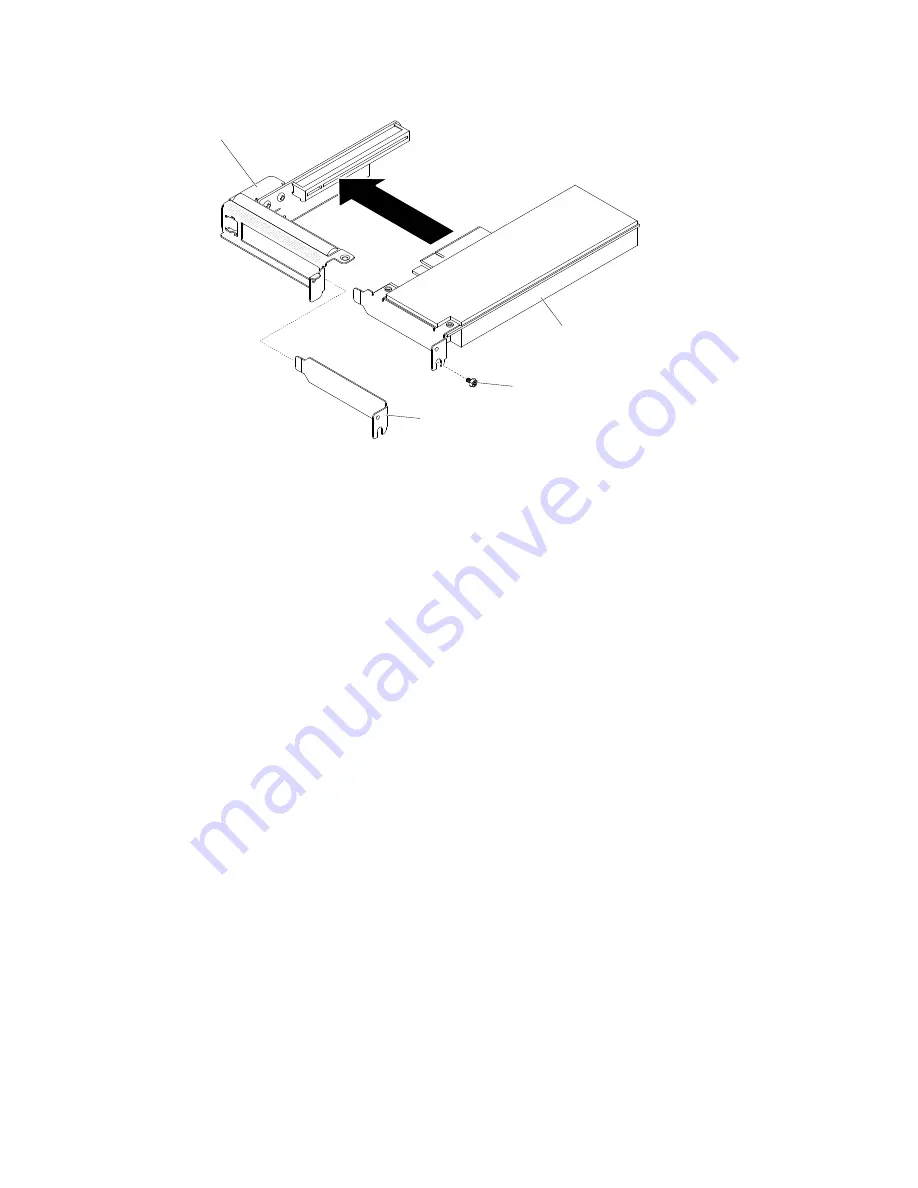
PCI riser assembly
Adapter
Expansion-slot filler
Screw
Figure 46. Adapter installation
Step 5.
Tighten the screw.
Step 6.
Reconnect the cables to the adapter that you removed earlier.
Step 7.
Reinstall the PCI riser-card assembly (see “Replacing the PCI riser-card assembly” on page 118).
Attention:
When you install an adapter, make sure that the adapter is correctly seated in the PCI
riser-card assembly and that the PCI riser-card assembly is securely seated in the riser-card
connector on the system board before you turn on the server. An incorrectly seated adapter might
cause damage to the system board, the PCI riser-card assembly, or the adapter.
Step 8.
Reinstall compute node (see “Installing a compute node in a chassis” on page 77).
1. Install the server into the rack enclosure and push the server into the rack until it clicks into place.
2. Reconnect any cables that you removed.
3. Turn on the peripheral devices and the server.
Note:
If the server is configured for RAID operation through an optional RAID adapter, you might have
to reconfigure your disk arrays after you install an adapter. See the RAID documentation on the
Lenovo
RAID Support
CD for additional information about RAID operation and complete instructions for using
RAID Manager.
Removing an HBA adapter
Use this information to remove an HBA adapter.
Read the safety information in “Safety” on page v and “Installation guidelines” on page 75.
If you are replacing a server component or installing an optional device in the server, you need to take
out the node out from the rack enclosure, turn off the server and peripheral devices, and disconnect all
external cables.
To remove an HBA adapter, complete the following steps.
Removing and replacing server components
111


