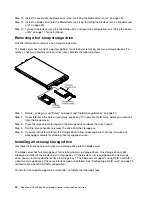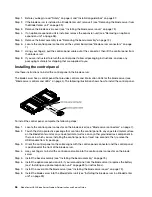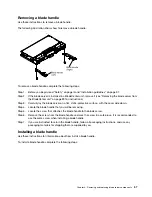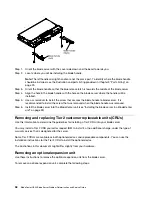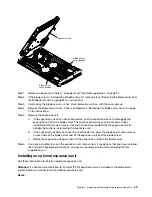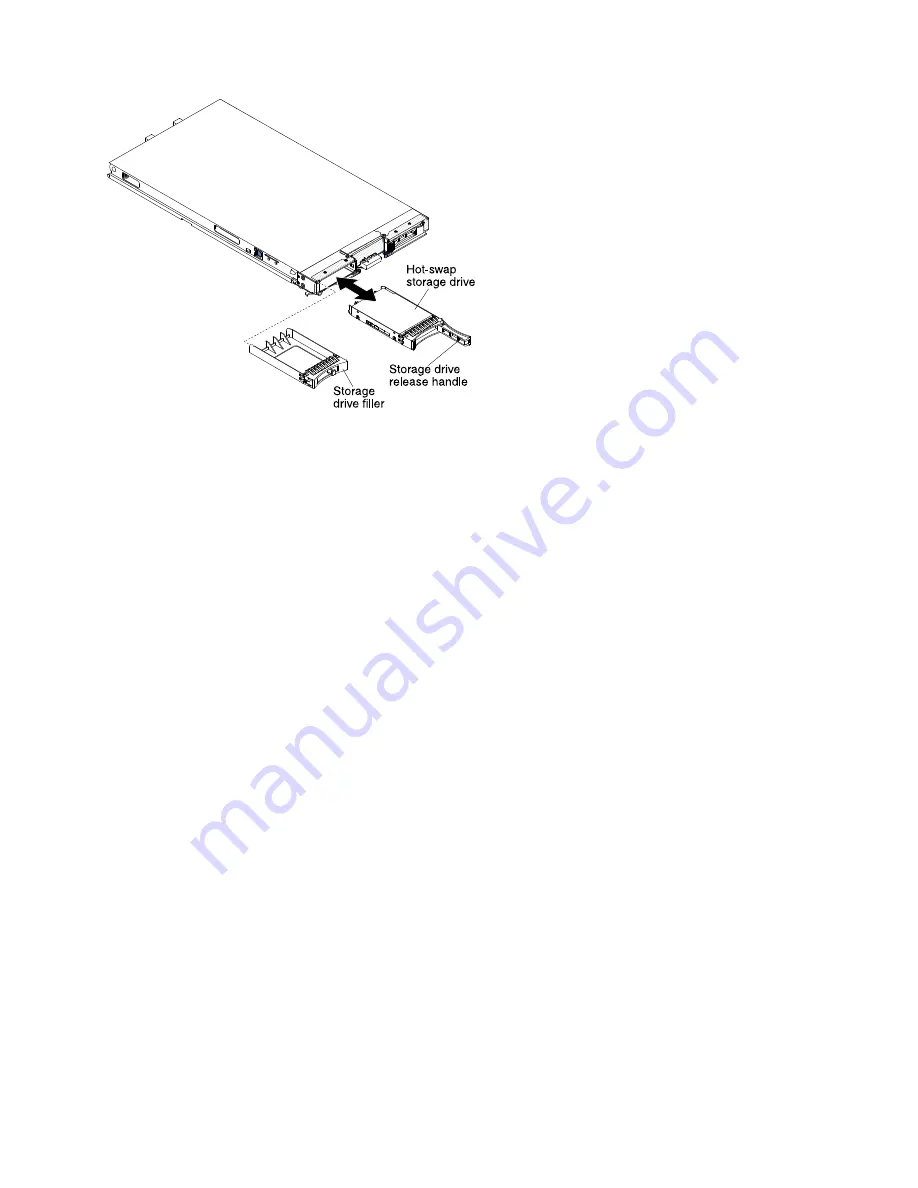
Step 1. Identify the storage bay (storage bay 0 or storage bay 1) in which the hot-swap storage drive will be
installed (see “Blade server connectors” on page 7).
Step 2. If a storage-bay filler is installed, remove it from the blade server by pulling the release lever and
sliding the filler away from the blade server (see “Removing a hot-swap storage drive” on page 44).
Step 3. Touch the static-protective package that contains the hot-swap storage drive to any
unpainted
metal surface on the BladeCenter unit or any
unpainted
metal surface on any other grounded rack
component; then, remove the hard disk drive from the package.
Step 4. Open the release lever on the hot-swap storage drive and slide the drive into the storage bay until it
is firmly seated in the connector.
Step 5. Lock the hot-swap storage drive into place by closing the release lever.
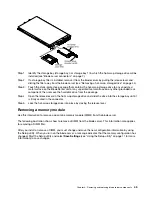
Removing a memory module
Use this information to remove a dual inline memory module (DIMM) from the blade server.
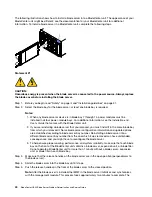
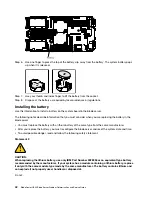
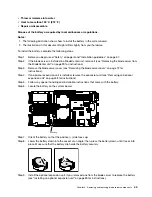
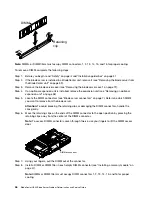
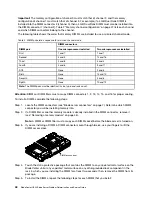
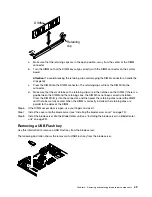
The following illustration shows how to remove a DIMM from the blade server. This information also applies
to removing a DIMM filler.
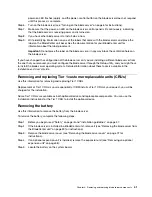
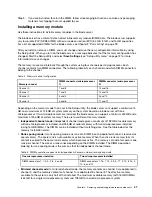
After you install or remove a DIMM, you must change and save the new configuration information by using
the Setup utility. When you turn on the blade server, a message indicates that the memory configuration has
changed. Start the Setup utility and select
Save Settings
(see “Using the Setup utility” on page 11 for more
information) to save changes.
.
Removing and replacing blade server components
45
Summary of Contents for BladeCenter HS23 1929
Page 1: ...BladeCenter HS23 Blade Server Problem Determination and Service Guide Machine Types 7875 1929 ...
Page 284: ...268 BladeCenter HS23 Blade ServerProblem Determination and Service Guide ...
Page 289: ...Taiwan BSMI RoHS declaration Appendix B Notices 273 ...
Page 290: ...274 BladeCenter HS23 Blade ServerProblem Determination and Service Guide ...
Page 296: ...280 BladeCenter HS23 Blade ServerProblem Determination and Service Guide ...
Page 297: ......
Page 298: ...Part Number 00KC215 Printed in China 1P P N 00KC215 ...
Page 299: ... 1P00KC215 ...

