Replacing the system board
Attention
Do not open your computer or attempt any repair before reading and understanding the “Important safety information”
in the
ThinkCentre Safety and Warranty Guide
that came with your computer. To obtain a copy of the
ThinkCentre
Safety and Warranty Guide
, go to:
http://www.lenovo.com/support
This section provides instructions on how to replace the system board.
CAUTION:
The heat sink and microprocessor might be very hot. Turn off the computer and wait
three to five minutes to let the computer cool before opening the computer cover.
To replace the system board:
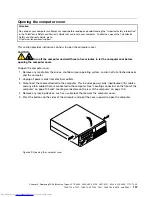
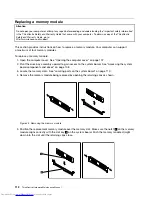
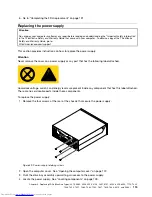
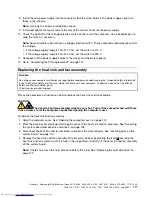
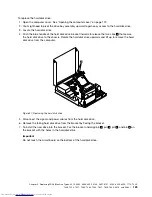
1. Open the computer cover. See “Opening the computer cover” on page 107.
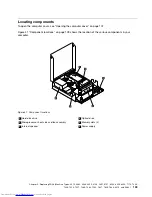
2. Pivot the drive bay assembly upward to gain access to the system board. See “Accessing the system
board components and drives” on page 108.
3. Remove the hard disk drive. See “Replacing the hard disk drive” on page 122.
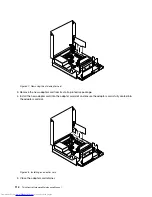
4. Remove all memory modules and adapter cards that are currently installed. See “Replacing a memory
module” on page 112 and “Replacing an adapter card” on page 113.
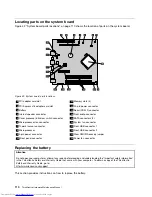
5. Carefully take note of the location of all cable connections on the system board and disconnect all the
cables. See “Locating parts on the system board” on page 110.
6. Remove the heat sink and fan assembly from the failing system board. See “Replacing the heat sink and
fan assembly” on page 117.
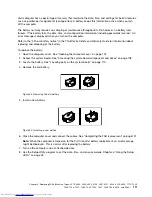
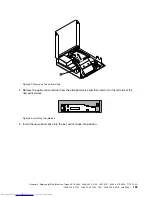
7. Carefully slide the system board so that it can be released from the four mounting studs that secure
the system board in place.
8. Lift the system board out of the chassis.
9. Remove the microprocessor from the failing system board and install it on the new system board. See
“Replacing the microprocessor” on page 118.
10. Install the new system board into the chassis by aligning the four mounting studs in the chassis with
the corresponding holes on the new system board, and then carefully slide the new system board in to
the chassis until it is secured in place by the four mounting studs.
11. Install all memory modules and adapter cards removed from the failing system board on the new
system board.
12. Install the heat sink and fan assembly and connect the heat sink and fan assembly cable to the new
system board. See “Replacing the heat sink and fan assembly” on page 117.
13. Reinstall the hard disk drive. See “Replacing the hard disk drive” on page 122.
14. Reconnect all remaining cables to the system board. See “Locating parts on the system board” on
page 110.
15. Go to “Completing the FRU replacement” on page 131.
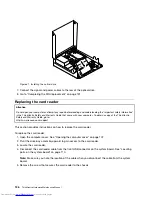
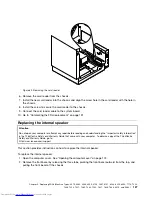
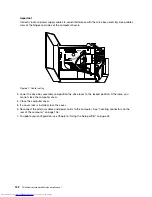
The failing system board must be returned with a microprocessor socket cover to protect the pins during
shipping and handling.
To install the microprocessor socket cover:
Chapter 9
.
Replacing FRUs (Machine Types: 3379, 4083, 4088, 4099, 4138, 5897, 6137, 6234, 6258, 6303, 7174, 7220,
7346, 7354, 7357, 7360, 7483, 7582, 7627, 7630, 7638, 8910, and 9964.)
121
Summary of Contents for 7220AGU - ThinkCentre M58p Desktop
Page 2: ......
Page 8: ...vi ThinkCentre Hardware Maintenance Manual ...
Page 17: ...Chapter 2 Safety information 9 ...
Page 21: ...Chapter 2 Safety information 13 ...
Page 22: ...1 2 14 ThinkCentre Hardware Maintenance Manual ...
Page 23: ...Chapter 2 Safety information 15 ...
Page 29: ...Chapter 2 Safety information 21 ...
Page 33: ...Chapter 2 Safety information 25 ...
Page 42: ...34 ThinkCentre Hardware Maintenance Manual ...
Page 50: ...42 ThinkCentre Hardware Maintenance Manual ...
Page 54: ...46 ThinkCentre Hardware Maintenance Manual ...
Page 78: ...70 ThinkCentre Hardware Maintenance Manual ...
Page 566: ...558 ThinkCentre Hardware Maintenance Manual ...
Page 570: ...562 ThinkCentre Hardware Maintenance Manual ...

