
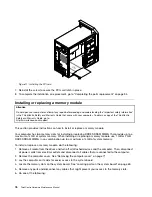


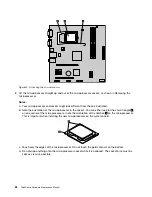

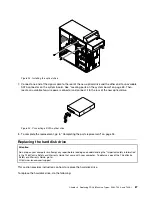
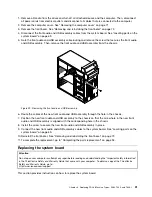


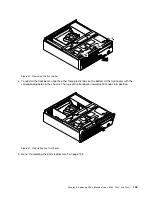

Figure 26. Installing the hard disk drive
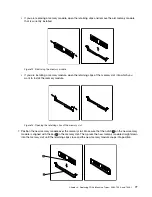
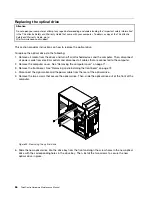
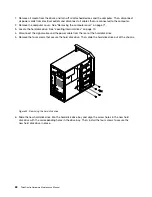
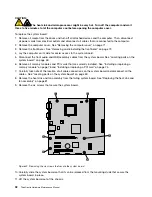
7. Connect one end of the signal cable to the rear of the new hard disk drive and the other end to an
available SATA connector on the system board. See “Locating parts on the system board” on page 69.
Then, locate an available five-wire power connector and connect it to the rear of the new hard disk drive.
Figure 27. Connecting a SATA hard disk drive
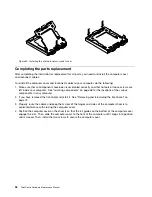
8. To complete the installation or replacement, go to “Completing the parts replacement” on page 94.
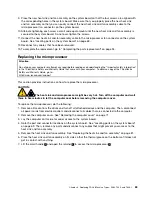
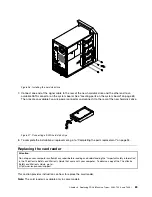
Replacing the card reader
Attention
Do not open your computer or attempt any repair before reading and understanding the “Important safety information”
in the
ThinkCentre Safety and Warranty Guide
that came with your computer. To obtain a copy of the
ThinkCentre
Safety and Warranty Guide
, go to:
http://www.lenovo.com/support
This section provides instructions on how to replace the card reader.
Note:
The card reader is available only in some models.
Chapter 8
.
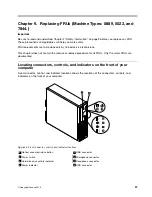
Replacing FRUs (Machine Types: 0864, 7099, and 7846.)
89
Summary of Contents for 7099U1U
Page 1: ...ThinkCentre Hardware Maintenance Manual Machine Types 0864 0889 5023 7099 7844 and 7846 ...
Page 2: ......
Page 3: ...ThinkCentre Hardware Maintenance Manual Machine Types 0864 0889 5023 7099 7844 and 7846 ...
Page 15: ...Chapter 2 Safety information 9 ...
Page 19: ...Chapter 2 Safety information 13 ...
Page 20: ...1 2 14 ThinkCentre Hardware Maintenance Manual ...
Page 21: ...Chapter 2 Safety information 15 ...
Page 27: ...Chapter 2 Safety information 21 ...
Page 31: ...Chapter 2 Safety information 25 ...
Page 72: ...66 ThinkCentre Hardware Maintenance Manual ...
Page 102: ...96 ThinkCentre Hardware Maintenance Manual ...
Page 218: ...212 ThinkCentre Hardware Maintenance Manual ...
Page 223: ......
Page 224: ...Part Number 89Y9149 Printed in USA 1P P N 89Y9149 89Y9149 ...


