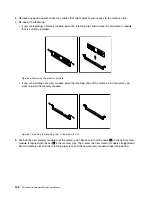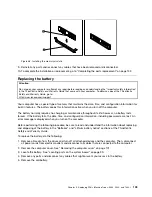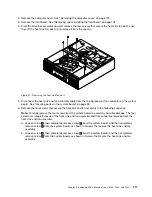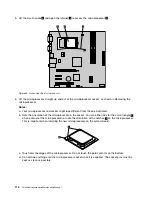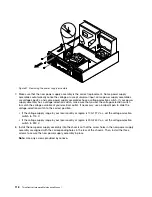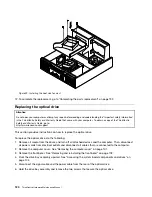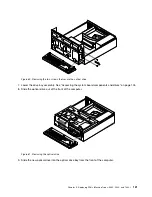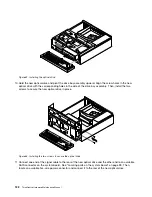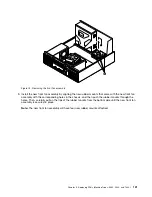
Figure 62. Installing the optical drive
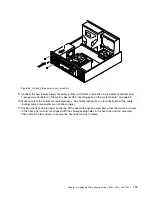
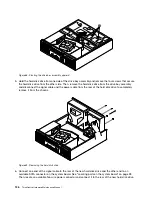
10. Hold the new optical drive and pivot the drive bay assembly upward. Align the screw holes in the new
optical drive with the corresponding holes in the side of the drive bay assembly. Then, install the two
screws to secure the new optical drive in place.
Figure 63. Installing the two screws to secure the optical drive
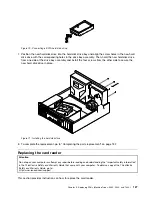
11. Connect one end of the signal cable to the rear of the new optical drive and the other end to an available
SATA connector on the system board. See “Locating parts on the system board” on page 99. Then,
locate an available five-wire power connector and connect it to the rear of the new optical drive.
122
ThinkCentre Hardware Maintenance Manual
Summary of Contents for 7099U1U
Page 1: ...ThinkCentre Hardware Maintenance Manual Machine Types 0864 0889 5023 7099 7844 and 7846 ...
Page 2: ......
Page 3: ...ThinkCentre Hardware Maintenance Manual Machine Types 0864 0889 5023 7099 7844 and 7846 ...
Page 15: ...Chapter 2 Safety information 9 ...
Page 19: ...Chapter 2 Safety information 13 ...
Page 20: ...1 2 14 ThinkCentre Hardware Maintenance Manual ...
Page 21: ...Chapter 2 Safety information 15 ...
Page 27: ...Chapter 2 Safety information 21 ...
Page 31: ...Chapter 2 Safety information 25 ...
Page 72: ...66 ThinkCentre Hardware Maintenance Manual ...
Page 102: ...96 ThinkCentre Hardware Maintenance Manual ...
Page 218: ...212 ThinkCentre Hardware Maintenance Manual ...
Page 223: ......
Page 224: ...Part Number 89Y9149 Printed in USA 1P P N 89Y9149 89Y9149 ...

