2. Remove the computer cover. See “Removing the computer cover” on page 101.
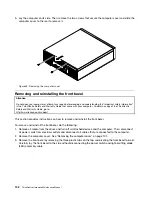
3. Remove the front bezel. See “Removing and reinstalling the front bezel” on page 102.
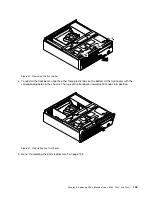
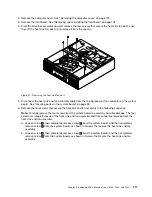
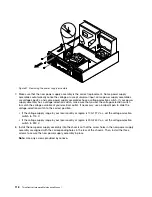
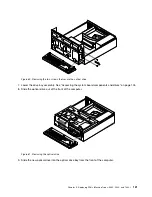
4. Pivot the drive bay assembly upward, remove the four screws that secure the heat sink fan duct, and
then lift the heat sink fan duct up to remove it from the chassis.
Figure 51. Removing the heat sink fan duct
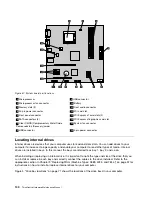
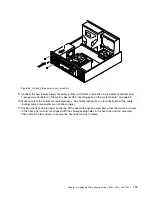
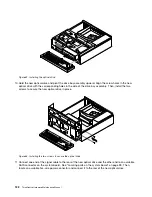
5. Disconnect the heat sink and fan assembly cable from the microprocessor fan connector on the system
board. See “Locating parts on the system board” on page 99.
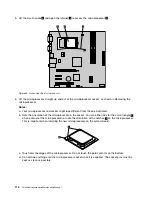
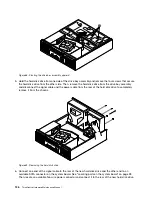
6. Remove the four screws that secure the heat sink and fan assembly in the following sequence:
Note:
Carefully remove the four screws from the system board to avoid any possible damage. The four
screws are integrated parts of the heat sink and fan assembly and they cannot be removed from the
heat sink and fan assembly.
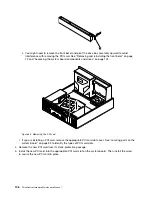
a. Loosen screw
1
, then completely remove screw
3
from the system board, and then completely
remove screw
1
from the system board, as shown in Screws that secure the heat sink and fan
assembly.
b. Loosen screw
2
, then completely remove screw
4
from the system board, and then completely
remove screw
2
from the system board, as shown in Screws that secure the heat sink and fan
assembly.
Chapter 9
.
Replacing FRUs (Machine Types: 0889, 5023, and 7844.)
111
Summary of Contents for 7099U1U
Page 1: ...ThinkCentre Hardware Maintenance Manual Machine Types 0864 0889 5023 7099 7844 and 7846 ...
Page 2: ......
Page 3: ...ThinkCentre Hardware Maintenance Manual Machine Types 0864 0889 5023 7099 7844 and 7846 ...
Page 15: ...Chapter 2 Safety information 9 ...
Page 19: ...Chapter 2 Safety information 13 ...
Page 20: ...1 2 14 ThinkCentre Hardware Maintenance Manual ...
Page 21: ...Chapter 2 Safety information 15 ...
Page 27: ...Chapter 2 Safety information 21 ...
Page 31: ...Chapter 2 Safety information 25 ...
Page 72: ...66 ThinkCentre Hardware Maintenance Manual ...
Page 102: ...96 ThinkCentre Hardware Maintenance Manual ...
Page 218: ...212 ThinkCentre Hardware Maintenance Manual ...
Page 223: ......
Page 224: ...Part Number 89Y9149 Printed in USA 1P P N 89Y9149 89Y9149 ...

