164 / Detailed guide /
Review mode
Note:
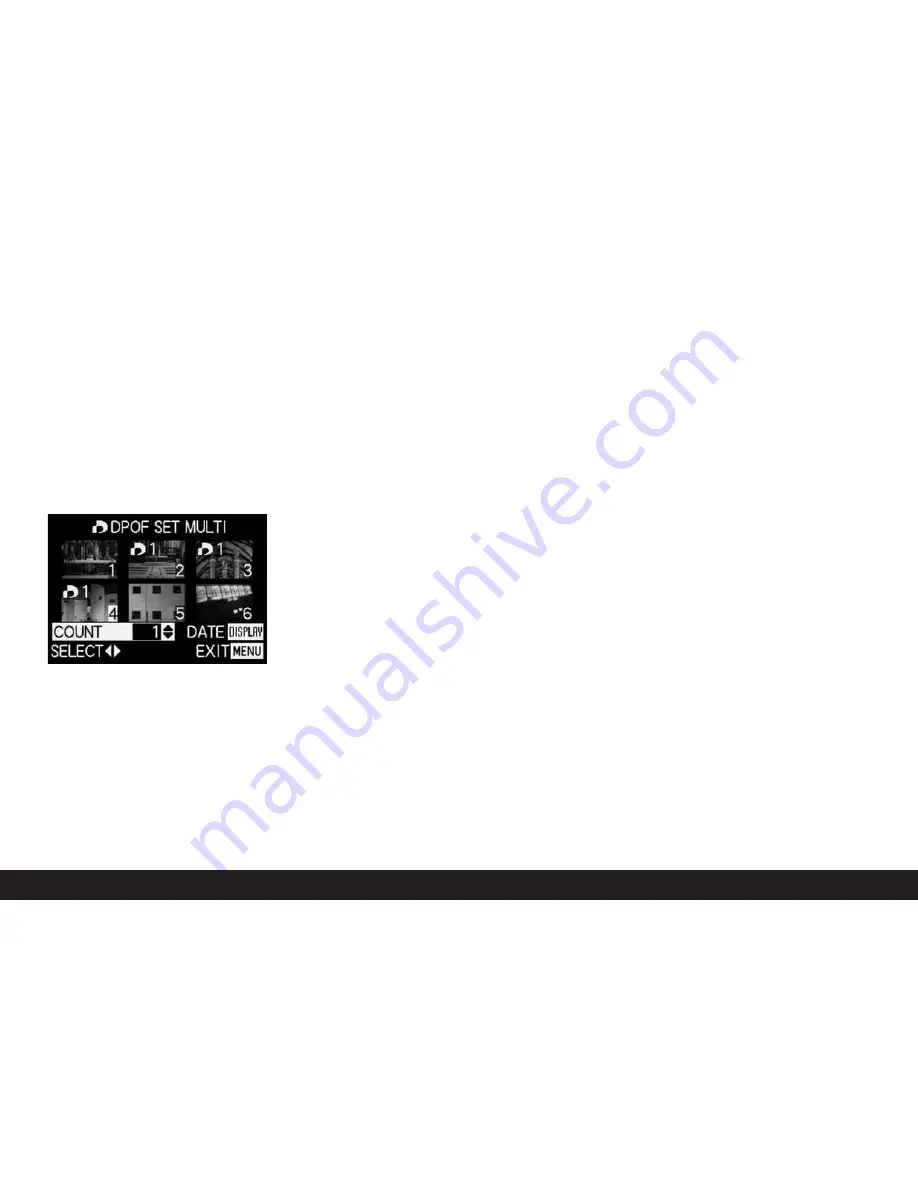
Every picture, of which copies are to be
printed later, must be selected separately and
marked and the number of copies must also be set,
• The display for the print order setting including
the number of copies entered
T
appears in the
relevant picture.
Accordingly, the settings must also be cancelled
separately.
• The display
T
in the picture goes out again.
The
DISPLAY
button (1.22) can be used at this
stage to specify that the date on which the pictures
were taken should appear on the printed pictures.
• After leaving the menu system, the original view-
finder/monitor screen appears again. In addition,
for pictures marked accordingly, the symbol for
the print order setting appears including the
number of copies entered
T
(2.2.2), and, if set,
that for date printing (2.2.15).
Deleting all print order settings - CANCEL
3. Open the relevant viewfinder/monitor screen and
follow the further menu instructions.
Note:
The flashing arrow pointing to the right only
appears if print order settings exist. If there are
none, it is not possible to access the sub-menu and
the subsequent steps.
• In the viewfinder/monitor the sub-menu for
removing all print order settings appears, then
the sub-menu goes out, the viewfinder/monitor
screen goes blue, and
PLEASE WAIT...
appears
briefly while the print order settings are being
deleted.
The last picture activated and the normal
displays for review mode then appear in the view-
finder/monitor.
Print order settings for an index print - INDEX
In addition to normal sized copies, many photographic
studios also offer an “index print”. This index print
shows the pictures from a memory card in miniature
format. They make it easier to order additional copies
and are used as a simple form of archiving.
3. Open the relevant viewfinder/monitor screen and
follow the further menu instructions.
• The corresponding sub-menu appears in the
viewfinder/monitor.
Note:
The option
CANCEL
only appears if there
is an existing order. In this case,
SET
appears
instead of
YES.
If
SET
or
CANCEL
have been selected,
• Recording in the background goes out briefly, the
viewfinder/monitor screen goes blue, and
PLEASE
WAIT...
appears while the order or deletion are
being stored. The last picture activated and the
normal displays for review mode then appear in
the viewfinder/monitor.
Summary of Contents for Digilux 2
Page 1: ...LEICA DIGILUX 2 Anleitung Instructions ...
Page 3: ...1 39 1 40 1 44 1 41 1 38 1 37 1 37 1 52 1 53 1 52 1 50 1 51 1 48 1 49 1 45 1 46 1 45 1 47 ...
Page 4: ...LEICA DIGILUX 2 Anleitung English instructions pages 97 189 ...
Page 6: ...3 ...
Page 97: ......
Page 98: ......
Page 99: ...LEICA DIGILUX 2 Instructions Illustrations inside front and rear covers ...


