9
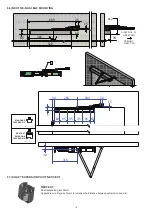
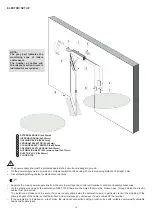
5.5) ARM REMOVAL
If it is necessary to remove the arm in order to release the leaf from the automation, carry out this operation only after
removing the power supply.
Once the arm is removed, the automation spring will fully unload.
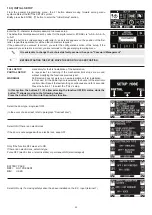
The following steps must be performed using the digital selector to restore the automatic door operation before reinstalling the arm:
a) reset the previous setup by accessing the "Maintenance" section of the general programming menu and select the item "General
Reset" (see the "Maintenance" paragraph);
b) repeat the spring loading procedure in the following order; select position "II" on the manual selector located on the automation side
cap;
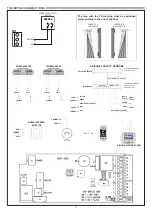
c) Press and hold the button PS1 (start) on the electronic control unit NEXT‑L120S.
The buzzer of the control unit will emit 5 beeps and the gearmotor will perform a slow rotation of one turn in the direction of the arrow.
Once the maximum spring load position has been reached, the motor will stop and some beeps will sound.
Release the button PS1.
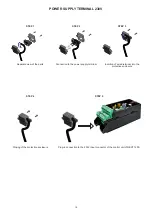
WARNING! DO NOT REMOVE 230V POWER TO PREVENT SPRING UNLOAD.
d) Now insert the arm pin into the shaft output of the automation, ensuring that the plastic plate is clipped onto the mechanical body and
secure it by tightening the central screw firmly.
e) Remove power from the automation and manually check the door movement for the entire run.
The leaf must close by means of the closing spring, even after a few degrees of opening, at a limited speed thanks to the passive
braking control circuit.
f) Restart the automation by following the procedure described in paragraph "Initial SETUP of the automation" and selecting PARTIAL
SETUP.
g) At the end of the partial set-up, the automation will operate in the same mode and with the same parameters previously set.

