206
Manual
www.kraun.it
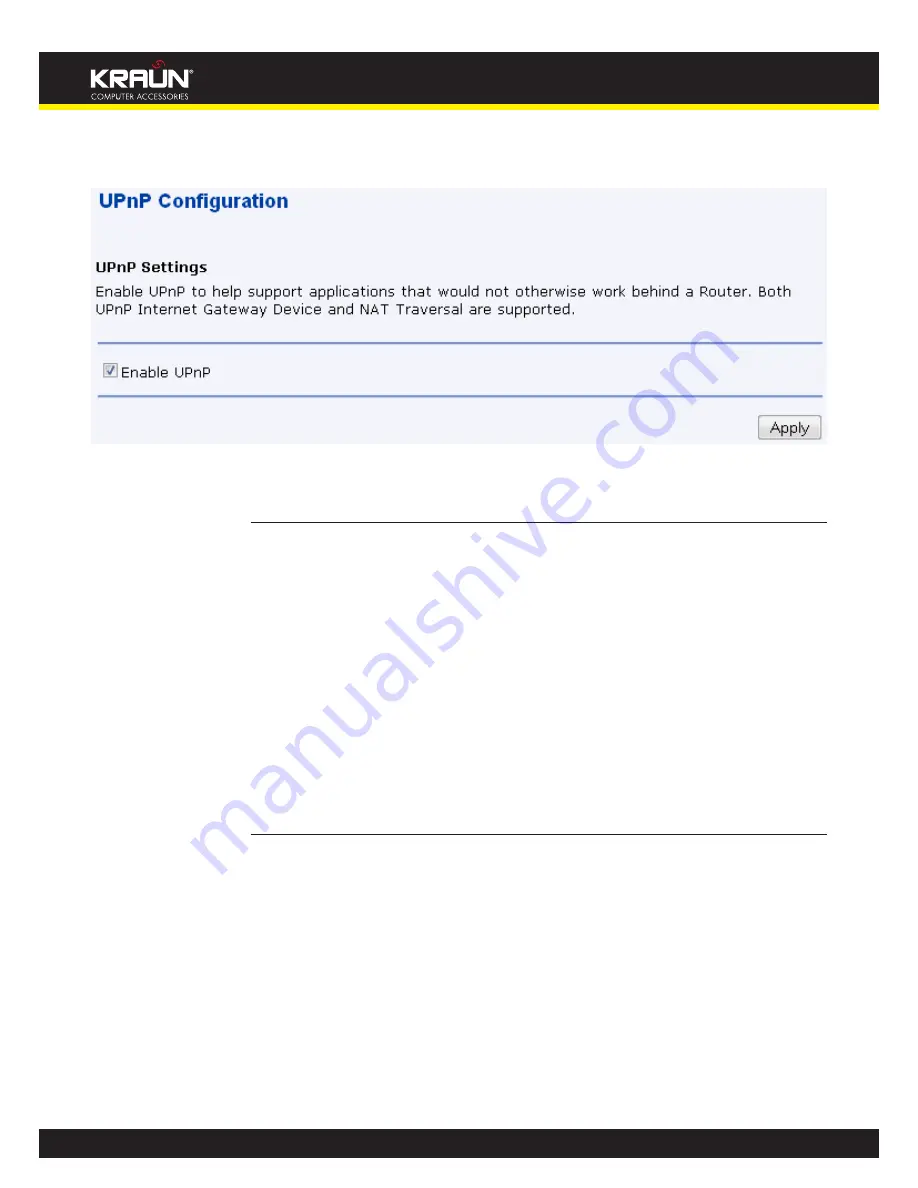
Click on
2.
Enable UPnP
.
Click on
3.
Apply
.
UPnP Control Point Software on Windows ME
To install the control point software on Windows ME:
In the Control Panel, select “Add/Remove Programs”.
1.
In the “Add/Remove Programs Properties” dialog box, select the “Windows Setup” tab. In
2.
the “Components” list, double click on the “Communications” entry.
In the “Communications” dialog box, scroll down the “Components” list to display the UPnP
3.
entry. Select the entry, click “OK”.
Click “OK” to finish the “Add/Remove Programs” dialog.
4.
Reboot your system.
5.
Once you have installed the UPnP software and you have rebooted (and your network includes
the IGD system), you should be able to see the IGD controlled device on your network.
UPnP Control Point Software on Windows XP with Firewall
On Windows XP versions earlier than SP2, Firewall support is provided by the Windows XP
Internet Connection Firewall. You cannot use the Windows XP Internet Connection Firewall
support on a system that you intend to use as a UPnP control point. If this feature is enabled,
although the control point system may display controlled devices in the list of network devices,
the control point system cannot participate in UPnP communication. (This restriction also applies
to controlled devices running on Windows XP systems earlier than SP2.)
On Windows XP SP2 and later, Firewall support is provided by Windows Firewall. Unlike earlier
versions, Windows XP SP2 can be used on a system that you intend to use as a UPnP control
point.
To turn off the Firewall capability on any version of Windows XP, follow the steps below:
In the Control Panel, select “Network and Internet Connections”.
1.
In the “Network and Internet Connections” dialog box, select “Network Connections”.
2.
Summary of Contents for KR.XY
Page 33: ...33 Manual www kraun it Click 24 Apply Click 25 Reboot The following page is displayed 26 ...
Page 40: ...40 Manual www kraun it Click 20 Reboot The following page is displayed 21 ...
Page 48: ...48 Manual www kraun it Click 23 Apply Click 24 Reboot The following page is displayed 25 ...
Page 55: ...55 Manual www kraun it Click 26 Apply Click 27 Reboot The following page is displayed 28 ...
Page 73: ...73 Manual www kraun it Click 6 Confirm ...
Page 95: ...95 Manual www kraun it Enter VCI and VPI setting determined by your ISP 3 Click 4 Next ...
Page 111: ...111 Manual www kraun it Now you are ready to Surf the Internet 15 ...
Page 141: ...141 Manual www kraun it Click on 4 Go To Advanced view ...
Page 147: ...147 Manual www kraun it Click 9 Dialing Plan tab Click 10 Go To Advanced view ...
Page 148: ...148 Manual www kraun it Click 11 Add ...
Page 155: ...155 Manual www kraun it Click 4 Add ...
Page 159: ...159 Manual www kraun it Click 4 Add ...
Page 163: ...163 Manual www kraun it Click 4 Add ...
Page 167: ...167 Manual www kraun it Click 4 Add ...
Page 171: ...171 Manual www kraun it Click 4 Add ...
Page 175: ...175 Manual www kraun it Click 4 Edit on Policy Name ext int ...
Page 176: ...176 Manual www kraun it Click 5 Enable of Status Click 6 Apply ...
Page 180: ...180 Manual www kraun it Click 8 Continue Reboot Later ...
Page 228: ...228 Manual www kraun it Click 5 restart Click 6 Restart ...