


2-22
16
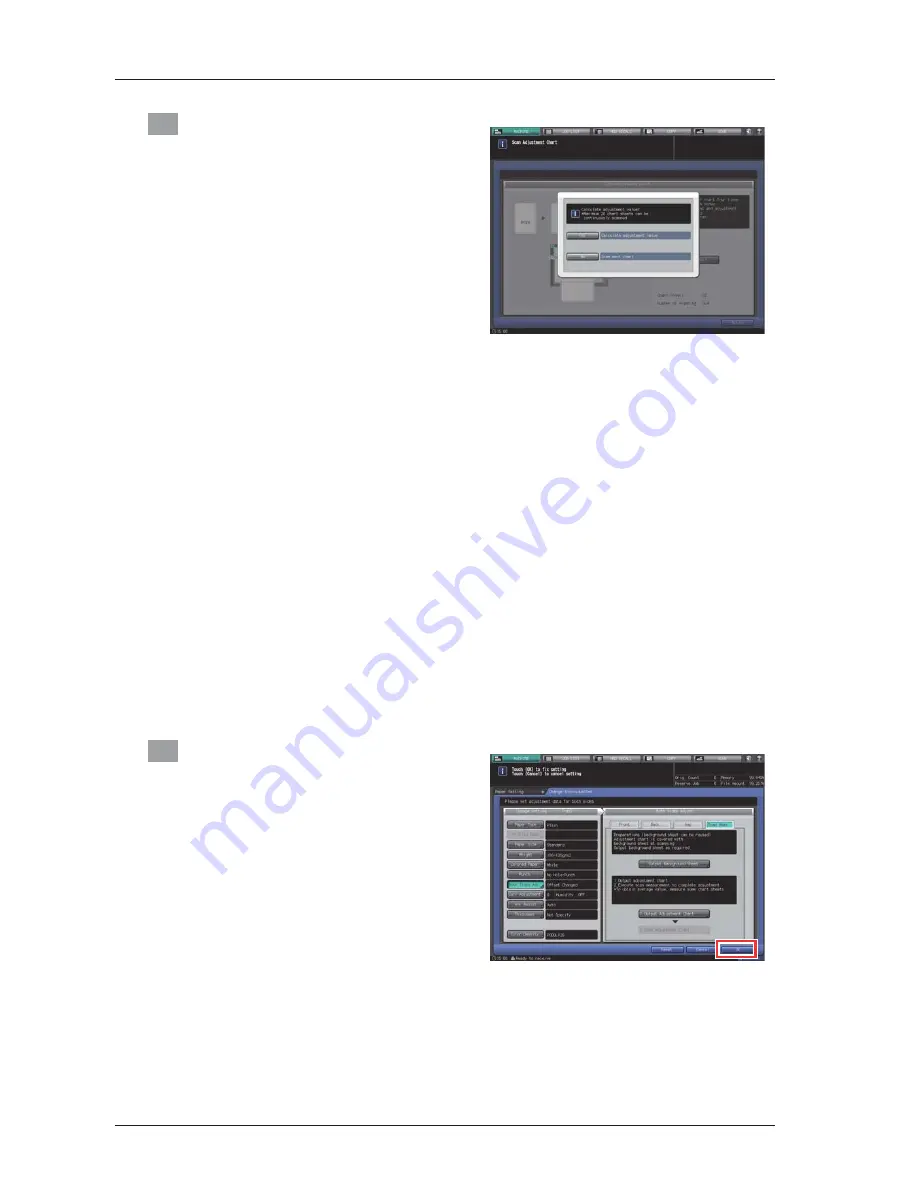
Select whether to continue the scan
measurement or to finish the scan
measurement and calculate the
adjustment value.
-
To continue the scan measurement, press
[No]. To finish the scan measurement and
calculate the adjustment value, press [Yes].
-
Pressing [No] returns to the [Scan Adjustment
Chart] screen on which the counter of [Chart
Sheets] is added by one. Repeat steps 12 to
15 for the number of adjustment charts. The
measurement results will be added up. This
operation can be repeated up to 20 times.
When the 20th scan measurement is
completed, [No] can no longer be pressed.
-
Pressing [Yes] automatically calculates the
adjustment value from the added
measurement results and reflects it on Zoom
and Image Shift to be specified for [Back].
After pressing [Yes], output a sheet of the
adjustment chart to confirm the result. If
readjustment is needed, repeat steps 8 to 16.
-
If the adjustment value obtained by pressing
[Yes] exceeds the available adjustment range,
a message is displayed indicating that the
available adjustment range has been
exceeded. Press [Close] to discard the
adjustment value, then retry scan
measurement from the beginning.
-
Possible causes to exceed the adjustment
range may include that the chart used in the
scan measurement is incorrect (a different
chart has been used), the printing position of
the front side has been poorly adjusted, or the
adjustments of the reference positions are not
completed. Confirm these points before
restarting the scan measurement.
17
After the adjustment is completed, press
[OK].
To finely adjust the adjustment value, continuously
proceed to step 4 in "Back side fine Adjustment"
(
Page 2-26
).
Summary of Contents for bizhub PRESS C1085
Page 1: ...2016 6...
Page 27: ...2 15 bizhub PRESS C1100 C1085 2 13 Press Exit Print Mode 14 Press OK to exit the adjustment...
Page 112: ...3 71 16 Click Apply Close The calibrated measurement values are applied...
Page 113: ...3 72 bizhub PRESS C1100 C1085 3 Blank Page...
Page 114: ...2016 2016 6...


