


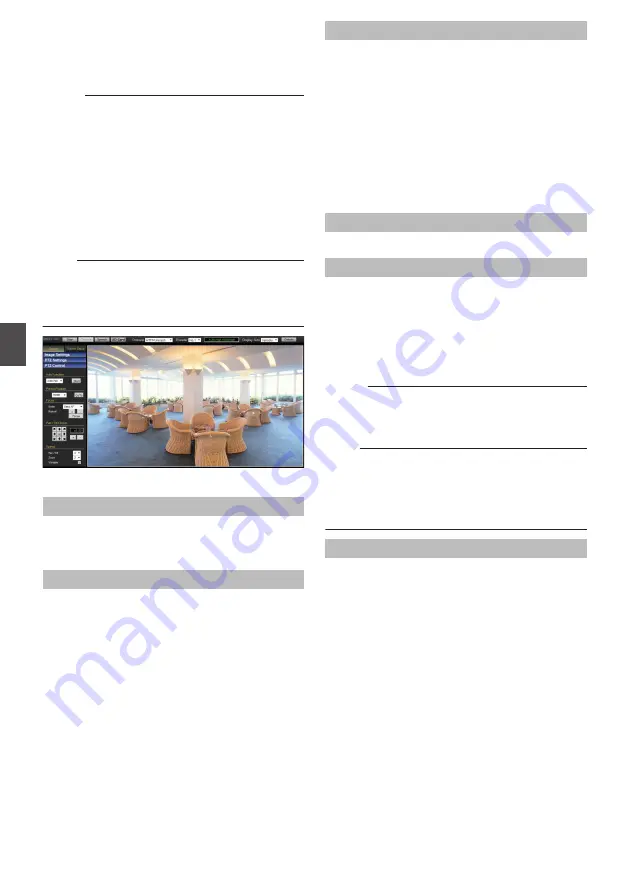
Built-in Viewer Screen
Configuration
Memo :
0
Built-in Viewer settings are stored in cookies.
0
From this Settings screen, you can set up the
Built-in Viewer as the software on the computer.
You cannot set up camera operations from this
screen.
0
For the latest firmware version, please visit our
website.
(The latest firmware version can be found on the
Download page of V.NETWORKS.)
http://www3.jvckenwood.com/english/
Note :
0
If you delete the cookies, the current viewer
settings are deleted. The next time when you
start the Built-in Viewer, the viewer will operate
in the initialized state.
.
* Setting values with
R
are default values.
MENU OFF/MENU ON
Displays or hides the operation menu.
Click [MENU ON], and the operation menu will
appear on the left of the page.
Control
Switches the Operation Menu to the Control Menu.
Click this button to adjust the [Image Settings],
[PTZ Settings] or [PTZ Control] settings.
p.74 [[Image Settings] Settings] )
Viewer Setup
Switches the Operation Menu to the Viewer Setup
Menu.
Click this when you want to set [Unicast],
[Multicast], [On Screen Display], [Audio Monitor],
[Other], or play back videos on the [SD card].
p.82 [[On Screen Display] Settings] )
p.83 [[Audio Monitor] Settings] )
p.85 [[SD Card] Operation Screen] )
Stop/Play
Pauses or plays back images.
Capture
Captures and saves the currently displayed image
in your computer. The image is recorded as a JPEG
file in the folder that is created under the
[Document] folder of the computer. The default
folder name is “model name”. The file name shows
the year, month, days, hours, minutes, seconds,
and milliseconds.
Memo :
0
You can rename the folder in the [Other]
settings.
Note :
0
The clock time of this file name is the clock time
of the computer. Note that it is not the “Time” of
the camera.
0
You cannot capture images as videos.
0
You cannot save H.264 images.
Speech
0
Clicking this button sends audio sound to the
camera from the microphone that is connected
to the computer.
Audio is output from the camera.
0
If this button is not clicked, audio sound from the
microphone connected to the camera via the
audio cable is output from the speaker of the
computer.
0
The color of the button changes to orange during
audio transmission.
0
When [Communicate] on the [Audio] page is set
to “Half Duplex”, audio from the camera’s
microphone is not output from the computer
while audio transmission to the camera is in
progress.
72
Built-in Viewer Screen Configuration
Operation


