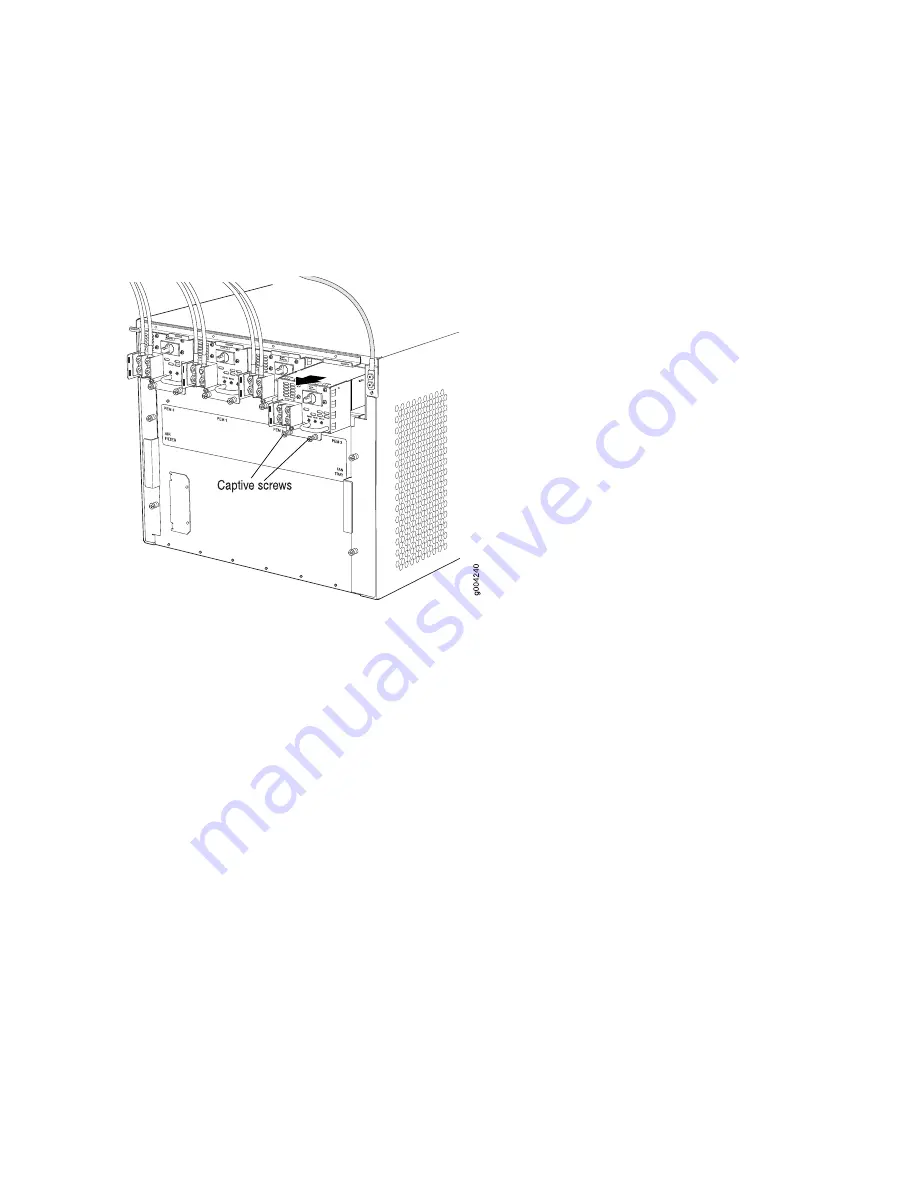
9. Carefully move the power cables out of the way.
10. Pull the power supply straight out of the chassis.
Figure 116: Removing a DC Power Supply
Installing an SRX5600 Services Gateway DC Power Supply
To install a DC power supply:
1. Ensure that the voltage across the DC power source cable leads is 0 V and that there is no chance that
the cable leads might become active during installation.
2. Attach an electrostatic discharge (ESD) grounding strap to your bare wrist, and connect the strap to
one of the ESD points on the chassis.
3. Switch the circuit breaker on the power supply faceplate to the OFF position O.
4. For a high-capacity DC power supply, check the setting of the input mode switch. Use a sharp,
nonconductive object to slide the switch to the desired position. Set the input mode switch to position
0 for 60-A input or position 1 for 70-A input. This setting is used by the power management software
and must be set on the power supply. See
.
260
Summary of Contents for SRX5600
Page 1: ...SRX5600 Services Gateway Hardware Guide Published 2020 02 14 ...
Page 23: ......
Page 105: ...LEDs 106 ...
Page 114: ...Figure 51 SRX5K MPC g030309 MPC empty 115 ...
Page 124: ...Port and Interface Numbering 125 ...
Page 130: ...Port and Interface Numbering 131 ...
Page 156: ......
Page 185: ......
Page 193: ...Figure 84 Installing the Front Mounting Hardware for a Four Post Rack or Cabinet 196 ...
Page 239: ......
Page 285: ...c Upload the configuration to RE2 from the USB device 288 ...
Page 372: ...5 CHAPTER Troubleshooting Hardware Troubleshooting the SRX5600 377 ...
Page 373: ......
Page 407: ......
Page 420: ...423 ...
Page 423: ...Restricted Access Area Warning 426 ...
Page 430: ...433 ...
Page 443: ...Jewelry Removal Warning 446 ...
Page 446: ...Operating Temperature Warning 449 ...
Page 456: ...DC Power Disconnection Warning 459 ...
Page 460: ...DC Power Wiring Sequence Warning 463 ...
Page 463: ...DC Power Wiring Terminations Warning 466 ...
Page 466: ...DC Power Disconnection Warning 469 ...
Page 470: ...DC Power Wiring Sequence Warning 473 ...


