


2-13
johNSoN coNtroLS
ForM 102.20-N1 (1109)
2
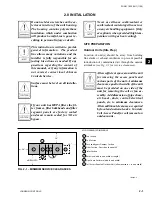
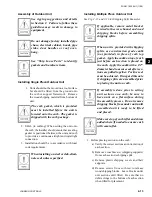
Assembly of Outdoor unit
See rigging suggestions and details
in Section 1. Failure to follow these
guidelines may result in damage to
equipment.
Do not damage factory installed pipe
chase, electrical cabinet, hoods, pipe
stubs, door handles or roof over-
hang.
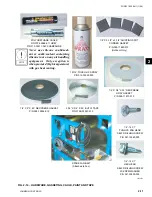
See “Ship loose Parts” to identify
gaskets and hardware items.
Installing Single Piece Outdoor Unit
1. Units should not be moved on a roof surface
but should be lifted from the ground onto
the curb or support framework. Remove
the wood shipping material from bottom of
unit.
The curb gasket, which is provided,
must be installed before the unit is
lowered onto the curb. The gasket is
shipped with the curb package.
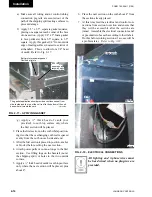
2. SEAL (to curbing): When setting the unit onto
the curb, the installer should ensure that a sealing
gasket is positioned between the unit and curb
to provide a continuous airtight and watertight
connection.
3. Installation should be in accordance with local
code requirements.
When installing on steel or slab, elimi-
nate seal unless specified.
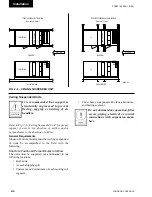
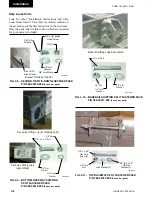
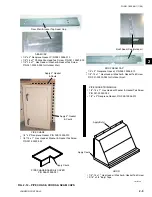
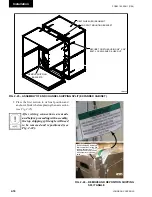
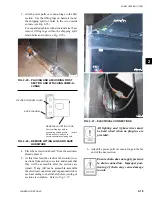
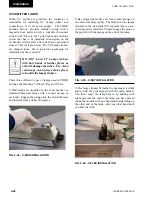
Installing Multiple Piece Outdoor Unit
See Fig. 2-15 and 2-16 for Shipping Split Examples.
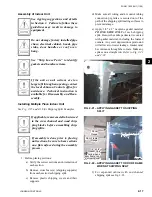
If applicable, remove metal bracket
screwed to the cross channel and wood
shipping blocks before assembling
shipping splits.
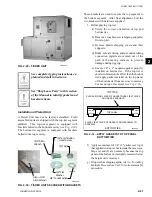
When unit is provided with shipping
splits, use construction grade caulk
(not provided) in place of curb top
gasket. Apply the caulk on top of curb
just before each section is placed on
the curb. Apply the caulk with a 1/2"
diameter bead to assure seal after sec-
tions are pulled together. Positive seal
must be achieved. Disregard this note
if shipping splits are assembled prior
to placing the unit on curb.
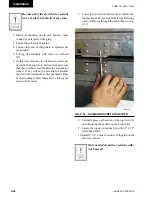
If assembly is done prior to setting
unit sections on a curb, be sure to
have units on a flat surface during
the assembly process. Do not remove
shipping blocks from under unit until
assembled unit is ready to be lifted
and placed.
Make sure top of curb is flat and shims
added where/if needed to ensure curb
will remain flat.
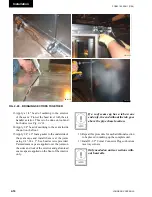
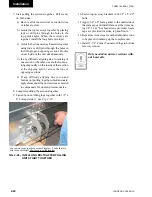
1. Before placing sections on the curb:
a) Verify the correct sections and orientation of
each section.
b) Remove cross brace(s) (shipping supports)
from each section’s shipping split.
c) Remove plastic shipping covers and their
supports.
d) Remove screws from curb rest to release
wood shipping blocks. Leave blocks under
unit sections until lifted. Be sure that no
debris clings to the bottom of each section
when lifted for placement.
Summary of Contents for YORK SOLUTION LD09624
Page 4: ...johnson controls 4 FORM 102 20 N1 1109 THIS PAGE INTENTIONALLY LEFT BLANK ...
Page 10: ...johnson controls 10 FORM 102 20 N1 1109 THIS PAGE INTENTIONALLY LEFT BLANK ...
Page 16: ...johnson controls 16 FORM 102 20 N1 1109 THIS PAGE INTENTIONALLY LEFT BLANK ...
Page 30: ...johnson controls 1 8 FORM 102 20 N1 1109 THIS PAGE INTENTIONALLY LEFT BLANK ...
Page 106: ...johnson controls 2 76 FORM 102 20 N1 1109 THIS PAGE INTENTIONALLY LEFT BLANK ...


