Jetter AG
93
JVM-407B
Initial commissioning
Step
Action
5
From
Interface/Type
, select Ethernet.
6
Enter the IP address of the HMI into the box
Interface/IP address
.
7
Test the connection with JVER running by pressing the button
Test
.
If the test is unsuccessful, check the IP address and the Ethernet
connection with the JVM-407B.
8
Save your settings using the shortcut
Ctrl + S
.
Result:
The hardware settings have been configured in JetSym.
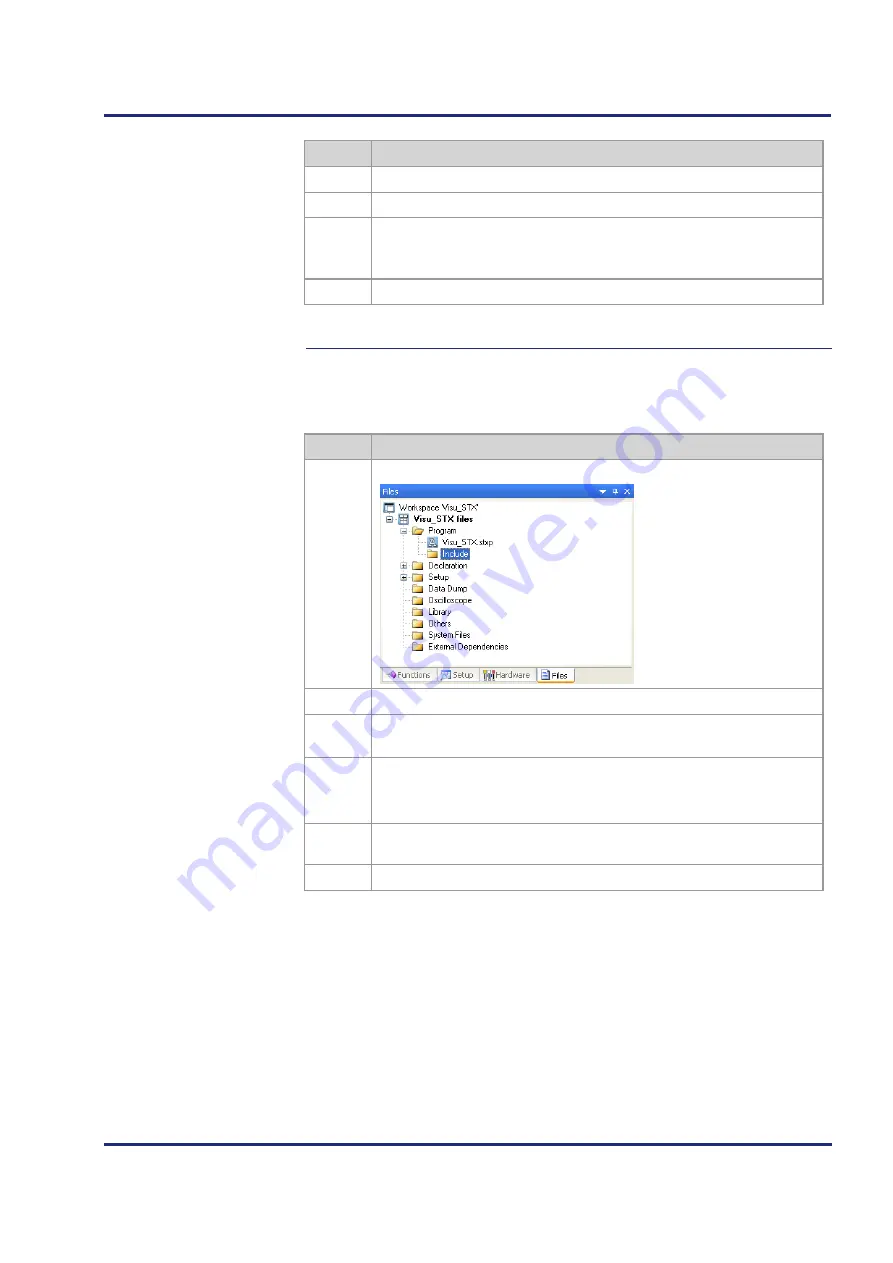
In order for the description of the objects and masks included in the
visualization application to be available for programming, the file
VisualInterface.stxp
must be included as follows:
Step
Action
1
Switch to
Files
view.
2
Expand the folder
Program
.
3
Click on the folder
Include
and open the shortcut menu (by pressing the
right mouse button).
4
Select the context menu entry
Add Files to Directory
.
Result:
An Explorer window for selecting a file opens.
5
Navigate to the
STX
folder of the JetViewSoft project. The default location
for this is at
[Project location]/ Name of the JetViewSoft project/STX
.
6
Select here the file
VisualInterface.stxp
.
File VisualInterface.stxp
Summary of Contents for JVM-407B-HMI
Page 1: ...User Manual JVM 407B HMI 60879892 We automate your success...
Page 14: ......
Page 26: ...26 Jetter AG 2 Product description and design Rear view...
Page 34: ......
Page 80: ......
Page 106: ......
Page 144: ......
Page 168: ......
Page 178: ......
Page 182: ......
Page 258: ......
Page 268: ......
Page 274: ......
Page 294: ...294 Jetter AG Appendix Rear view...
Page 299: ......


