Page 10
Configuring the TM-4100GE Camera
TM-4100GE Software
To use the integrated GigE camera software, use the following steps:
1.
Start the Camera Interface Application. The dialog box shown in Figure 9 appears.
2.
Click the
Detect
button to detect the device and driver in the “Device Actions” panel.
3.
Click
Select Camera
and select TM-4100GE or TMC-4100GE (color) from the camera list.
4.
Select the “Acquisition” tab and click
Configure
. The camera configuration dialog box displays.
5.
Select the “GigE Camera Software” tab. This is the Integrated GigE Camera Software shown in
Figure 11 on the next page.
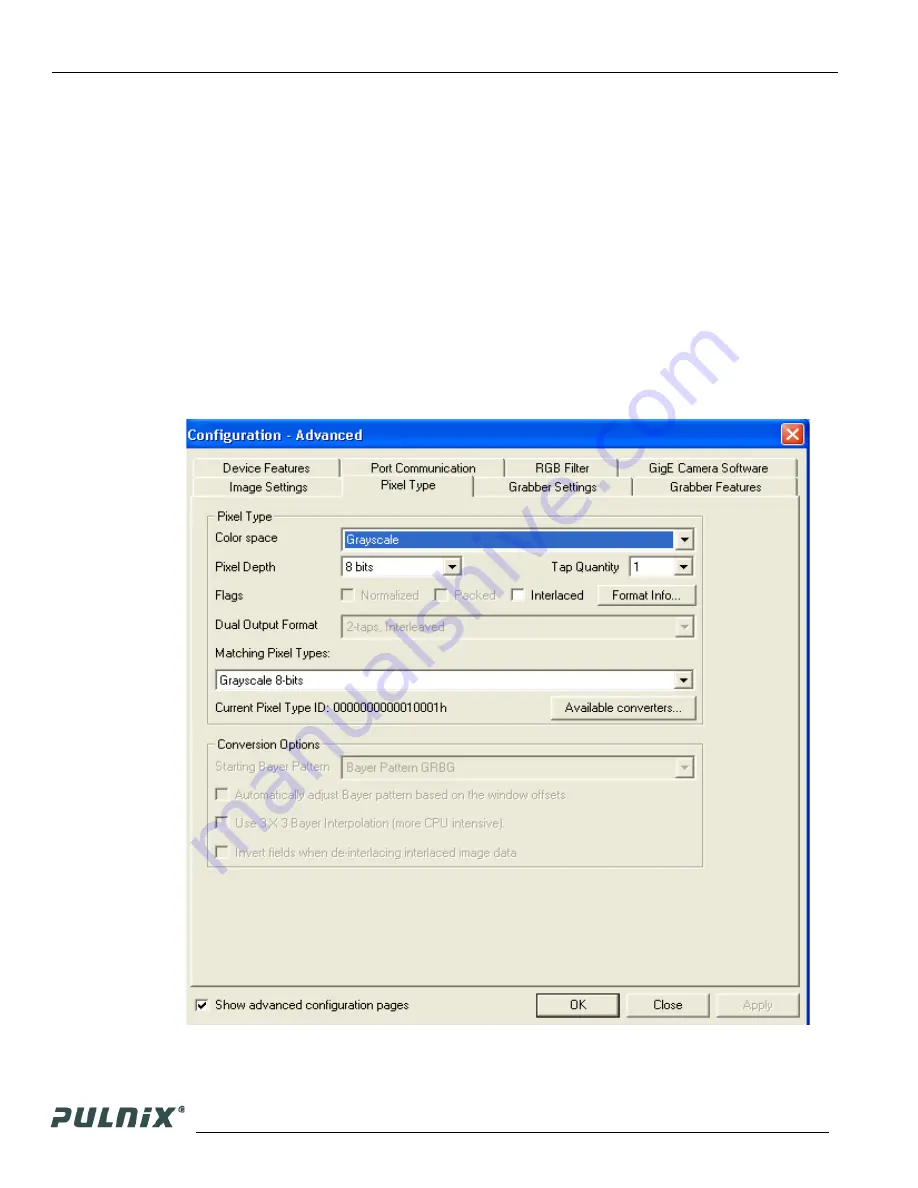
The TM-4100GE camera can operate in either 8-bit or 10-bit digital output mode. The 8-bit/10-bit
selection is possible through the GigE integrated software. To select the mode, open the Configure page
and select the Pixel Type tab. Under the Pixel Type, select either Grayscale 8, or Grayscale 10. Note
that when Grayscale 10, 2 taps is selected, the LUT (Look-Up Table) is not available in this mode.
FIGURE 10.
Advanced Configuration Window
Summary of Contents for PULNiX TM-4100GE
Page 2: ......
Page 4: ......
Page 8: ...vi ...
Page 10: ...viii ...
Page 40: ...Page 30 GigE Series Camera Serial Commands TM 4100GE Software ...


