69
NOTE
For a description of the options, refer to the table in “Using Easy Configuration.”
10. After setting the options, press
ESC
to exit the Advanced Menu.
11. When you finish defining the current logical drive, highlight Accept from the bottom
window of the logical drive configuration screen, and press
ENTER
. If there is space
remaining in the arrays, the next logical drive ready to be configured displays.
12. To configure another logical drive, repeat steps 6 through 9. If the array space has been
used up, a list of the existing logical drives displays. Press any key to continue and
respond to the Save prompt.
13. Initialize the logical drives you have just configured as discussed later in this chapter.
Initializing Logical Drives
You should initialize each new logical drive you configure. You can initialize the logical
drives in two ways:
u
Batch Initialization
u
Individual Initialization
To use batch initialization:
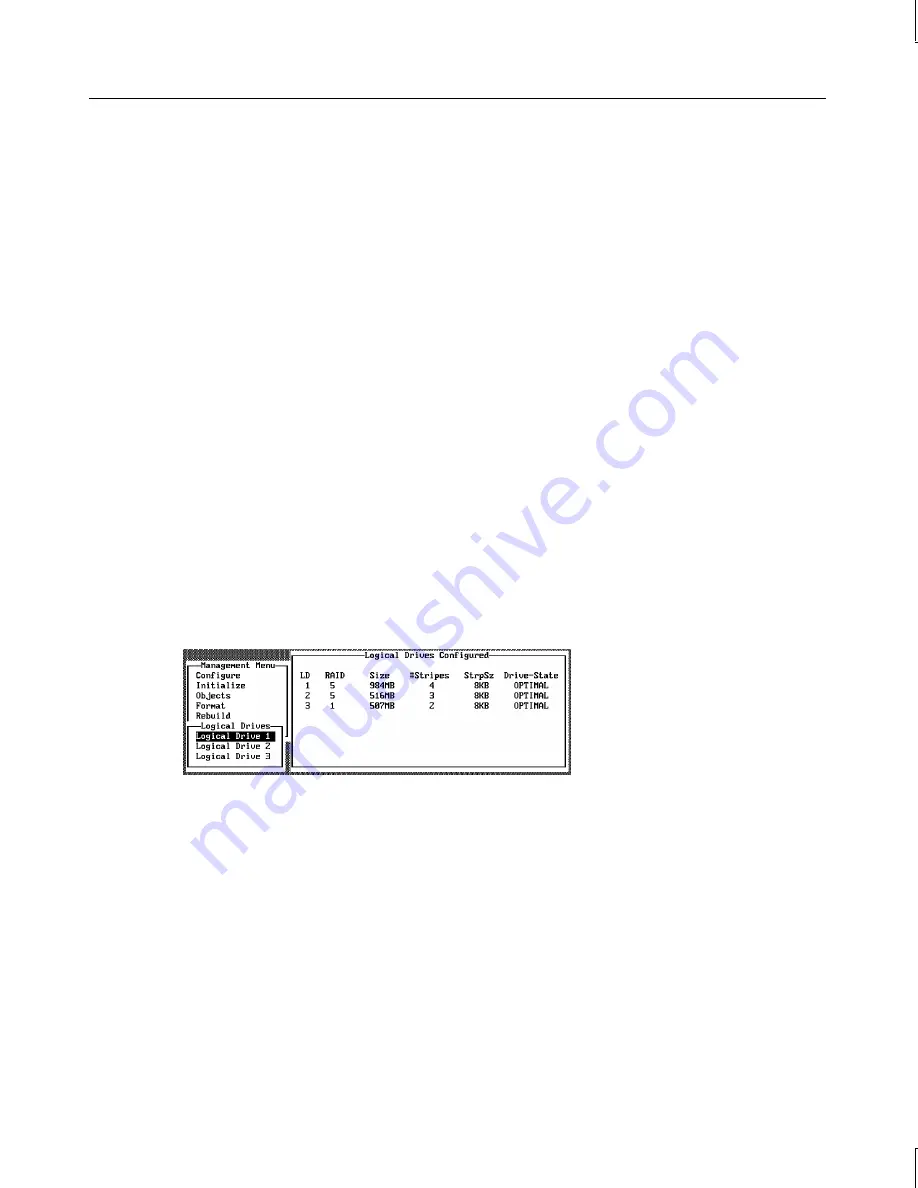
1. Choose Initialize from the Management menu. A list of the current logical drives
displays, as shown below:
2. Press the arrow keys to highlight all drives. Press the spacebar to select the highlighted
logical drive for initialization. Press
F2
to select or deselect all logical drives.
3. When you finish selecting logical drives, press
F10
and choose Yes at the confirmation
prompt. The progress of the initialization for each drive is shown in bar graph format.


