background image

INSTEON-compatible RemoteLinc User’s Guide 

Page 13 of 18 

ABOUT INSTEON 

Understanding Why an INSTEON Network Is Reliable 

INSTEON messages travel throughout the home via Powerline Carrier (PLC) signals on the existing 
house wiring, and also via wireless Radio Frequency (RF).  As the messages make their way to 
INSTEON devices being controlled, they are picked up and retransmitted by all other INSTEON devices 
along the way.  This method of communicating, called a 

mesh network

, is very reliable because each 

additional INSTEON device helps to support the overall network. 

To further ensure reliability, every INSTEON device confirms that it has received a command.  If an 
INSTEON Controller does not receive this confirmation, it will automatically retransmit the command up to 
five times. 

Further Enhancing Reliability 

As signals travel via the powerline or RF throughout the home, they naturally become 
weaker the farther they travel.  The best way to overcome signals getting weaker is to 
increase the coverage of the mesh network by introducing more INSTEON devices. 

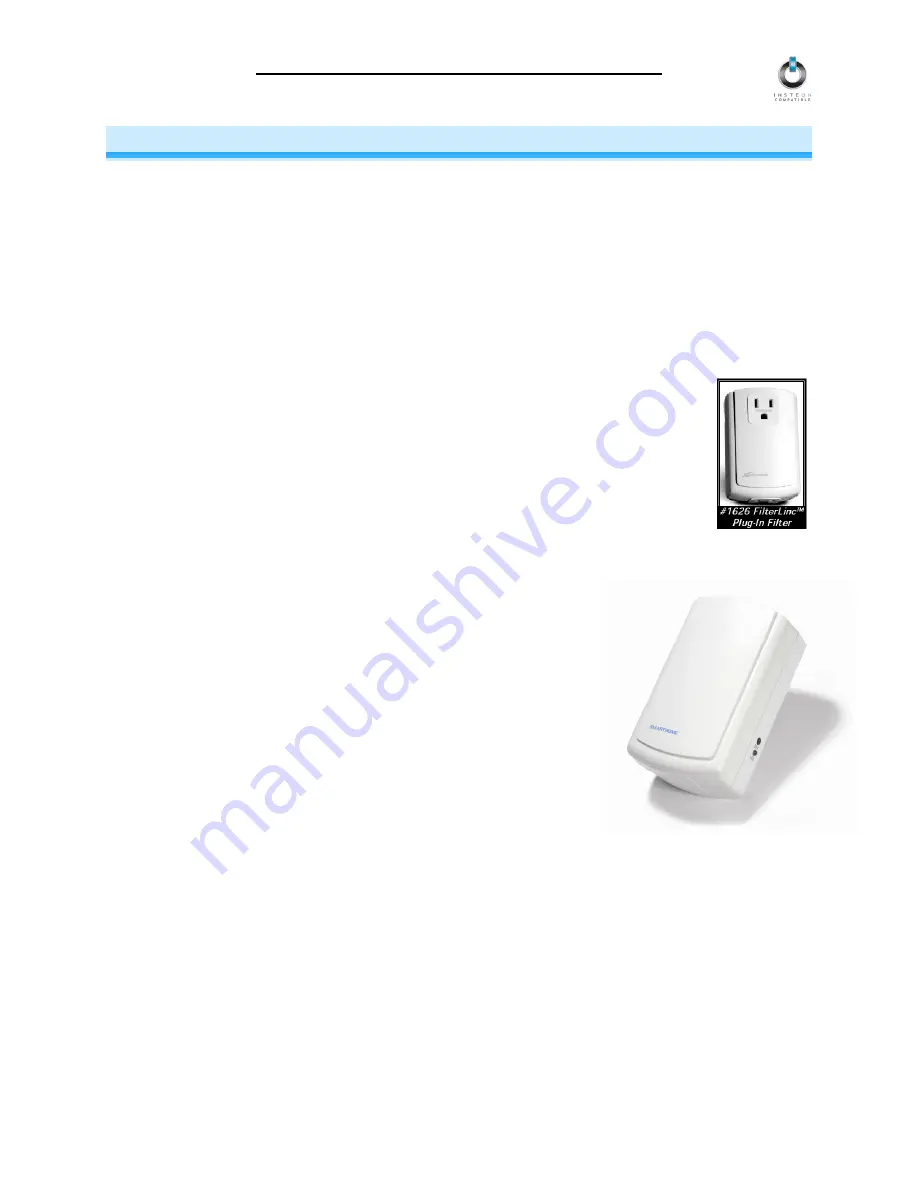
It is possible that some audio-video products, computers, power strips or other electrical 
equipment may attenuate INSTEON signals on the powerline.  You can temporarily 
unplug suspected devices to test whether the INSTEON signal improves.  If it does, then 
you can plug in filters available from Smarthome that will permanently fix the problem. 

Using SmartLab’s AccessPoint to Upgrade Your INSTEON Network 

AccessPoints are ideal for improving signal strength and network 
coverage throughout your home.  In addition, two AccessPoints provide 
a wireless path for INSTEON signals to travel between the two separate 
electrical circuits, called 

powerline phases

, found in most homes.  

Without a reliable method for coupling opposite powerline phases, some 
parts of your home may receive INSTEON signals intermittently.  With at 
least one AccessPoint plugged into one of the powerline phases, and at 
least one more plugged into the opposite powerline phase, INSTEON 
powerline signals will be strong everywhere in your home. 

Summary of Contents for RemoteLinc

Page 1: ...INSTEON RemoteLinc INSTEON compatible Wireless Handheld Controller For models 2440 RemoteLinc Handheld Controller...

Page 2: ...s 7 Resetting RemoteLinc to Its Factory Default Settings 7 Turning the Audio Beeper On and Off 8 Turning the Status LED On and Off 8 Stuck Button Feature 8 SETUP SUMMARY 9 HOW TO USE REMOTELINC 10 Usi...

Page 3: ...An INSTEON home grows in value with every INSTEON device you add making life more convenient safe and fun Key RemoteLinc Features Six individual on off buttons plus dedicated DIM BRIGHT ALL ON and AL...

Page 4: ...s and install four AAA batteies accordingly Replace battery compartment door Use alkaline batteries or high quality rechargeable batteries A fully charged set of alkaline batteries will provide approx...

Page 5: ...step before RemoteLinc s Linking Mode times out automatically A LampLinc V2 Dimmer Press and hold the SET Button on the side of LampLinc V2 Dimmer for 3 seconds then release To confirm linking LampLin...

Page 6: ...multiple INSTEON Devices to multiple of INSTEON Controllers To add an additional INSTEON Device to a scene controlled by an ON OFF Button on RemoteLinc simply follow the same procedure as above in Li...

Page 7: ...Status LED will blink as you reinsert the battery then its Status LED will illuminate brightly 3 After reinserting the battery continue to hold down the BRIGHT Button for 10 seconds RemoteLinc will be...

Page 8: ...eep function Turning the Status LED On and Off This procedure toggles the white Status LED OFF or ON The factory default is ON 1 Simultaneously press and hold the DIM and BRIGHT Buttons for 10 seconds...

Page 9: ...r another 10 seconds then release Desired ON Button Hold 10 Seconds Enter Multi Link Mode Same ON Button Tap Exit Linking Mode Any ON or OFF Button Tap Reset ON OFF Button OFF Button Remove one batter...

Page 10: ...the Button RemoteLinc will beep and its Status LED will blink off twice Dimmable modules will go to whatever On Level they were set up for at whatever Fade Rate they were set up for Switchable modules...

Page 11: ...eLinc will beep and its Status LED will blink off once Dimmable modules will begin to brighten unless they are already fully bright Switchable modules will not be affected When you release the button...

Page 12: ...inuously dim only those INSTEON Devices linked to the last ON OFF Button you used press and hold the DIM Button RemoteLinc will beep and its Status LED will blink off once Dimmable modules will begin...

Page 13: ...st way to overcome signals getting weaker is to increase the coverage of the mesh network by introducing more INSTEON devices It is possible that some audio video products computers power strips or ot...

Page 14: ...as INSTEON Network repeaters An INSTEON device is not linking or responding to RemoteLinc The INSTEON signal may be too weak Make sure you are not experiencing interference with older X10 BoosterLinc...

Page 15: ...ol INSTEON devices already linked to RemoteLinc Link INSTEON Devices you want to respond to ALL ON and ALL OFF to RemoteLinc All of my INSTEON Devices do not respond to RemoteLinc s BRIGHT or DIM Butt...

Page 16: ...Status LED White can be disabled Setup Memory Non volatile EEPROM INSTEON Features INSTEON Addresses 1 hard coded out of 16 777 216 possible INSTEON Links 417 out of 16 777 216 possible INSTEON Messag...

Page 17: ...igital device pursuant to Part 15 of the FCC Rules These limits are designed to provide reasonable protection against harmful interference in residential installations This equipment generates uses an...

Page 18: ...outside of the package and send the product along with all other required materials to SmartLabs Inc ATTN Receiving Dept 16542 Millikan Ave Irvine CA 92606 5027 Limitations The above warranty is in l...

Reviews: