INSTEON-compatible RemoteLinc User’s Guide
Page 7 of 18
ADVANCED FEATURES OF REMOTELINC
Resetting One ON/OFF Button to Its Factory Default Settings
If you want to remove all INSTEON links from a single ON/OFF Button Pair, or if you cannot unlink a
previously-linked INSTEON Device that has been lost or broken, follow this procedure.
1. Remove a single battery from RemoteLinc for at least 10 seconds.
2. While holding down the
OFF
side
of the ON/OFF Button that you want to reset, reinsert the battery
into RemoteLinc (ensure battery is properly oriented). RemoteLinc will beep and its Status LED will
illuminate steadily. Wait 3 seconds after reinserting the battery, and then release the OFF button.
3. The ON/OFF Button will now have no INSTEON Devices linked to it.
Resetting RemoteLinc to Its Factory Default Settings
The factory reset procedure can be used to clear the RemoteLinc’s memory and restore its factory default
settings. This procedure will clear the unit of all INSTEON Links.
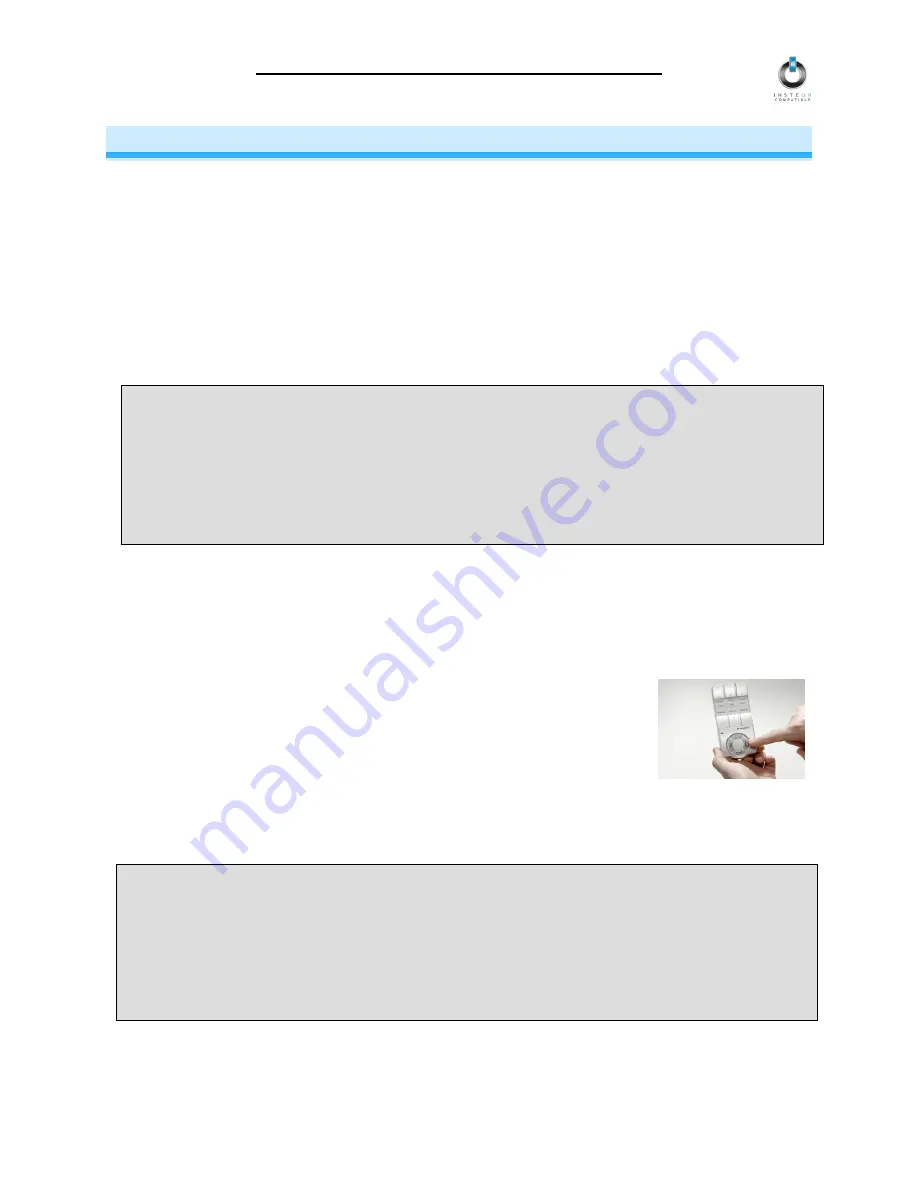
1. Remove a single battery from RemoteLinc for at least 10 seconds.
2. While holding down the
BRIGHT Button
, reinsert the battery into
RemoteLinc (ensure battery is properly oriented). RemoteLinc will beep and
its Status LED will blink as you reinsert the battery, then its Status LED will
illuminate brightly.
3. After reinserting the battery, continue to hold down the BRIGHT Button for
10 seconds. RemoteLinc will beep continuously for a few seconds, then will
quickly beep twice.
4. Release the BRIGHT Button. The Status LED will turn off. RemoteLinc will now have no INSTEON
Devices linked to it.
NOTE
INSTEON Devices that have been previously linked to RemoteLinc will still respond to the ALL ON
and ALL OFF Buttons, and dimmable INSTEON Devices will still respond to holding down the ON or
OFF Buttons of the ON/OFF Button Pair that they were originally linked to, as well as the BRIGHT
and DIM Buttons. The reason is that the INSTEON Devices themselves have not been unlinked from
RemoteLinc. Follow the procedure
Unlinking One INSTEON Device from RemoteLinc
, above, to
unlink individual INSTEON Devices.