2
4. Plug in the power adapter to the wall power socket.
5
DO NOT
switch ON the
power adapter at this point
5. Connect the pin of your power adapter to the small power socket located at the
back of InfoView, labeled
POWER DC 12V.
6. You have successfully set up your InfoView.
7. Switch ON the power adapter and press the power switch
6
at the front of your
InfoView to power ON InfoView
8. A good location to place your InfoView is on top of your TV or beside it
[Optional] Step B: Set-Up Procedures for InfoView WITH EXTERNAL CAMERA
(Camcorder)
1. First, disconnect your phone cable from the wall phone connector, and connect it
to the
PHONE
connector at the back of the InfoView. If your phone cable is not
long enough, please use the phone cable provided for the connection. There are
two phone cables with different lengths in your InfoView package.
2. Next, insert the second phone cable to the
LINE
connector at the back of
InfoView, and connect the other end to the wall phone jack.
3. Plug in the provided color-coded Audio/Video cable to the respective
AUDIO/VIDEO-OUT
connectors at the back of InfoView. Connect the other ends
of the cable to the
AUDIO/VIDEO-IN
connectors at the back of your TV. Please
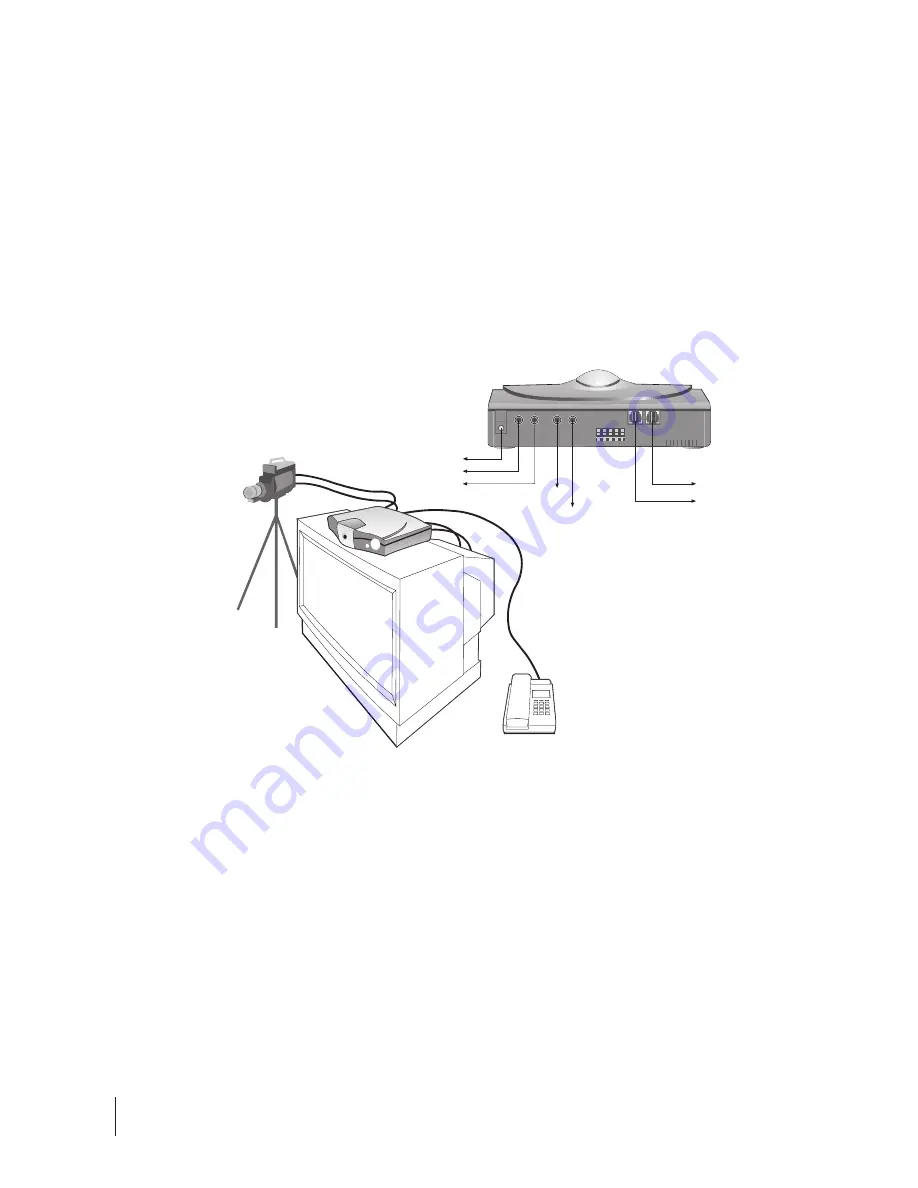
refer to the above drawing for detailed location of different connectors.
Audio In
Audio Out
Video Out
DC 12
Power Input
Video In
To Phone
To Wall Socket


