26
12. Install cotter pin (236).
13. Install roll pin (240) and bearing (228) into the valve end of
the crank shaft.
14. Check that all connecting rods move freely around the
crank. Position the crank assembly (231) into the motor
housing (217). Ensure the bearing (228) is seated and
connecting rods (206) are centered in the cylinder holes.
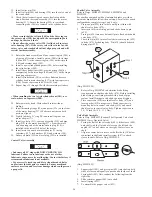
NOTICE
• Make certain that the roll pin (240) and the three lugs on
the rotary valve (250) line up with the corresponding hole
and lugs on the crank shaft.
• Do not allow the rotary valve (250) to slide back in rotary
valve housing (247). If the rotary valve slides in too far, the
rotary valve and crankshaft will not align properly and will
restrict further assembly.
15. Rotate the crank assembly until one connecting rod (206) is
at the top of its stroke. Install a piston (204) with its rings
(202 and 207) to the connecting rod (206) with wrist pin
(203) and retainer rings (205).
16. Install a new cylinder head gasket (209) before installing
the cylinder liner (208).
17. Install the cylinder liner (208) over the piston (204) by
compressing both piston rings (202) and (207) with a single
band ring compressor.
18. Install cylinder head (201) over the cylinder and secure
cylinder head to motor housing (217) with four capscrews
(200). Torque capscrews to 60 ft lbs (81 Nm).
19. Repeat Steps 15 through 18 with the remaining cylinders.
NOTICE
• When installing the two lowest cylinder heads (201), use
seal washers on capscrews (200).
20. Rotate motor by hand. Motor should rotate without
binding.
21. Install mounting flange (216) and gasket (226) on the front
of the motor housing (217). Make sure notches on both
parts are aligned.
22. Lightly lubricate ‘O’ ring (70) and install in groove on
motor adapter (71).
23. Install eye bolts (213), vent cap assembly (210) and pipe
plug (218) in the motor housing (217). From the rotary
valve housing end of the motor, ensure plug (218) is
installed in the left oil fill hole of the motor.
24. Install motor on winch at motor adapter (71) using
capscrews (197), lockwashers (196) and washers (198).
25. Ensure oil drain (225) and level plug (225) are installed.
Control Valve Assembly
NOTICE
• Lubricate all ‘O’ rings with DOW CORNING #111
lubricant. Failure to use lubricant or the use of other
lubricants can cause valve malfunction. Contact the factory if
recommended lubricant is not available.
• Use a correctly sized tap and die to clean threaded holes
and fastener threads prior to assembly. Ensure machined
surfaces are clean and free from damage which could prevent
a proper fit.
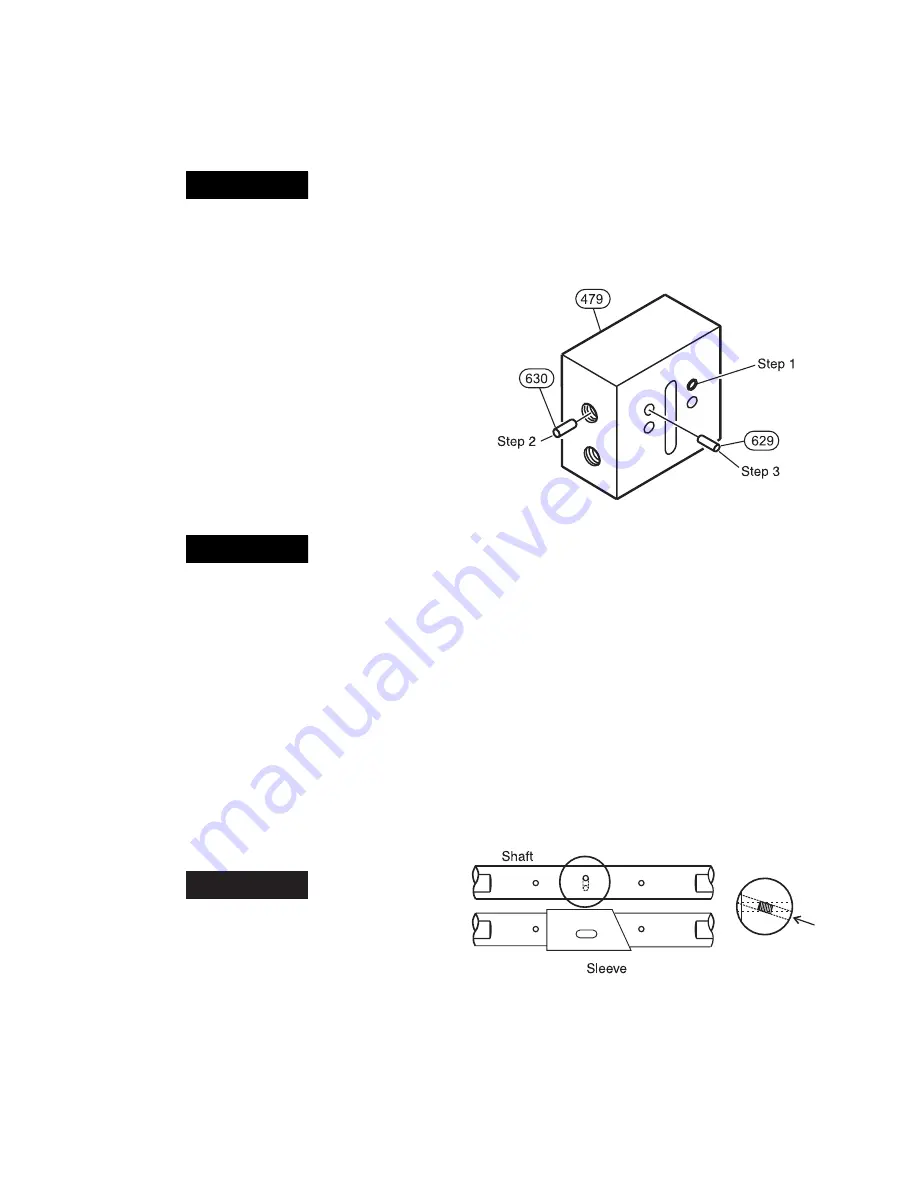
Shuttle Valve Assembly
Refer to Dwgs. MHP0653, MHP0654, MHP0764 and
MHP1228.
For winches equipped with dual automatic brakes or with an
automatic drum brake follow the next steps. For all other winch
configurations, complete steps 5 and 6 only.
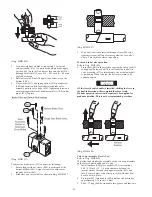
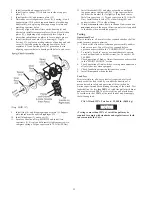
1.
Press one pin (629) into far hole until pin is flush with
shuttle valve body (479).
2.
Insert pin (630) into fitting port and shake down to pin
(629).
3.
Press pin (629) into near hole until pin is flush with shuttle
valve body (479).
4.
Check that pin (630) moves freely between two pins (629)
in body (479) by shaking body. Pin (630) should be heard
hitting pins (629).
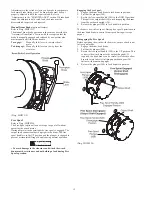
(Dwg. MHP1228)
5.
Refer to Dwg. MHP0764 to determine brake fitting
requirements on shuttle valve body (479). Before installing
brake fittings, coat fitting threads with a bead of pipe
sealant. Install fittings in valve body ports and tighten.
6.
Place capscrews (418) into shuttle valve body (479) and
locate gasket (419) on capscrews. Match capscrews to
mounting holes in control valve body (410) and attach
shuttle valve to control valve body. Tighten capscrews to
24 - 30 inch lbs (8.9 - 11.1 Nm).
Valve Body Assembly
Refer to Dwg. MHP0653 (Pendant Pilot Operated Valve) and
MHP0654 (Lever Operated Valve)
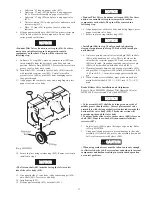
1.
Facing the flats of the valve shaft (401), slide sleeve (408)
onto shaft with the flat end of sleeve on the left and the
angled (45°) end of sleeve on the right. Center sleeve on
shaft.
2.
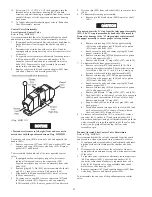
Align the center hole in sleeve with offset hole (18° below
centerline) in shaft and install setscrew (407) to attach
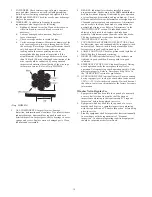
sleeve to shaft. Refer to Dwg. MHP1022.
(Dwg. MHP1022)
3.
Support shaft (401) and press pins (405) into shaft on both
sides of sleeve until equally exposed on both sides of shaft.
4.
Facing shaft (401) flats, conduct the following from the
right side.
5.
Slide restrictor poppet (402) onto shaft.
6.
Install spring (422).
7.
To assemble the poppet valves (423):
Summary of Contents for force5 FA5A-LAK1
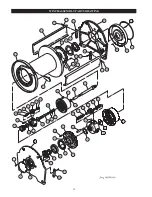
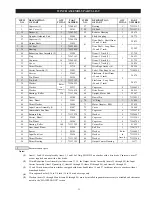
Page 34: ...34 WINCH ASSEMBLY PARTS DRAWING ...
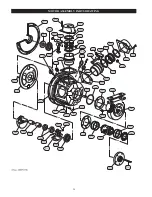
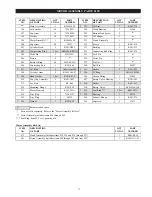
Page 36: ...36 MOTOR ASSEMBLY PARTS DRAWING ...
Page 38: ...38 DISC BRAKE ASSEMBLY PARTS DRAWING ...
Page 40: ...40 DRUM BAND BRAKE ASSEMBLY PARTS DRAWING ...
Page 42: ...42 LEVER OPERATED CONTROL VALVE ASSEMBLY PARTS DRAWING ...
Page 44: ...44 PENDANT OPERATED PILOT CONTROL VALVE ASSEMBLY PARTS DRAWING ...
Page 48: ...48 SHUTTLE VALVE ASSEMBLY PARTS DRAWING ...
Page 50: ...50 EMERGENCY STOP AND OVERLOAD ASSEMBLY PARTS DRAWING ...
Page 52: ...52 OPEN FRAME FACE WINCH ASSEMBLY PARTS DRAWING ...
Page 57: ...57 WINCH LABEL TAG LOCATION AND PART NUMBER REFERENCE DRAWING ...

