OPERATIONS MANUAL – 5750440 – REVISION D
Placing the Time in a Message
E3
You must be in the edit mode to place the time in a message or change the format of the time. See
Instruction A2, “Creating a Simple Message” to enter the edit mode.
1
1
While editing, position the cursor where
you want the time to appear.
2
2
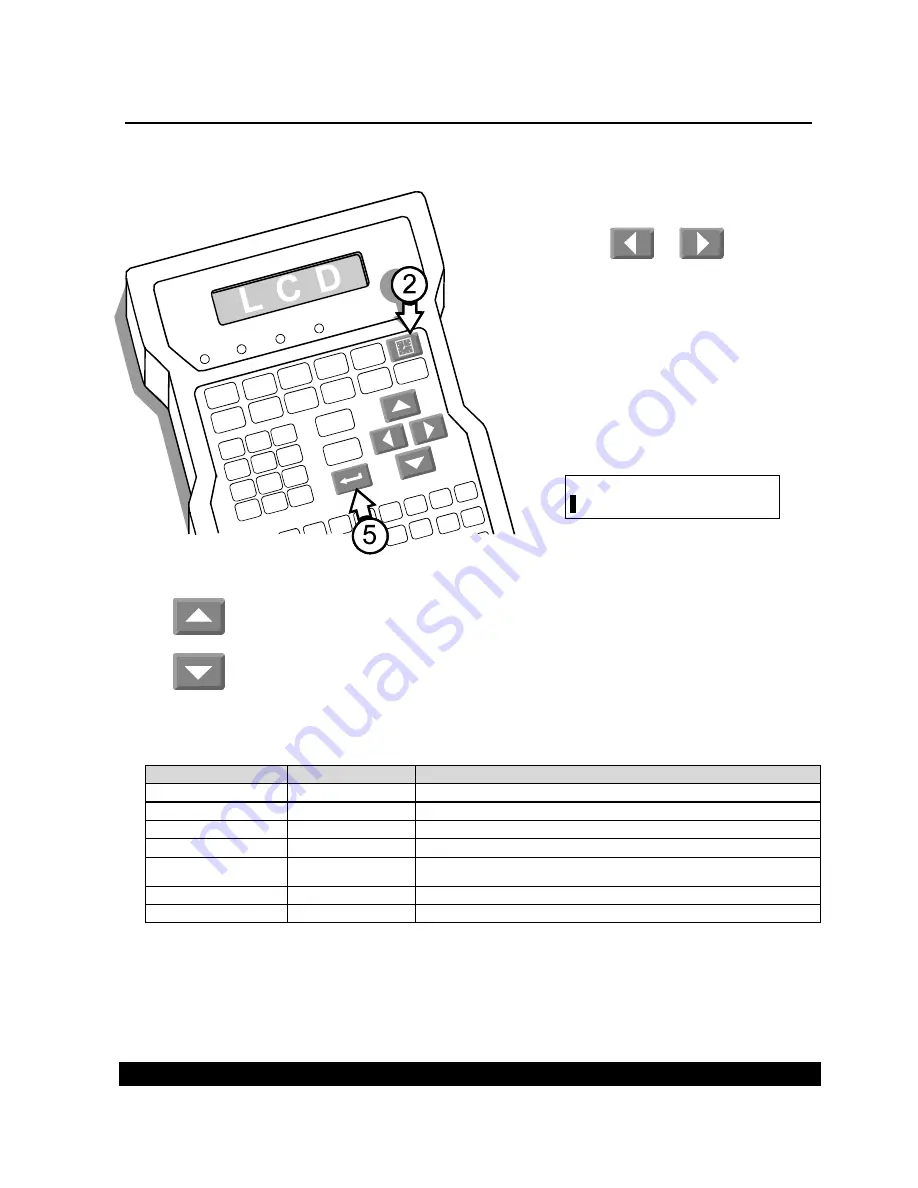
Press TIME. The LCD will show the
time enclosed by braces. The braces
appear only on-screen, not in the
printed message.
3
3
Position the cursor under the initial
brace of the message time. The first
line of the LCD will now show the
format of the message time in an
abbreviated form.
4
4
To change the time format, use the UP and DOWN ARROWS.
The chart below shows all the available time formats on the system with examples for 11:44 AM. All
prompts with “hh” in them will display and print as a twenty-four hour clock.
Time in Message
Format Prompt
Explanation
{11:44}
hh:mm
Hours and minutes, 2 digits each separated by a colon.
{1}
1:AM/2:PM
1 = before 12 noon. 2 = after 12 noon.
{AM}
AM/PM
AM for before 12 noon. PM for after 12 noon.
{44}
mm
Minutes only in 2 digits.
{11}
hh
The hour only in 2 digits.
{11:44AM}
hh:mmAM/PM
Hours and minutes with AM or PM appended.
{1144}
hhmm
Hours and minutes with no separation.
5
5
Press ENTER when done.
This feature is a part of sample message G5.
hh:mm
{
11:44} SHIPMENT
Summary of Contents for 5750-440
Page 4: ...OPERATIONS MANUAL 5750440 REVISION C...
Page 14: ...OPERATIONS MANUAL 5750440 REVISION D...
Page 32: ...OPERATIONS MANUAL 5750440 REVISION D...
Page 38: ...OPERATIONS MANUAL 5750440 REVISION D...
Page 64: ...OPERATIONS MANUAL 5750440 REVISION D...
Page 72: ...OPERATIONS MANUAL 5750440 REVISION D...
Page 74: ...OPERATIONS MANUAL 5750440 REVISION D...
Page 77: ...OPERATIONS MANUAL 5750440 REVISION D Assembly Drawings B3...
Page 78: ...OPERATIONS MANUAL 5750440 REVISION D...
Page 79: ...OPERATIONS MANUAL 5750440 REVISION D...


