3.
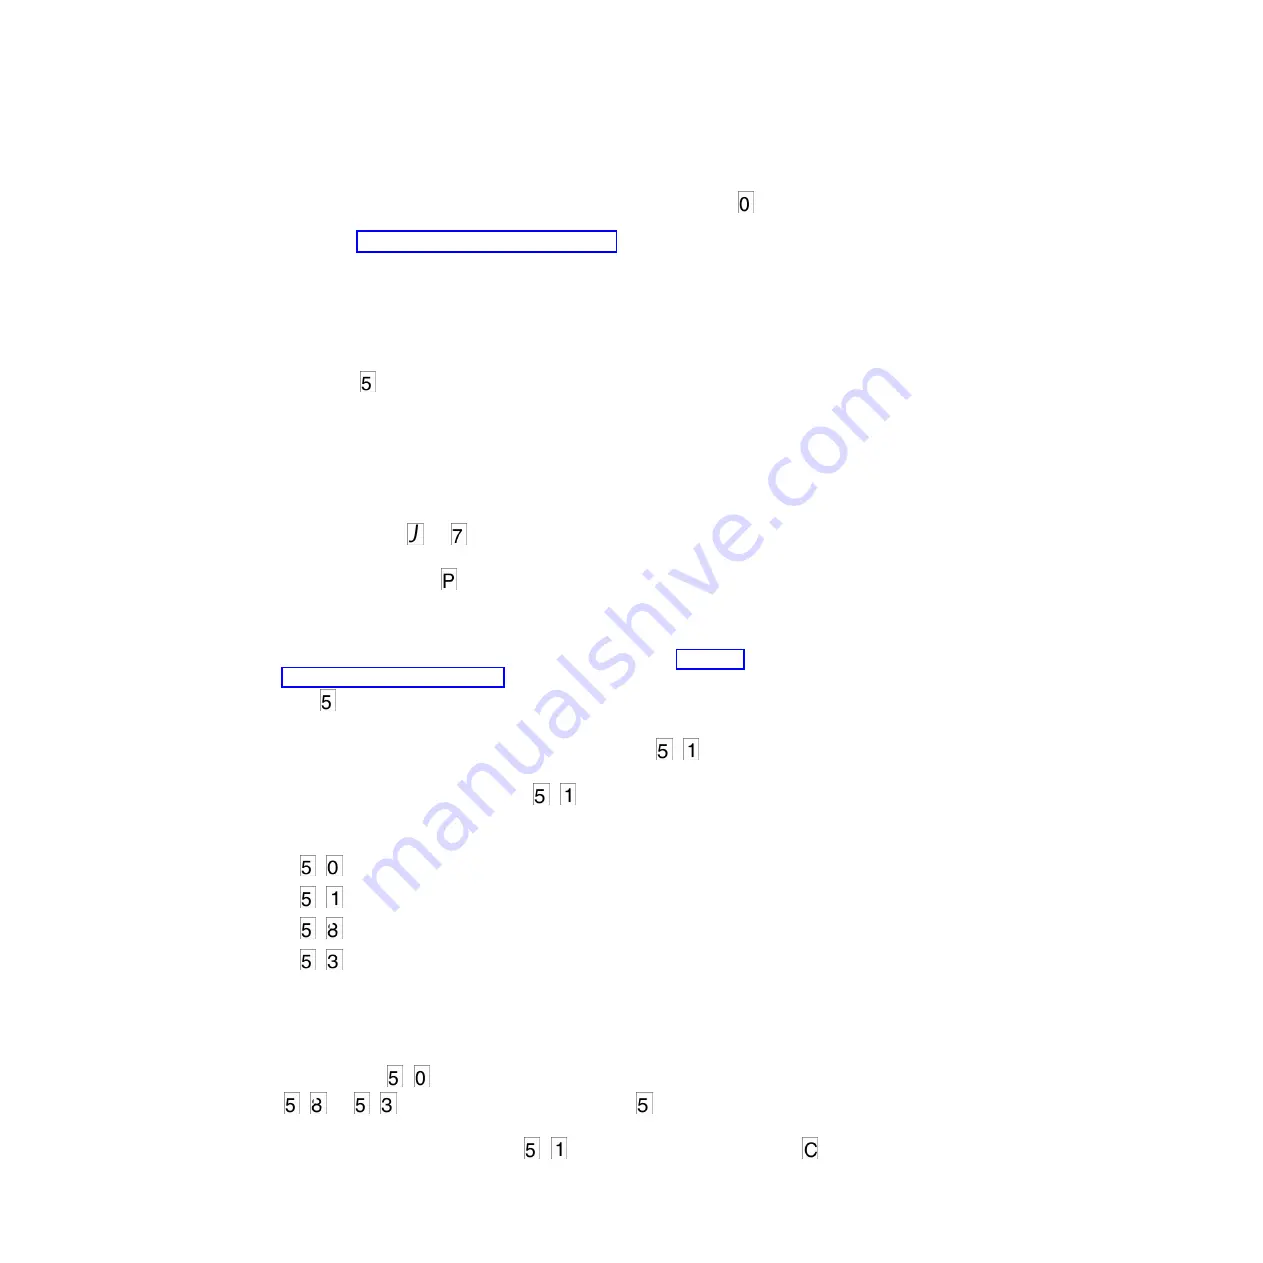
Press and hold the Unload button for 3 or more seconds, then release it to
select the function. The drive performs the dump. The SCD shows
, then
goes blank, and the drive exits Maintenance mode. To access the contents of the
dump, see “Function code 5: Copy drive dump.”
Note:
You can also force a drive dump when the tape drive is in normal
operating mode. Simply press and hold the Unload button for ten seconds. This
causes the drive to reboot.
Function code 5: Copy drive dump
Function code
copies data from a drive dump (captured in Function code 4) to
the beginning of a scratch (blank) data cartridge.
Attention:
For this function, insert only a scratch (blank) data cartridge or a
cartridge that can be overwritten. During the test, the drive overwrites the data on
the cartridge.
Note:
If you inserted an invalid tape cartridge (e.g., Ultrium 3 or WORM tape
cartridge), error code
or
appears in the SCD. If you inserted a
write-protected cartridge, or the media has read-only compatibility (e.g., Ultrium 4
tape cartridge), error code
appears in the SCD. In either case, the tape drive
unloads the cartridge and exits Maintenance mode after the cartridge is removed.
To execute Function code 5: Copy drive dump, complete the following steps:
1.
Put the drive in Maintenance mode. (For instructions, see “Entering
Maintenance mode” on page 27.) Index through the Maintenance mode options
until
is displayed on the SCD.
2.
Press and hold the Unload button for 3 seconds to select Function code 5. After
selecting Function code 5, the SCD will display option
-
. Press the Unload
button within 5 seconds to make a different selection. If no other selection is
made, the drive will perform option
-
.
3.
Press the Unload button once per second to cycle through the following
functions:
v
-
: no function
v
-
: copy dump to tape; clears RAM dump
v
-
: copy dump to flash memory; clears RAM dump
v
-
: erase flash memory
If you cycle past the desired code, press the Unload button once per second
until the code reappears.
4.
Press and hold the Unload button for 3 or more seconds, then release it to
select one of the above functions.
5.
If you selected
-
the drive will exit Maintenance mode. If you selected
-
or
-
the SCD will change to a flashing
while the procedure is
being performed. After the procedure is completed the drive will exit
Maintenance mode. If you selected
-
the SCD will change to a flashing
indicating that a data cartridge is to be inserted.
Chapter 3. Operations
31
Summary of Contents for Ultrium Gen 6
Page 1: ...IBM Half High LTO Ultrium Gen 6 Internal SAS Tape Drive Installation and User s Guide ...
Page 2: ......
Page 3: ...IBM Half High LTO Ultrium Gen 6 Internal SAS Tape Drive Installation and User s Guide ...
Page 8: ...vi IBM Half High LTO Ultrium Gen 6 Internal SAS Tape Drive Installation and User s Guide ...
Page 10: ...viii IBM Half High LTO Ultrium Gen 6 Internal SAS Tape Drive Installation and User s Guide ...
Page 18: ...xvi IBM Half High LTO Ultrium Gen 6 Internal SAS Tape Drive Installation and User s Guide ...
Page 26: ...8 IBM Half High LTO Ultrium Gen 6 Internal SAS Tape Drive Installation and User s Guide ...
Page 34: ...16 IBM Half High LTO Ultrium Gen 6 Internal SAS Tape Drive Installation and User s Guide ...
Page 60: ...42 IBM Half High LTO Ultrium Gen 6 Internal SAS Tape Drive Installation and User s Guide ...
Page 70: ...52 IBM Half High LTO Ultrium Gen 6 Internal SAS Tape Drive Installation and User s Guide ...
Page 78: ...60 IBM Half High LTO Ultrium Gen 6 Internal SAS Tape Drive Installation and User s Guide ...
Page 80: ...62 IBM Half High LTO Ultrium Gen 6 Internal SAS Tape Drive Installation and User s Guide ...
Page 94: ...76 IBM Half High LTO Ultrium Gen 6 Internal SAS Tape Drive Installation and User s Guide ...
Page 116: ...98 IBM Half High LTO Ultrium Gen 6 Internal SAS Tape Drive Installation and User s Guide ...
Page 117: ......
Page 118: ... Part Number 00Y8026 Printed in USA 1P P N 00Y8026 ...


