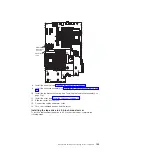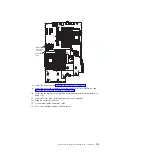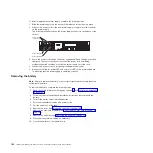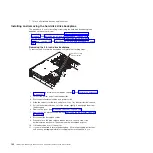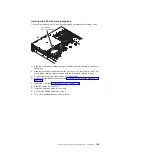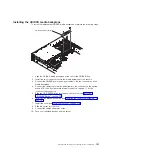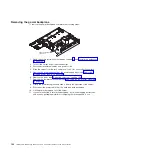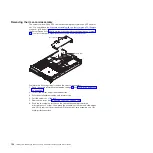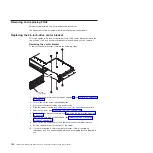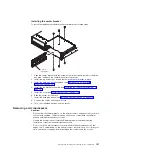
3.
Install
any
adapters
you
removed.
4.
Connect
the
internal
cables
that
you
disconnected.
5.
Install
the
air
baffle
(see
6.
Install
the
riser-card
assembly
7.
Install
the
cover
(see
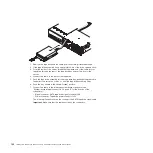
8.
Slide
the
server
into
the
rack.
9.
Connect
the
cables
and
power
cords.
Note:
You
must
wait
approximately
20
seconds
after
you
connect
the
power
cord
of
the
server
to
an
electrical
outlet
before
the
power-control
button
becomes
active.
10.
Turn
on
all
attached
devices
and
the
server.
11.
Start
the
Configuration/Setup
Utility
program
and
reset
the
configuration.
v
Set
the
system
date
and
time.
v
Set
the
power-on
password.
v
Reconfigure
the
server.
See
for
details.
Removing
and
replacing
Tier
2
CRUs
You
may
install
a
Tier
2
CRU
yourself
or
request
IBM
to
install
it,
at
no
additional
charge,
under
the
type
of
warranty
service
that
is
designated
for
your
server.
The
illustrations
in
this
document
might
differ
slightly
from
your
hardware.
Chapter
5.
Removing
and
replacing
server
components
143
Summary of Contents for 7985
Page 1: ...IBM System x3655 Type 7985 and 7943 Problem Determination and Service Guide...
Page 2: ......
Page 3: ...IBM System x3655 Type 7985 and 7943 Problem Determination and Service Guide...
Page 8: ...vi IBM System x3655 Type 7985 and 7943 Problem Determination and Service Guide...
Page 18: ...xvi IBM System x3655 Type 7985 and 7943 Problem Determination and Service Guide...
Page 36: ...18 IBM System x3655 Type 7985 and 7943 Problem Determination and Service Guide...
Page 110: ...92 IBM System x3655 Type 7985 and 7943 Problem Determination and Service Guide...
Page 112: ...View 1...
Page 159: ...Battery Chapter 5 Removing and replacing server components 141...
Page 202: ...184 IBM System x3655 Type 7985 and 7943 Problem Determination and Service Guide...
Page 212: ...194 IBM System x3655 Type 7985 and 7943 Problem Determination and Service Guide...
Page 217: ......
Page 218: ...Part Number 42D2167 Printed in USA 1P P N 42D2167...

