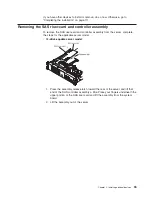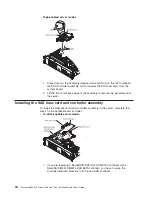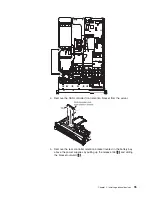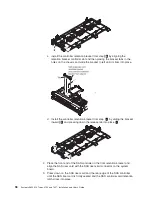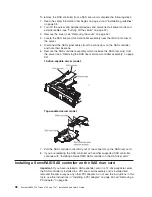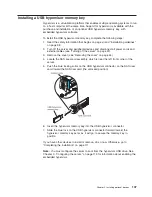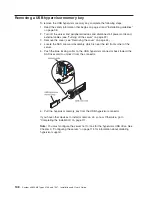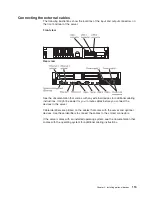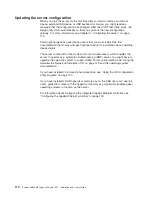
To install a SAS controller on the SAS riser card, complete the following steps:
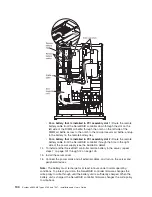
1. Make sure that the server is turned off, all external cables and power cords are
disconnected, and the cover has been removed.
2. If you are installing a new or replacement SAS controller, touch the
static-protective package that contains the new SAS controller to any unpainted
metal surface on the server. Then, remove the SAS controller from the package.
3. If you are installing a new or replacement SAS controller that uses a battery,
complete the following steps:
a. Remove the battery from the SAS controller package or the battery
package.
b. Install the battery and connect the battery to the SAS controller as instructed
in the documentation that comes with the SAS controller or the battery.
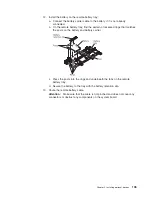
4. If the new SAS controller is a different physical size than the SAS controller that
you removed, you might have to move the controller retention bracket
(tape-enabled model servers only) to the correct location for the new SAS
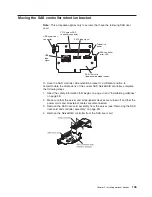
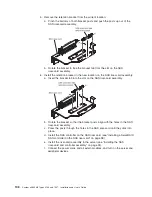
controller. See “Moving the SAS controller retention bracket” on page 105; then,
continue with the next step in this procedure.
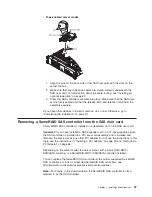
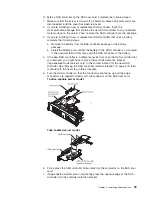
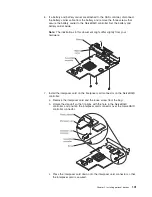
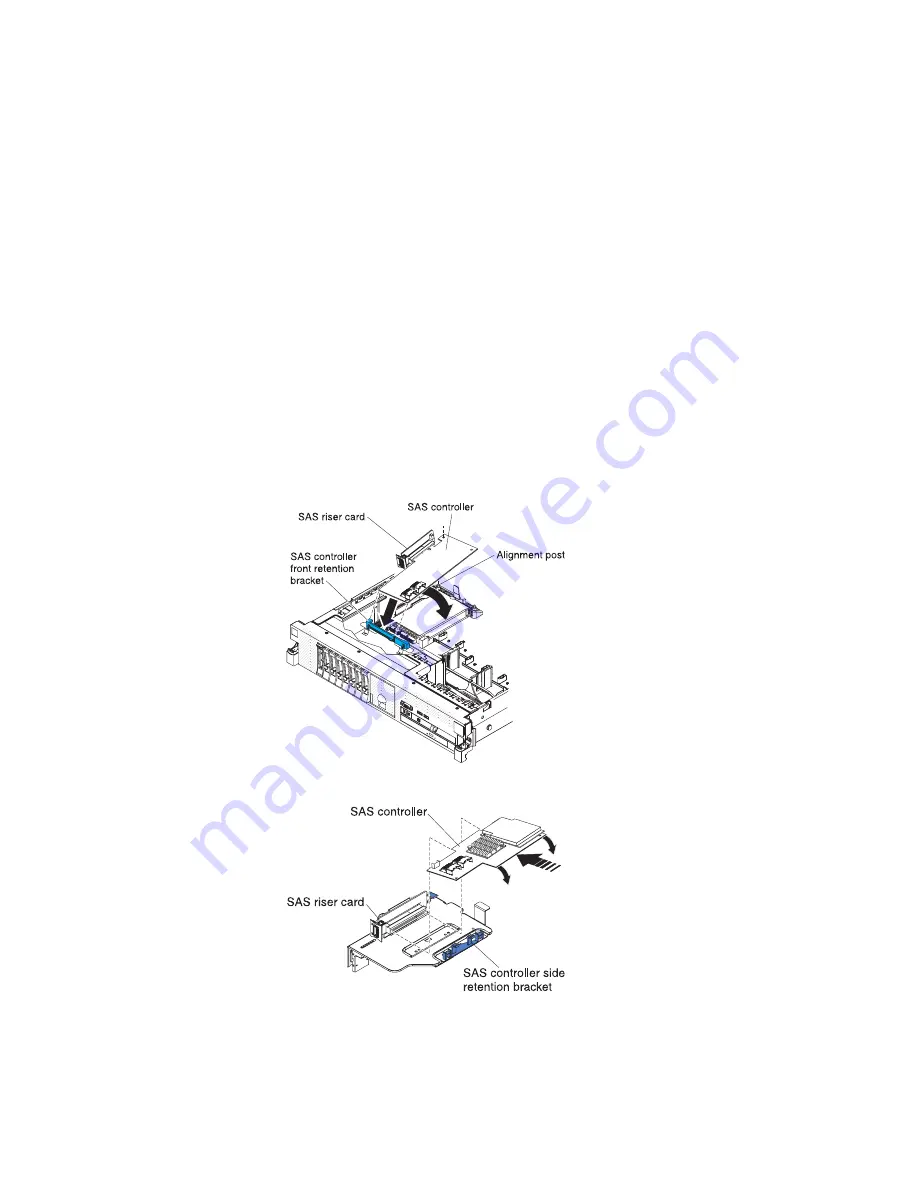
5. Turn the SAS controller so that the connectors are facing up and the edge
connectors are aligned correctly with the connector on the SAS riser card.
12-drive-capable server model:
Tape-enabled server model:
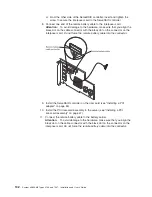
6. Firmly press the SAS controller horizontally into the connector on the SAS riser
card.
7. (Tape-enabled model server only) Gently press the opposite edge of the SAS
controller into the controller retention bracket.
Chapter 2. Installing optional devices
99
Summary of Contents for 7947E3U
Page 1: ......
Page 2: ......
Page 3: ...System x3650 M2 Types 4199 and 7947 Installation and User s Guide...
Page 8: ...vi System x3650 M2 Types 4199 and 7947 Installation and User s Guide...
Page 16: ...xiv System x3650 M2 Types 4199 and 7947 Installation and User s Guide...
Page 40: ...24 System x3650 M2 Types 4199 and 7947 Installation and User s Guide...
Page 150: ...134 System x3650 M2 Types 4199 and 7947 Installation and User s Guide...
Page 168: ...152 System x3650 M2 Types 4199 and 7947 Installation and User s Guide...
Page 169: ......
Page 170: ...Part Number 81Y6111 Printed in USA 1P P N 81Y6111...

