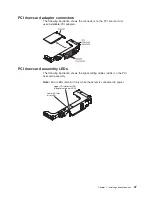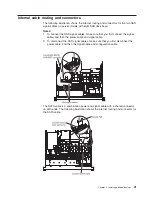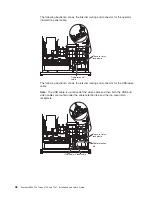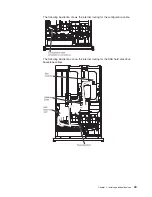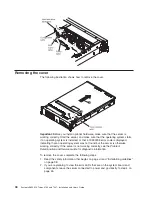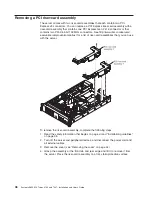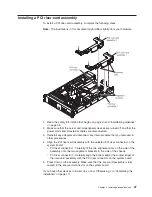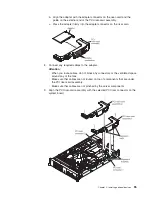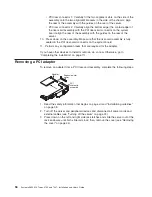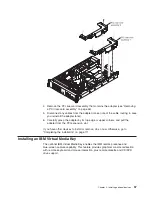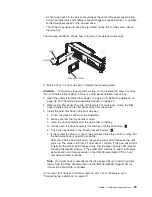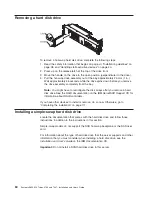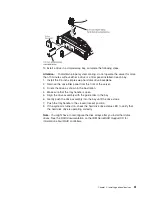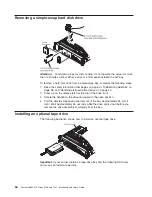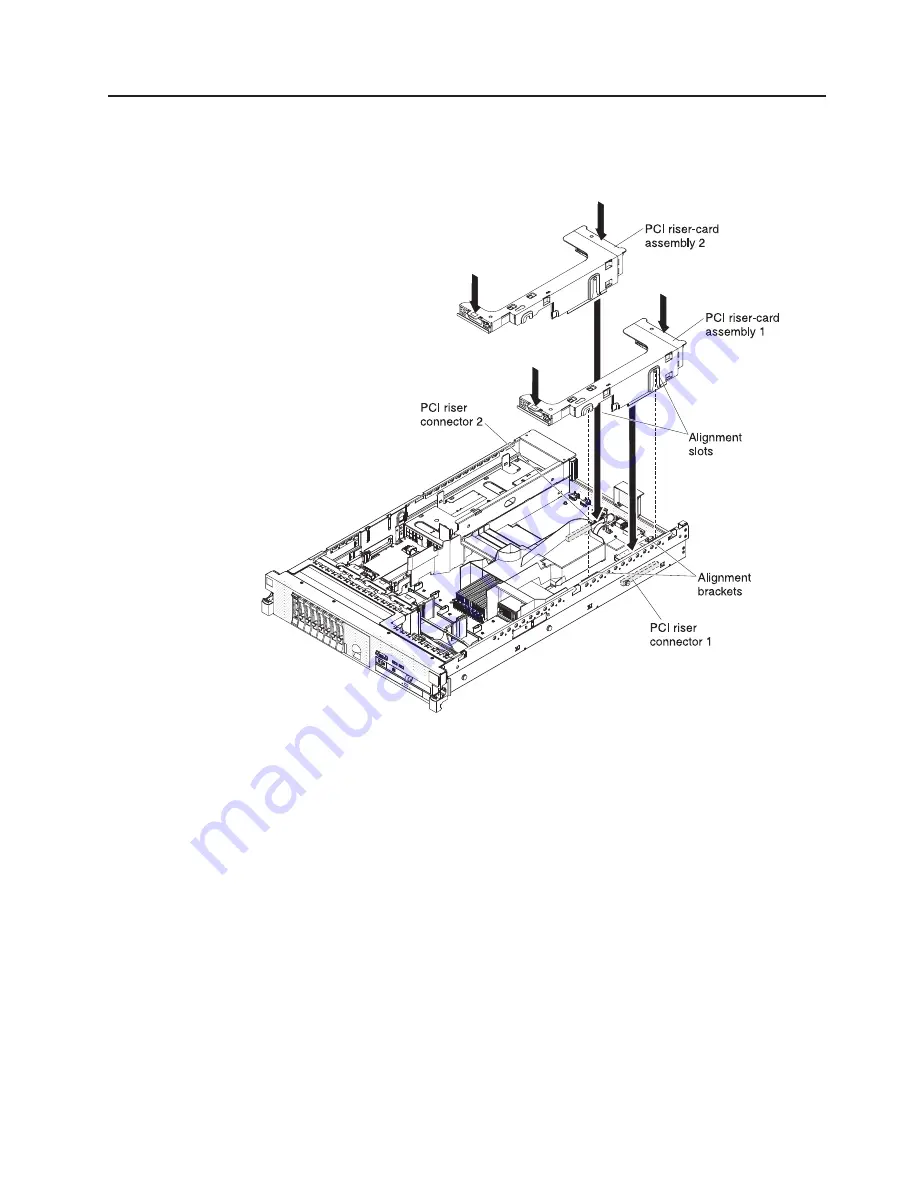
Installing a PCI riser-card assembly
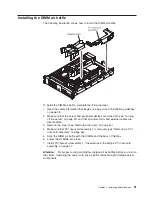
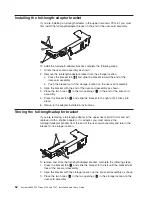
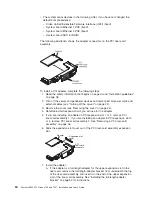
To install a PCI riser-card assembly, complete the following steps.
Note:
The illustrations in this document might differ slightly from your hardware.
1. Read the safety information that begins on page vii and “Installation guidelines”
on page 38.
2. Make sure that the server and all peripheral devices are turned off and that the
power cords and all external cables are disconnected.
3. Reinstall any adapters and reconnect any internal cables that you removed in
other procedures.
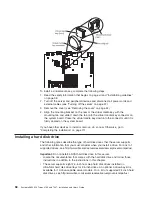
4. Align the PCI riser-card assembly with the selected PCI riser connector on the
system board:
v
PCI riser connector 1: Carefully fit the two alignment slots on the side of the
assembly onto the two alignment brackets in the side of the chassis.
v
PCI riser connector 2: Carefully align the bottom edge (the contact edge) of
the riser-card assembly with the PCI riser connector on the system board.
5. Press down on the assembly. Make sure that the riser-card assembly is fully
seated in the riser-card connector on the system board.
If you have other devices to install, do so now. Otherwise, go to “Completing the
installation” on page 111.
Chapter 2. Installing optional devices
47
Summary of Contents for 7947E3U
Page 1: ......
Page 2: ......
Page 3: ...System x3650 M2 Types 4199 and 7947 Installation and User s Guide...
Page 8: ...vi System x3650 M2 Types 4199 and 7947 Installation and User s Guide...
Page 16: ...xiv System x3650 M2 Types 4199 and 7947 Installation and User s Guide...
Page 40: ...24 System x3650 M2 Types 4199 and 7947 Installation and User s Guide...
Page 150: ...134 System x3650 M2 Types 4199 and 7947 Installation and User s Guide...
Page 168: ...152 System x3650 M2 Types 4199 and 7947 Installation and User s Guide...
Page 169: ......
Page 170: ...Part Number 81Y6111 Printed in USA 1P P N 81Y6111...

