


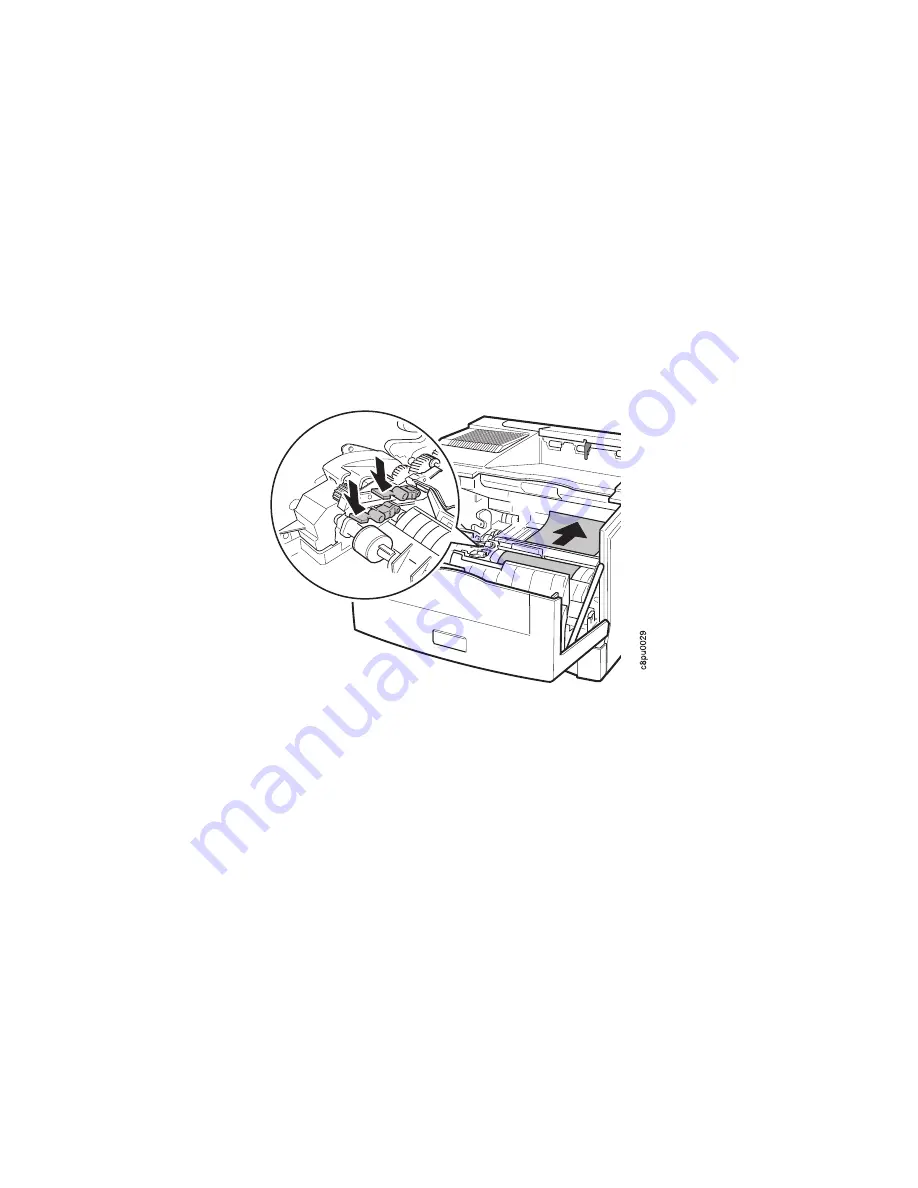
4. Hold down the two green levers located on the left side of the printer and carefully
remove the jammed piece of paper by pulling it toward the back of the printer.
Important: Do not pull the paper toward the front of the printer. Pulling paper
toward the front of the printer can contaminate the inside of the printer with toner
residue.
5. Close the front cover.
6. If you removed the optional envelope feeder, reinstall it. See “Installing the
Envelope Feeder” on page 174 for instructions.
7. When paper gets jammed in one area of the paper path, it often gets jammed in
other areas. If, after you finish this procedure, another PAPER JAM message
occurs, please review all of the procedures in this chapter.
Chapter 4. Clearing Paper Jams
69
Summary of Contents for 17 S544-5343-03
Page 1: ...IBM Network Printer 17 IBM User s Guide S544 5343 03 ...
Page 2: ......
Page 3: ...IBM Network Printer 17 IBM User s Guide S544 5343 03 ...
Page 12: ...x Network Printer 17 User s Guide ...
Page 18: ...xvi Network Printer 17 User s Guide ...
Page 20: ...xviii Network Printer 17 User s Guide ...
Page 40: ...20 Network Printer 17 User s Guide ...
Page 53: ...3 Pull out the tray extension 4 Pull out the envelope stopper Chapter 3 Paper Handling 33 ...
Page 76: ...56 Network Printer 17 User s Guide ...
Page 92: ...72 Network Printer 17 User s Guide ...
Page 146: ...126 Network Printer 17 User s Guide ...
Page 210: ...190 Network Printer 17 User s Guide ...
Page 222: ...202 Network Printer 17 User s Guide ...
Page 232: ...212 Network Printer 17 User s Guide ...
Page 244: ...224 Network Printer 17 User s Guide ...
Page 257: ......
Page 258: ...IBM Part Number 63H2495 File Number S370 4300 9370 16 Printed in U S A S544 5343 ð3 63H2495 ...


