71
Embroidery
Slide the hoop onto the embroidery arm until it
clicks into place. Press the purple button on the
embroidery clip to release the hoop and slide it
toward you.
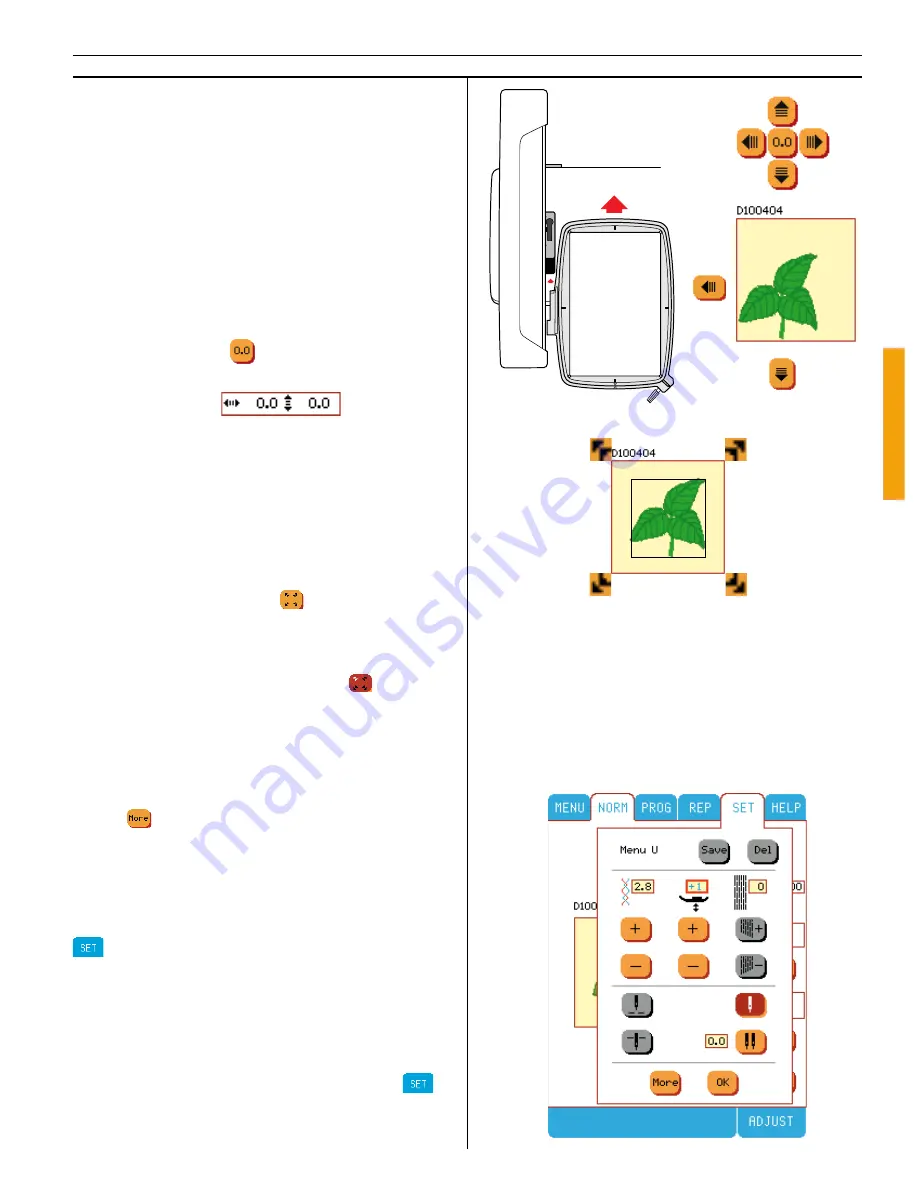
Use the move design buttons to move the de-
sign to a different place in the hoop area. This
is especially helpful when the fabric is hooped
and the marked center starting position is not
in the center of the hoop. Touch the arrows to
move the hoop until the needle lines up with
the mar ked starting point. An audible beep will
advise you of the limits. If you want to get back
to the center, touch
.
Starting position
The numbers indicates starting position of the de-
sign, in mm, from origin. When changed plus (
+
)
indicates right and up, minus (
-
) down and left.
Tip:
If you need to turn off your
Designer I
USB
while stitching large embroidery, make notes of
starting position, stitch number and color num-
ber. Then you can continue from where you left
off.
Use the check size button
to check the size
and the outline area of the de sign on your fa-
bric. When the check size button has been ac-
tivated, it becomes dark brown with a white ar-
row indicating the current position
.
When you select an embroidery the hoop is po-
sitioned so the needle will begin at the center
of the hoop. However, if you select a design to
make a sequence of embroidery, the needle will
begin where the last embroidery was fi nished.
Touch
to go back .
SET in Embroidery
If neccessary, for example when embroidering
on unusual fabrics, set the thread tension in the
menu.
When embroidering on very thick fabrics or bat-
ting, you can raise the height of the presser foot.
This is to allow the foot to glide over thicker fa-
bric.
Manual adjustments of the thread tension and
of the presser foot height are made in the
menu.
Summary of Contents for Designer I
Page 1: ...User s Guide KEEPING THE WORLD SEWING ...
Page 39: ...39 Utility Garment Sewing ...
Page 63: ...63 Embroidery ...
Page 68: ...68 Embroidery ...
Page 83: ...83 Decorative Crafting ...
Page 95: ...95 Quilting ...
Page 100: ...100 Quilting ...
Page 101: ...101 Heirloom ...
Page 108: ...108 Heirloom Sewing ...
Page 109: ...109 Care of your Designer I USB ...


