Removal and replacement procedures 50
5.
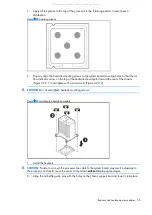
Apply all the grease to the top of the processor in the following pattern to ensure even
distribution.
Figure 3-28
Applying grease
6.
Properly align the heatsink mounting screws to the system board mounting holes so that the air
flow indicator arrow on the top of the heatsink should point toward the rear of the chassis
(Figure 3-29, 1) and tighten with a screwdriver (Figure 3-29, 2).
CAUTION:
Do not overtighten heatsink mounting screws.
Figure 3-29
Installing the heatsink assembly
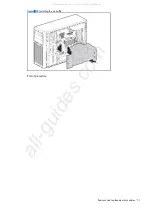
7.
Install the heatsink.
CAUTION:
Failure to connect the processor fan cable to the system board may result in damage to
the processor and could cause the server to shut down
without
displaying messages.
8.
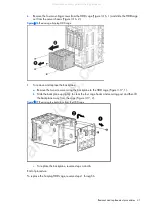
Align the air baffle guide pins with the holes on the chassis support bar and lower it into place.
All manuals and user guides at all-guides.com
Summary of Contents for ProLiant ML150 G6
Page 12: ...Customer self repair 12 All manuals and user guides at all guides com ...
Page 13: ...Customer self repair 13 All manuals and user guides at all guides com ...
Page 14: ...Customer self repair 14 All manuals and user guides at all guides com ...
Page 15: ...Customer self repair 15 All manuals and user guides at all guides com ...

