FINAL
TRIM
SIZE
:
7.0
in
x
8.5
in
3
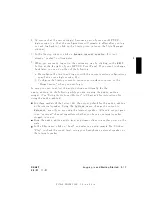
Turning
On
Y
our
System
With
all
p eripheral
devices
turned
o
,
do
the
following:
1.
T
urn
on
the
p o
w
er
to
y
our
monitor.
The
p o
w
er
indicator
LED
will
sho
w
that
it
is
turned
on,
ev
en
though
the
screen
remains
dark
during
initial
self-testing.
2.
T
urn
on
the
p o
w
er
to
an
y
other
external
devices.
3.
T
urn
y
our
system
on.
The
LEDs
will
light,
sho
wing
that
the
p o
w
er
is
on.
Note
These
mo
dels
of
the
Series
700i
ha
v
e
p o
w
er
switches
on
b oth
the
fron
t
and
rear
of
the
system
unit.
There
are
sev
eral
w
a
ys
to
switch
the
p o
w
er
on
or
o.
In
al
l
c
ases,
if
one
p
ower
switch
is
OFF,
p
ower
for
the
entir
e
unit
wil
l
b
e
turne
d
OFF.
T
o
activ
ate
p o
w
er
for
the
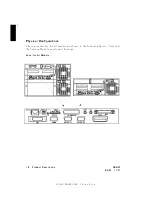
system:
If
y
our
unit
is
rac
k-moun
ted
and
placed
with
the
fr
ont
of
the
unit
facing
out:
a.
T
urn
the
rear
p o
w
er
switch(es)
on
.
(These
are
the
ro
c
k
er
switches.)
b.
Then
use
the
fron
t
(push
button)
p o
w
er
switch
to
toggle
p o
w
er
on
or
o
.
The
rightmost
green
LED
(lab
eled
\P")
on
the
fron
t
of
the
system
mo
dule
will
conrm
p o
w
er
on
,
as
will
the
corresp onding
LED
on
the
rear
of
the
unit.
If
y
our
unit
is
rac
k-moun
ted
and
is
placed
with
the
r
e
ar
of
the
unit
facing
out:
a.
Make
sure
that
the
push-button
p o
w
er
switch
on
the
fron
t
is
pushed
on
.
b.
T
urn
on
the
p o
w
er
switch(es)
to
activ
ate
the
system.
The
rear
LEDs
will
conrm
p o
w
er
on.
c.
T
urn
rear
p o
w
er
switch(es)
o
to
turn
o
the
system.
DRAFT
2/5/97
11:31
Logging
In
and
Getting
Started
3-3

