| Chargers |
231
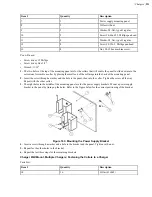
Item #
Quantity
Description
7
1
Power supply mounting panel
8
2
Collar with nut
9
2
Washer, #4, flat, type B regular
10
2
Screw #4-40x.625, Phillips pan head
11
8
Washer, #8, flat, type B regular
12
8
Screw #8-32x.5, Phillips pan head
13
8
Nut, #8-32 hex machine screw
You will need:
• Screw driver, #2 Phillips
• Screw driver, Hex 1/8”
• Wrench, 11/32”
1.
The two holes at the top of the mounting panel are for the collars that will enable the panel to slide down into the
extrusions. Assemble a collar by placing the small end of the collar against the back of the mounting panel.
2.
Insert the screw through a washer and the hole in the panel, then into the collar. Tighten the screw all the way.
Repeat with the other collar.
3.
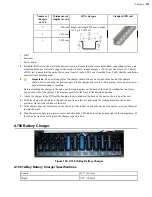
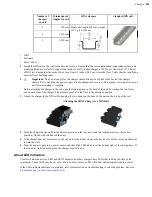
The eight holes in the middle of the mounting panel are for the power supply brackets. Mount a power supply
bracket to the panel by lining up the holes. Refer to the figure below for the correct positioning of the bracket.
Figure 163: Mounting the Power Supply Bracket
4.
Insert a screw through a washer and a hole in the bracket and the panel. Tighten with a nut.
5.
Repeat for the other holes in the bracket.
6.
Repeat the last three steps for the remaining brackets
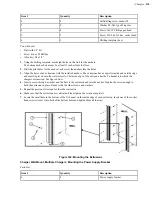
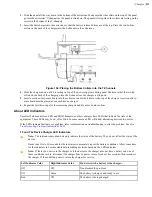
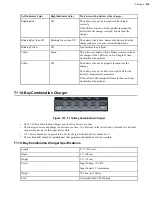
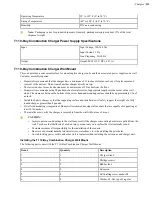
Charger Wall Mount, Multiple Chargers: Fastening the Collars to a Charger
Parts List:
Item #
Quantity
Description
14
16
Collar (611065)
Summary of Contents for Vocollect
Page 1: ...Honeywell Vocollect Hardware Reference ...
Page 2: ......
Page 4: ......
Page 12: ......
Page 20: ......
Page 36: ......
Page 80: ......
Page 106: ......
Page 128: ......
Page 148: ......
Page 150: ......
Page 154: ... Honeywell Wired Headsets 154 ...
Page 166: ......
Page 287: ... Honeywell Regulatory Compliance 287 Japanese Compliance Brazilian Compliance ...
Page 308: ......
Page 316: ... Index 316 ...

