Rev 3.01
35
Document 900.0399
08/08
Transferring Still Images or Video onto USB
To begin transferring stored images or video to a USB stick, connect the DVR to a USB
stick through the USB port on the front panel (see
Figure 3-1
). Press Search then select
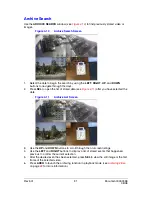
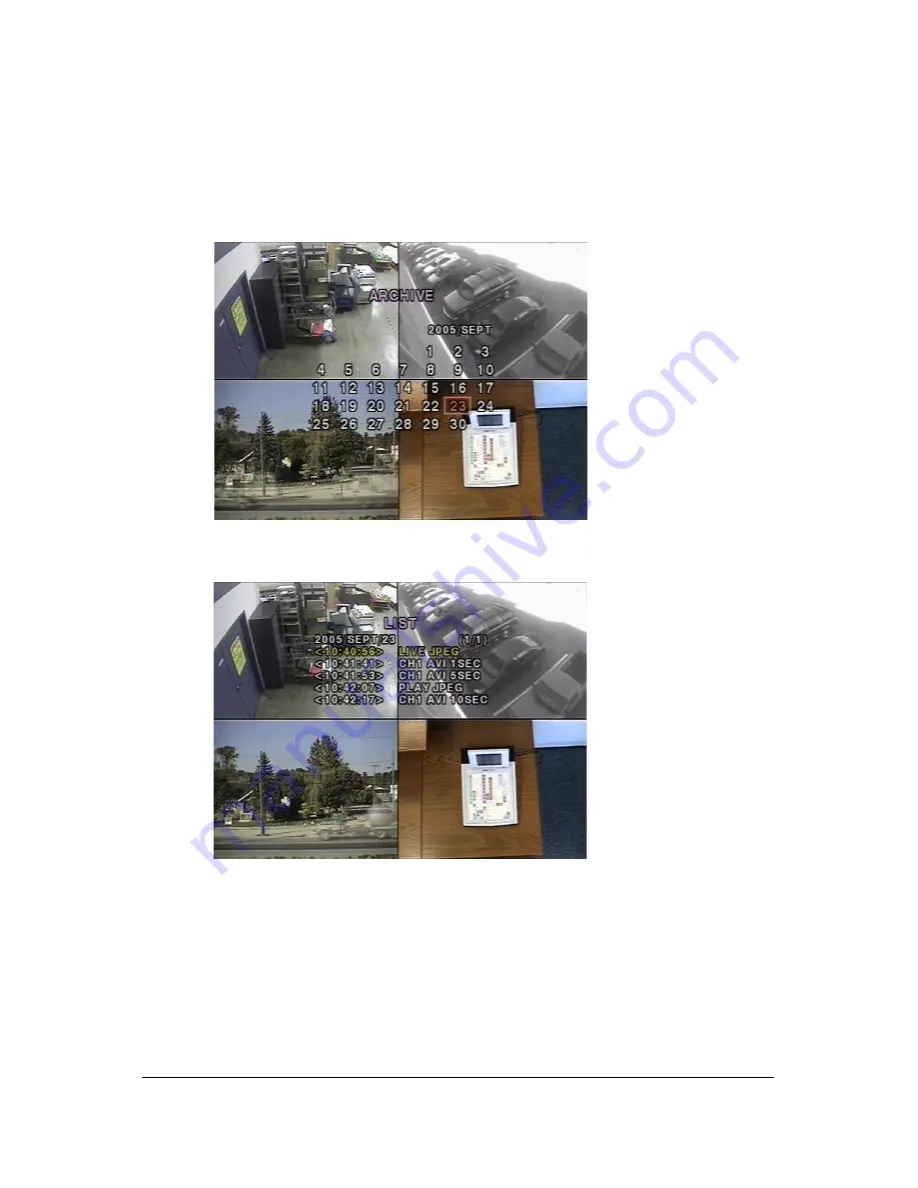
Archive. This brings up the ARCHIVE screen (see
Figure 4-15
), which allows you to select
a date to search for stored images or video.
Figure 4-15
Archive Menu Screen
Press SEL to retrieve a list of archived images or video (see
Figure 4-16
).
Figure 4-16
List of Archived Files
Select one of the files in the archived list using the UP and DOWN arrow buttons, and then
press ARCH to transfer the file to the USB stick. If there is enough space for archiving, the
DVR starts transferring the file. In the case of video, the DVR converts the video and audio
into an AVI format while transferring the video file into the USB stick. This allows the video to
be played back using programs such as the Windows Media Player.
If your archived clips are not playing back on your local PC, see
Appendix B, Installing
ffdshow for Playing Back AVI Archive Clips
for procedures to install updated video codecs.
Note
When archiving video from a Quad view to the USB stick, only the video
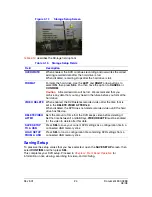
from the one highlighted camera is saved to the USB memory stick.


