13. Using the Lock Job Function
4-35
C
onven
ie
nt
Fun
ct
ions
Chapter
4
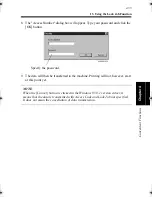
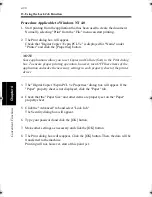
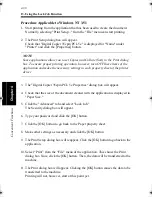
8. The "Access Number" dialog box will appear. Type your password and click the
[OK] button.
9. The data will then be transferred to the machine. Printing will not, however, start
at this point yet.
NOTE
When the [Cancel] button is clicked in the Windows 95/3.1 version driver, it
means that the data is transmitted with Access Code and Lock Job not specified.
It does not mean the cancellation of data transmission.
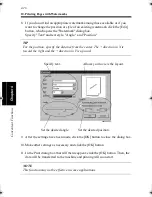
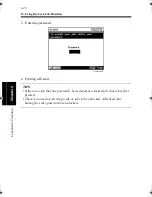
Specify the password.
4608P019CC
win.book Page 35 Wednesday, January 26, 2000 11:31 AM
Summary of Contents for Hi-35pc
Page 19: ...Installing the Printer Driver Chapter 2 2 1 Chapter 2 Installing the Printer Driver ...
Page 69: ...3 1 Property Sheet Chapter 3 Chapter 3 Property Sheet ...
Page 104: ...8 Conflict Settings Validation Dialog Box 3 36 Property Sheet Chapter 3 ...
Page 105: ...Convenient Functions Chapter 4 4 1 Chapter 4 Convenient Functions ...
Page 153: ...5 1 Chapter 5 Troubleshooting Chapter 5 Troubleshooting ...
Page 162: ...1 Troubleshooting 5 10 Chapter 5 Troubleshooting ...
Page 163: ...Appendix A A 1 Appendix A ...
Page 179: ...Appendix B B 1 Appendix B ...
Page 184: ...1 Glossary B 6 Appendix B ...
Page 185: ...Appendix C C 1 Appendix C ...

