


48
6.3 Communication settings
It’s important to understand that some health funds limit the types of treatments that can
be claimed when using communications such as mobile and Wi-Fi.
Terminals are configured at install to use Ethernet communications wherever possible.
Claims processing is supported by all participating health funds when the terminal is
connected by Ethernet (usually a LAN or network cable). This includes if the terminal is
paired to the base via Bluetooth®.
If the terminal is removed from the base, the terminal will stay connected via Bluetooth®
as long as the terminal is within range and the base is still connected to an active internet
connection.
In the event your internet connection is temporarily unavailable, the Trinity terminal will
attempt to process transactions via previously connected Wi-Fi or mobile networks.
For further information on communication settings please go to hicaps.com.au and view
the HICAPS Terminal Communications flyer.
6.4 Bluetooth pairing
Bluetooth pairing with the base is required to process transactions through the Ethernet
communications on the base. If the base already has a solid blue light on the left hand
side, the base has an existing pairing. Use the following steps to pair base with the
Terminal.
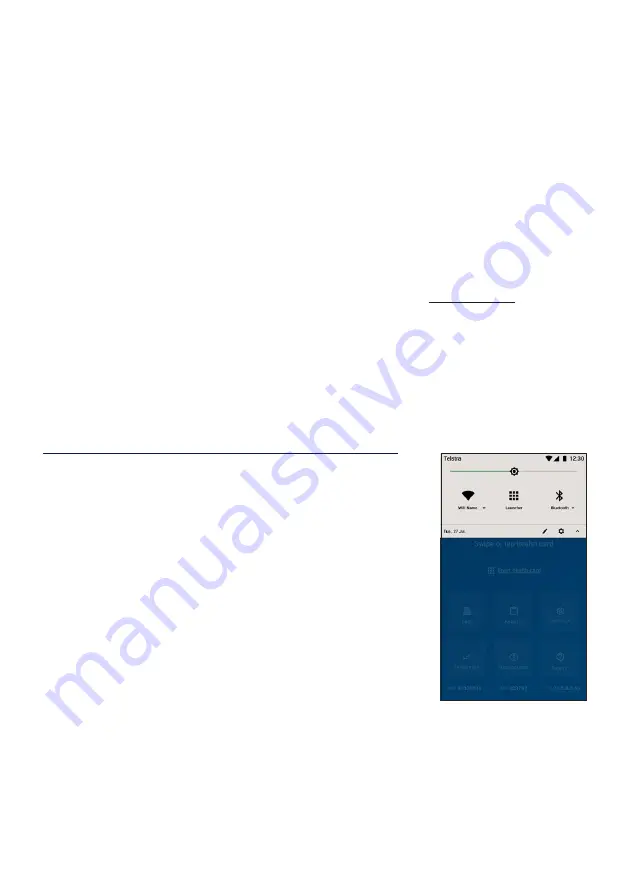
STEP 1
From the HICAPS home screen, drag your finger from top
of the screen to display the Android ‘quick settings’ panel.


