COMPUSHIFT II Manual – COMPUSHIFT II Manual
Installation
–
42
•
•
•
•
•
•
•
•
•
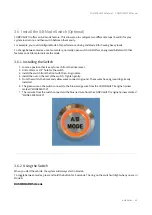
3.8.2 Using the Switch
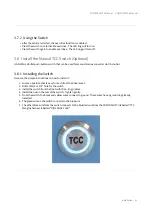
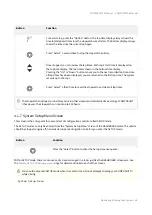
Press the switch to lock the manually lock the torque converter clutch.
Press the switch again to unlock the torque converter clutch.
The LED will light any time the torque converter clutch is engaged.
3.9 Connect the Display
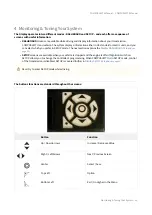
The COMPUSHIFT II Display has a backlit liquid-crystal display (LCD) and a 7-key keypad.
It connects to the COMPUSHIFT II Controller with the attached cable.
If you need to mount the Display at a greater distance from the Controller than the stock cable permits - up
to 25 feet - contact HGM to order a custom cable.
The COMPUSHIFT II Display cable connects to the OPTIONS connector on the COMPUSHIFT II.
See the
section for details on the
and
3.10 Checkout and Testing
3.10.1 Final Checks
At this point, all of your wiring harnesses should be attached and in place, and the COMPUSHIFT II controller should
be connected and mounted.
As a precaution, recheck all electrical connections and wire routing for safety. If these are confirmed to be OK, then
reconnect your battery.
Once the battery is connected, do the following:
Turn on the ignition switch to the first position, but do not start the engine.
Confirm that the status LED on your COMPUSHIFT II Controller is blinking red.
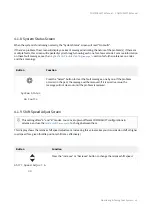
The display should be active and showing the
.
Don't drive yet... you still need to
calibrate the throttle position sensor
.
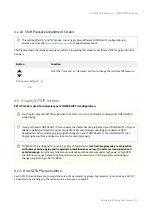
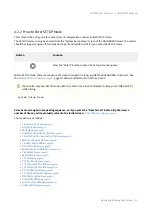
3.11 Calibrate the Throttle Position Sensor
Do
not
connect anything other than your COMPUSHIFT II Display to your COMPUSHIFT Controller, and do
not
connect anything other than your COMPUSHIFT II Controller to the Display.
Doing so can damage
your Display, your COMPUSHIFT II Controller, or both, and void your warranty.
Vehicles with CAN
If the COMPUSHIFT is connected to the CAN network on your engine management system, you can skip
throttle position sensor calibration. This is because the engine management system is directly reporting
throttle position to the COMPUSHIFT II controller.

