59
characters.
PLEASE NOTE THAT ESSID IS CASE
SENSITIVE. Note that all other devices in the WDS mode
should use the same SSID.
Channel Number (4):
Please select a channel number you wish to use. Please note
that this should be the same channel as the other bridge you
wish to connect to.
Device Mac Address (5): This is the Mac Address of the current HW9ACM. Use this for
reference when you set up the other point to point devices.
Mac Address Field (6): Input the other Mac Addresses for point to point. Note that
wds mode only works with up to 4 other HW9ACMs.
Adv. IP Address (7)
This section allows you to set an IP Address and subnet mask to
fit your network if needed. Uncheck the box to input.
Otherwise, the default IP Address is 192.168.1.230
When you finish with all settings, please click ‘Next’ (8);
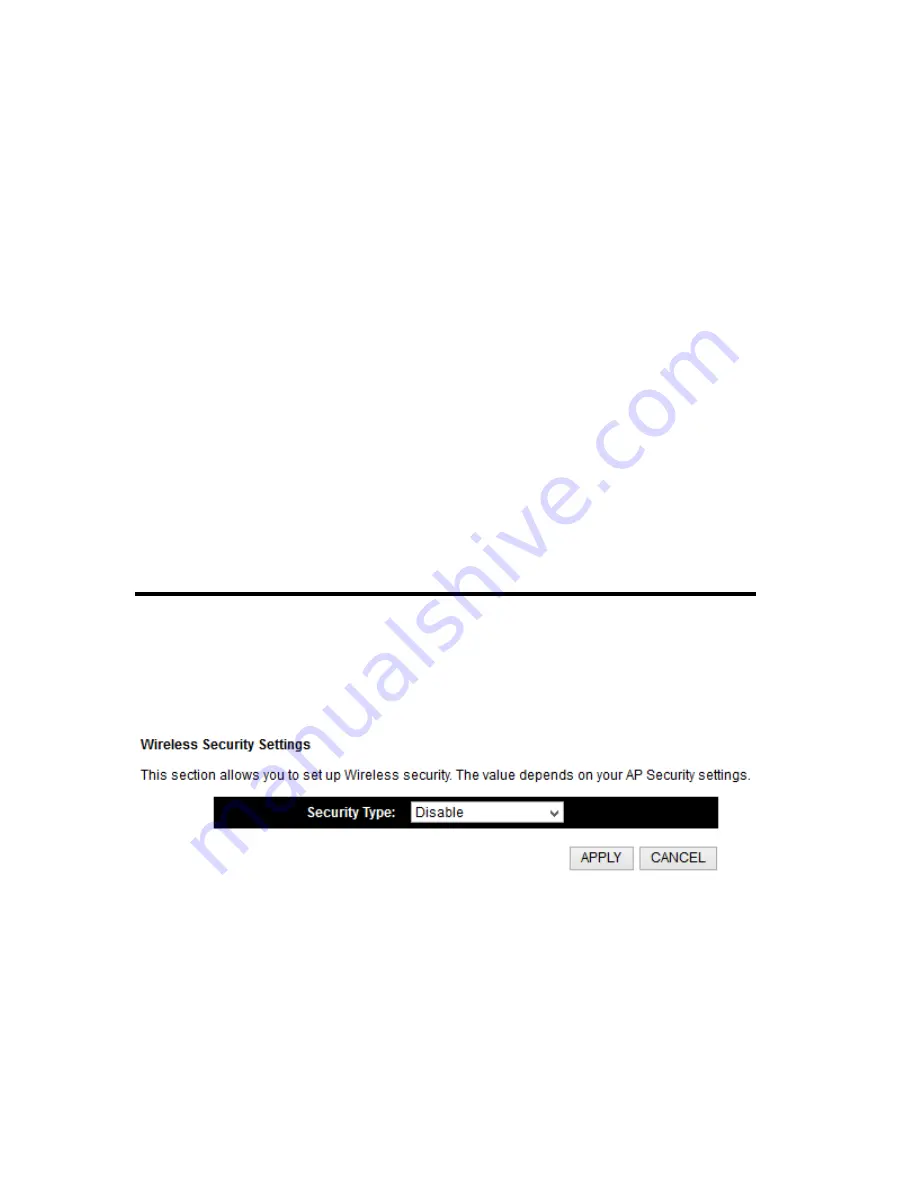
You can also click on “Set Security” to set up wireless security if you wish. A pop up
window with security settings will come up.
Note that each HW9ACM setup in wds mode must have the same type of security.
Click Apply and wait for the unit to reboot. Congratulations, you have set up the
HW9ACM in WDS Mode!
Summary of Contents for HW9ACM
Page 18: ...11...
Page 20: ...13...
Page 22: ...15...
Page 24: ...17...
Page 27: ...20 Look for Hawking_HW9ACM then select to connect...
Page 32: ...25 2 3 1 Setup Procedure for Repeater Step 1 Choose Extender Mode...
Page 36: ...29 2 3 2 Setup Procedure for Router...
Page 46: ...39 2 3 4 Setup Procedure Bridge Step 1 Choose Bridge Mode...
Page 47: ...40 Step 2 Enter in your bridge settings 1 3 4 2...
Page 50: ...43 2 3 5 Setup procedure for Bridge Point to Point Step 1 Choose Bridge Point to Point Mode...
Page 51: ...44 Step 2 Enter your Bridge Point to Point settings...
Page 55: ...48...
Page 57: ...50...
Page 62: ...55 2 3 7 Setup Procedure for Bridge WDS Step 1 Choose Bridge WDS Mode...
Page 63: ...56...
Page 116: ...109 point to reboot...
Page 162: ...155 NOTE Information displayed here may vary...


