40
7.5 Video Recording
This utility allows you to record video files in AVI format. There are two ways to record video: a. Manual Recording, and
b. Schedule Recording.
Manual Recording
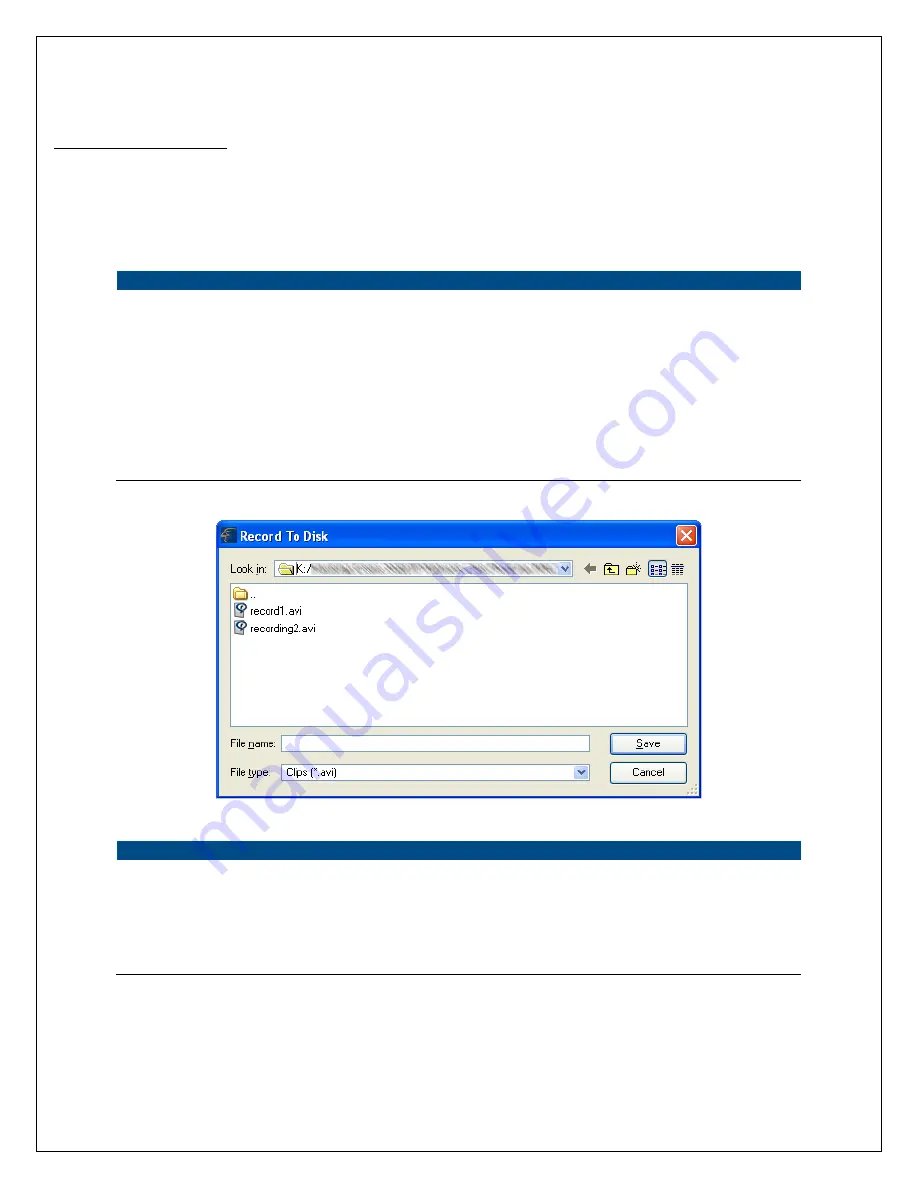
You can manually record the video stream into an assigned video file.
Click “Record”, and the “Record to Disk” window will appear. Assign the path and file name that you
want to save to and click “Save”. The viewer utility will then begin to record the video stream. If you
want to stop recording, click “Stop”.
Note:
Before recording manually, you will need to click on the camera button (see Section 7.2 Camera
Buttons) to select the camera that you would like to record video from. You will also need to make
sure that the viewer is successfully connecting to the camera.
Schedule Recording
You can assign a schedule and let the viewer automatically record the video stream into video files.
Please refer to Section 7.8 to see how to set up recording schedules. The file name of the recorded
video file is the start time of recording. For example, the file name “IPCamera_MJPEG_2007-10-8-
23-56-40.avi” indicates that the video file began recording on 2007/10/8 23:56:40.
Summary of Contents for HomeRemote HRNC1
Page 1: ...1...
Page 37: ...37...
Page 53: ...53 8 2 Network Settings Network Settings 1...
Page 54: ...54 Network Settings 2 continued...
Page 55: ...55 Network Settings 3 continued Network Settings 4 continued...
Page 73: ...73 5 Enable the UPnP Framework from the Programs and Services list and click Ok...


