32
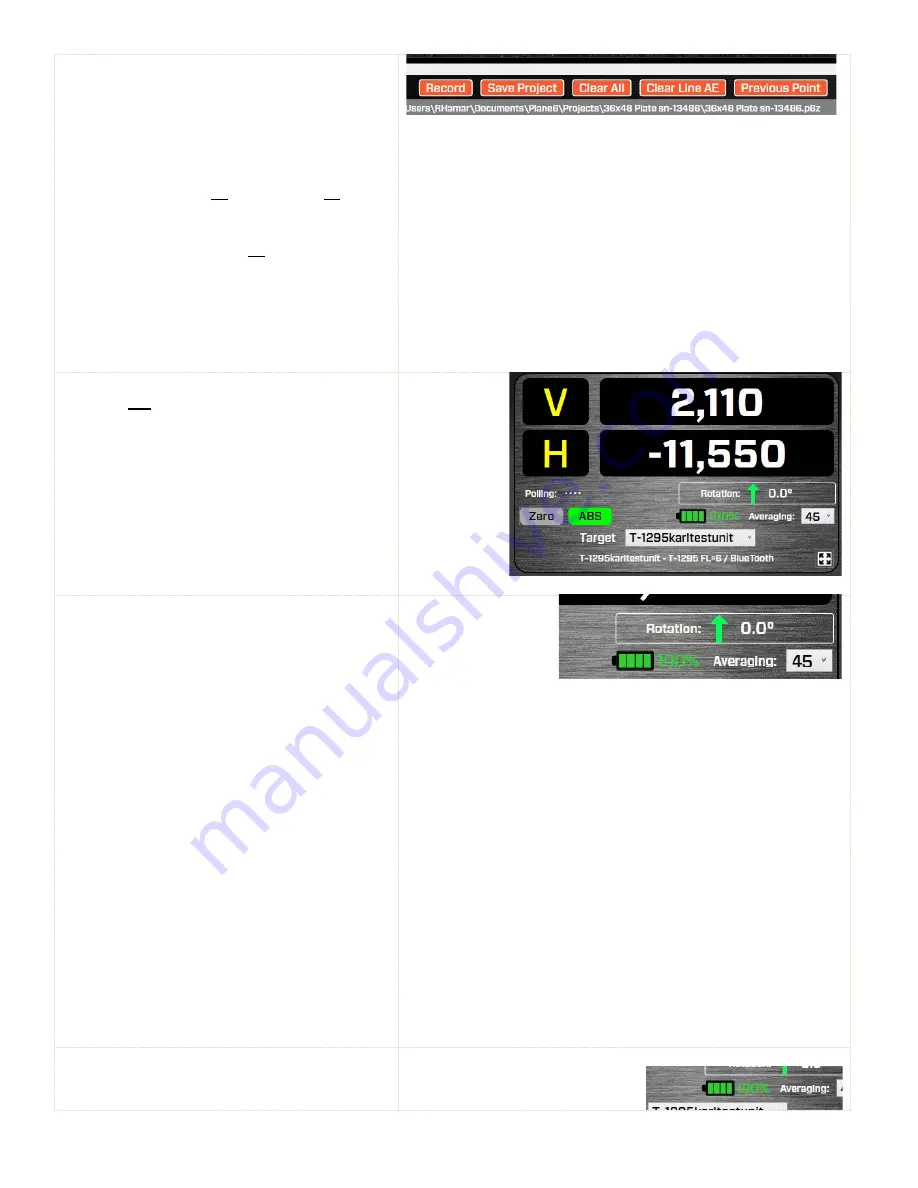
Save Project –
click here to save the data already
recorded.
Note
- Plane6 has an auto-saving feature. See page
19
Restoring File Backup
to see how to recover data
from backups.
Clear All
– this clears all the data from all the
line segments recorded for the plate.
Clear Line XX
– this clears all the data from the
line segment currently selected.
Previous Point
– this moves the target icon
(cursor) the previously recorded point to re-
record it.
Zero
– Click here to zero the display. This is
generally
not
needed to record the data but may
be useful when sampling small areas of the plate.
ABS
– Click here to return the data display to the
absolute (raw) value display from the target.
This is a measure of how far from the PSD
sensor’s center the laser beam is located.
Normally ABS Mode is used for recording data.
Averaging
– enter values from 1 to 500 and this
will change the number of samples Plane6 uses
to average for each of the values shown in the
data displays.
This also changes the amount of sampling the
software takes when recording a data point. So a
value of 45 means that Plane6 will record 45
target values, average them and record the
averaged value as the data value for that point.
Note:
The higher the averaging value, the more noise
fluctuations will be dampened out, but also the slower
the response time for movements in the laser position.
The data updates at ~13 readings per second, so with
an averaging value of 26, the data takes about 2
seconds to update after the laser beam position has
started moving.
The recommended starting value for most small-to-
medium plates in good environmental conditions is 45
(~4 seconds per point) for A & B grades. If doing AA
grade, then up the sampling to 90 (8 seconds per
point).
Target Battery Icon –
displays the estimated
remaining battery life of the target. It updates
continuously.
Summary of Contents for L-703SP
Page 1: ......
Page 54: ...50 An example on how to do the Math to get the exact flatness values...
Page 55: ...51 Plane6 Sample Report...


